
The blur effect is one of the most common effects found in photos nowadays. Ever since smartphones became capable of blurring photos while clicking them, the effect went mainstream.
However, sometimes there are situations when we have an image that doesn’t include any blurred parts, and we want to blur it for some aesthetic purposes. What to do in such circumstances?
Fortunately, the answer is not too complex. With tools like Canva, we can easily blur any image (or part of an image) within a few minutes. Let’s see how to blur in Canva!
Frequently Asked Questions
Is There a Blur Tool in Canva?
Yes, there is. It’s not a tool but a part of the image editing features offered by Canva. You can use it pretty much like you use the blur slider of your smartphone.
Can You Blur a Specific Section in Canva?
Of course, you can. There is a method to blur any specific part of an image, and if you know it then you can definitely blur the specific sections of your image in Canva. In this tutorial, we’ve explained how to do that as well.
What Can You Blur in Canva?
Anything — you can blur any image or part of an image in Canva with its two different tools dedicated to the same function.
What You’ll Need to Blur in Canva
You don’t need anything more than the following two things:
- Canva account: A Canva user account. Even a free account is good to go, and you can sign up easily using your email account, Google account, or even your social media accounts.
- A computer with a web browser and internet: This tutorial explains how to use the blur function of Canva on a computer. It doesn’t cover the scope of using the Canva mobile app, so you’re advised to use a computer only.
How to Blur in Canva: Step-by-Step Instructions
Blurring an image comes in two choices — either you want to blur the full photo or a part of the photo. Fortunately, both are possible in Canva.
Here’s how you can do either of them using Canva’s web application:
#1. Blurring Full Photo
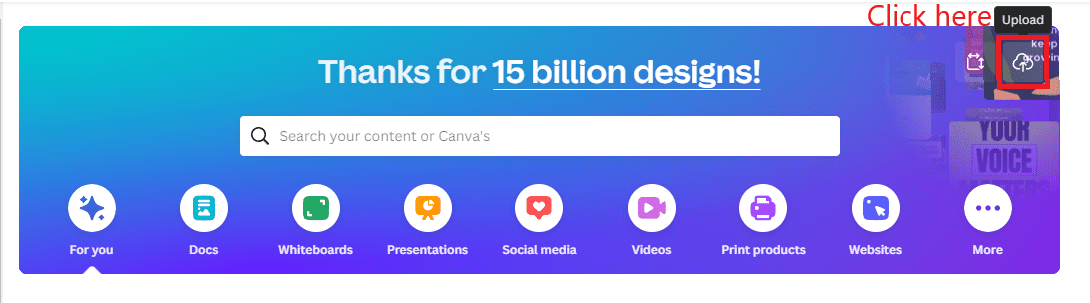
First of all, upload your image to Canva by clicking the “Upload” button.
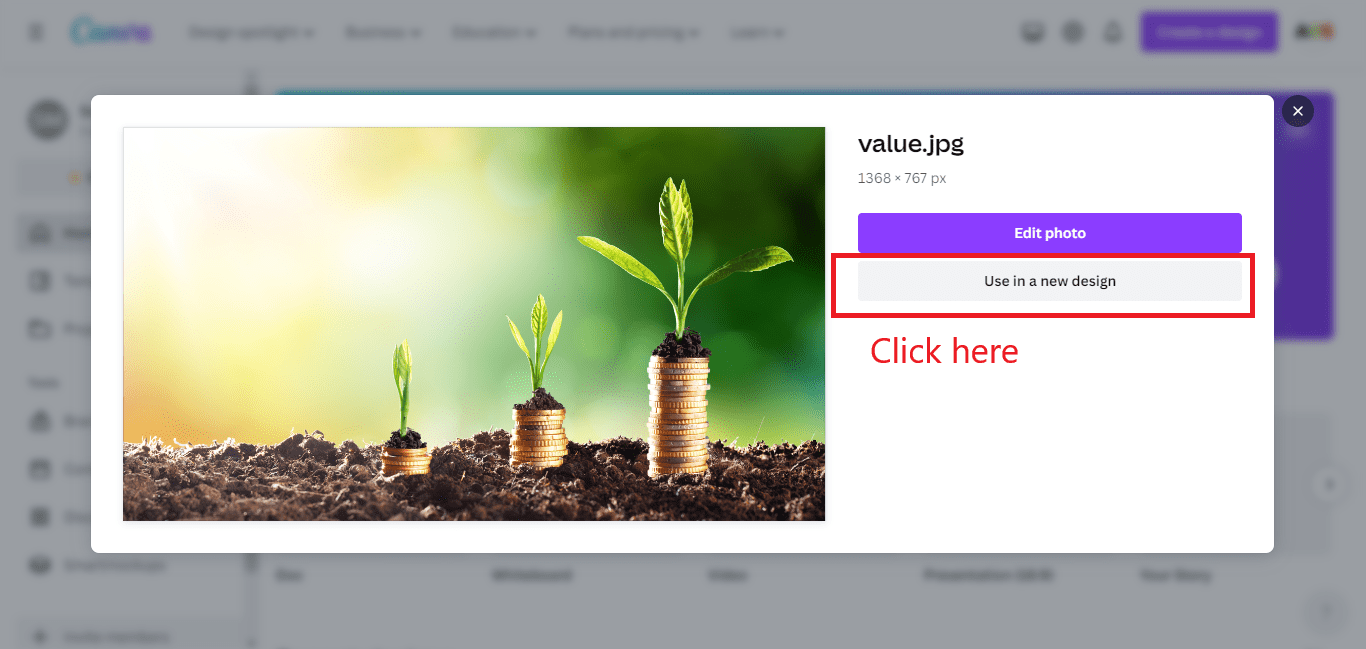
Next, click the “Use in a design” button.
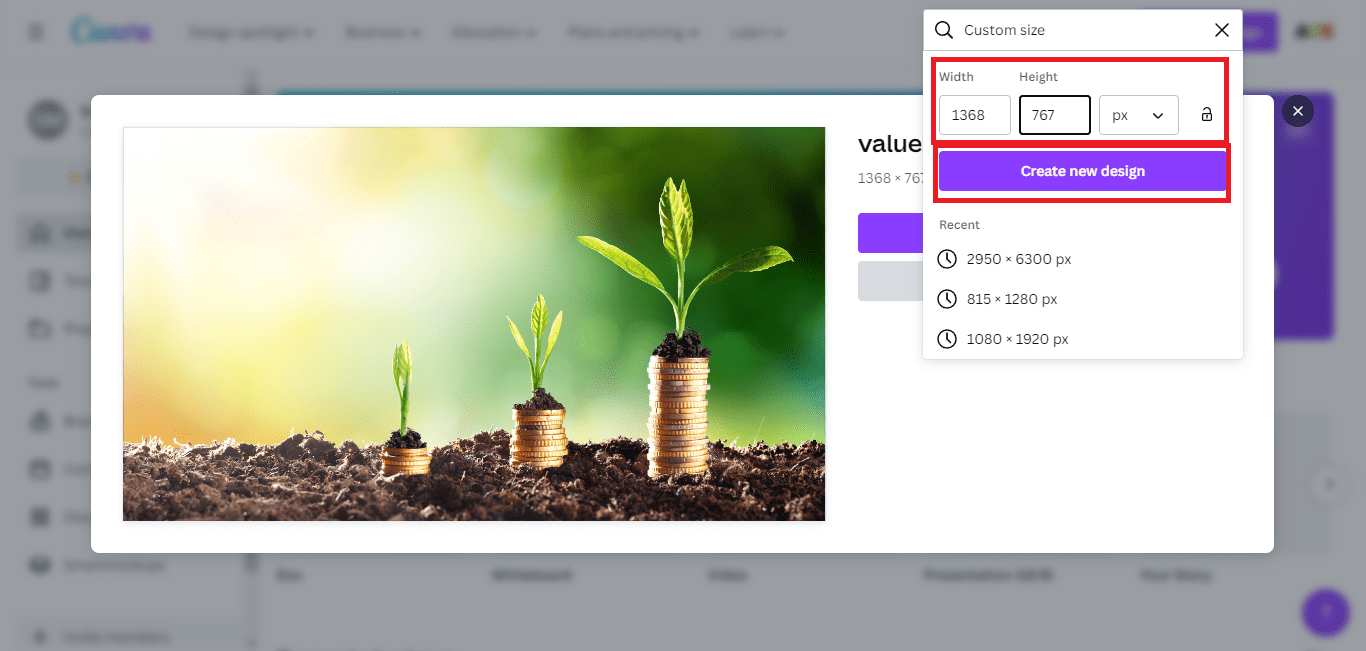
Now a couple of options will open, asking you to define the size of your design. You have to choose “Custom Size”.
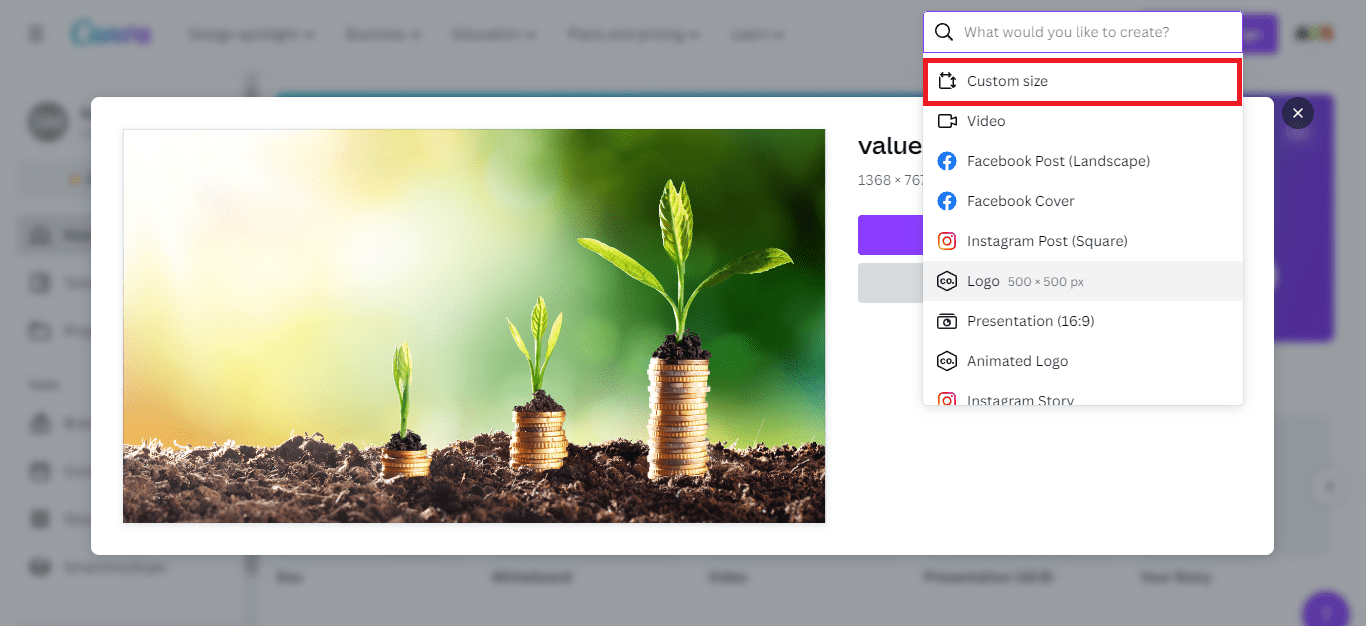
Now you’ll be asked to enter the size of your design. You can enter the width and height same as that of your image. Finally, click the “Create new design” button.
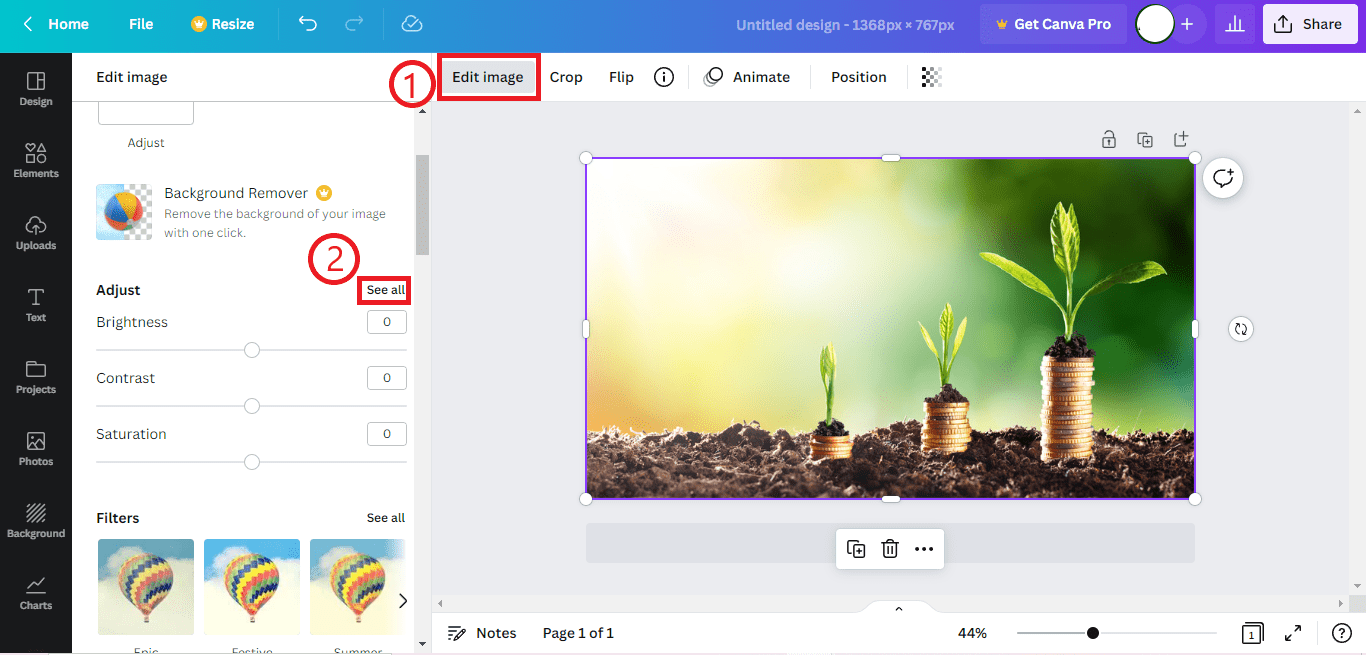
This should open the image in Canva’s editor. Now click the “Edit image” button. Then, click the “See all” button for Adjust options.
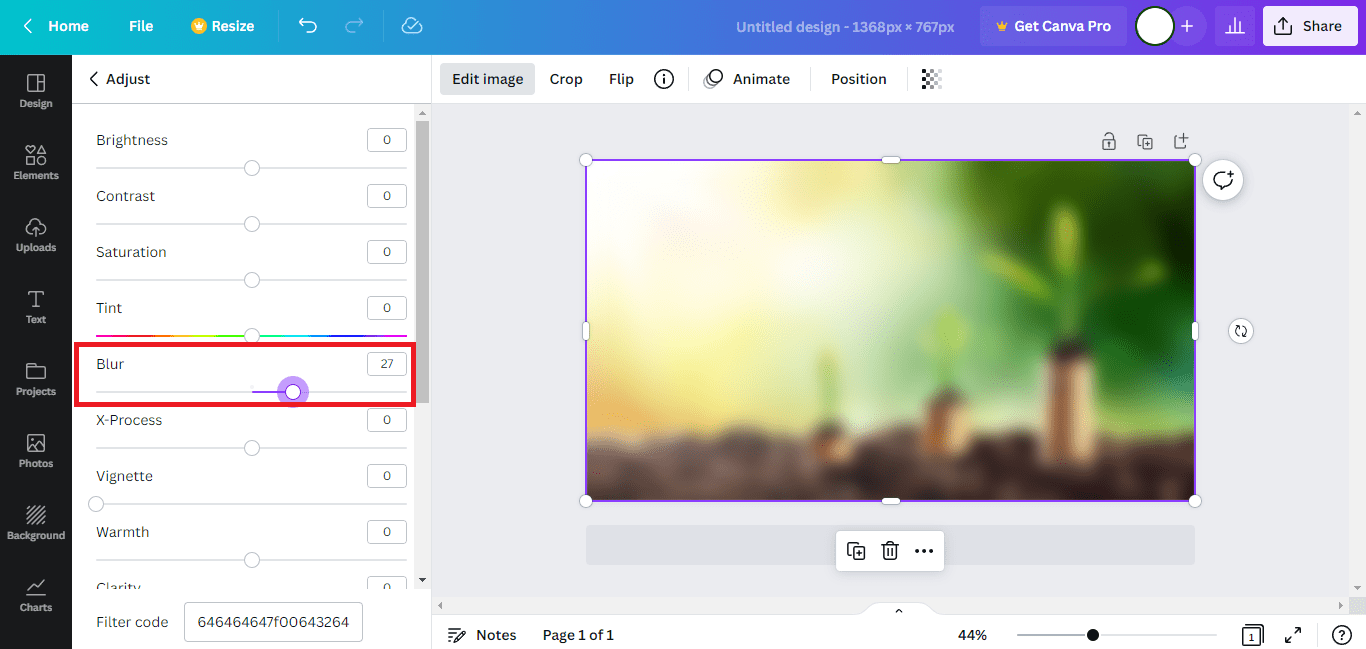
Now slide the Blur slider in the side panel to increase the blur effect in your image. Once you’ve achieved the desired blur level, stop adjusting.
Now you can download your blurred image by navigating to File >> Download option.
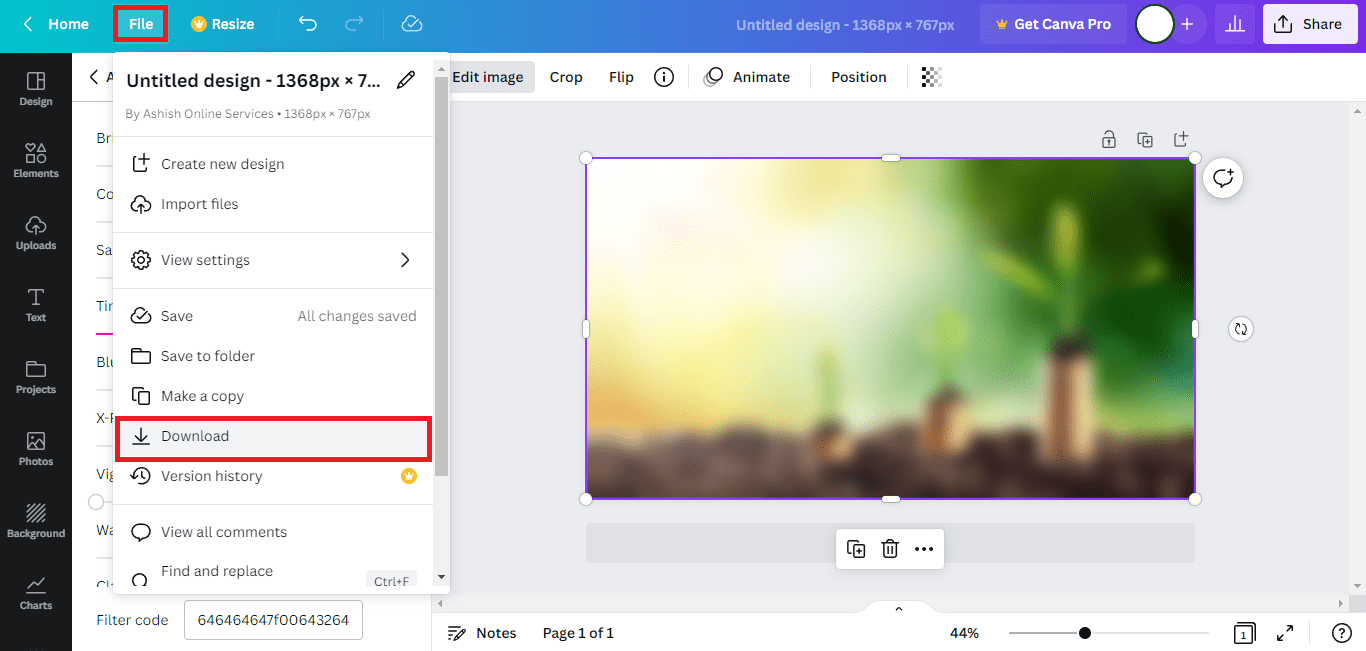
You can also change the File type, adjust the quality of the image or make the background transparent before downloading your image if you want to.
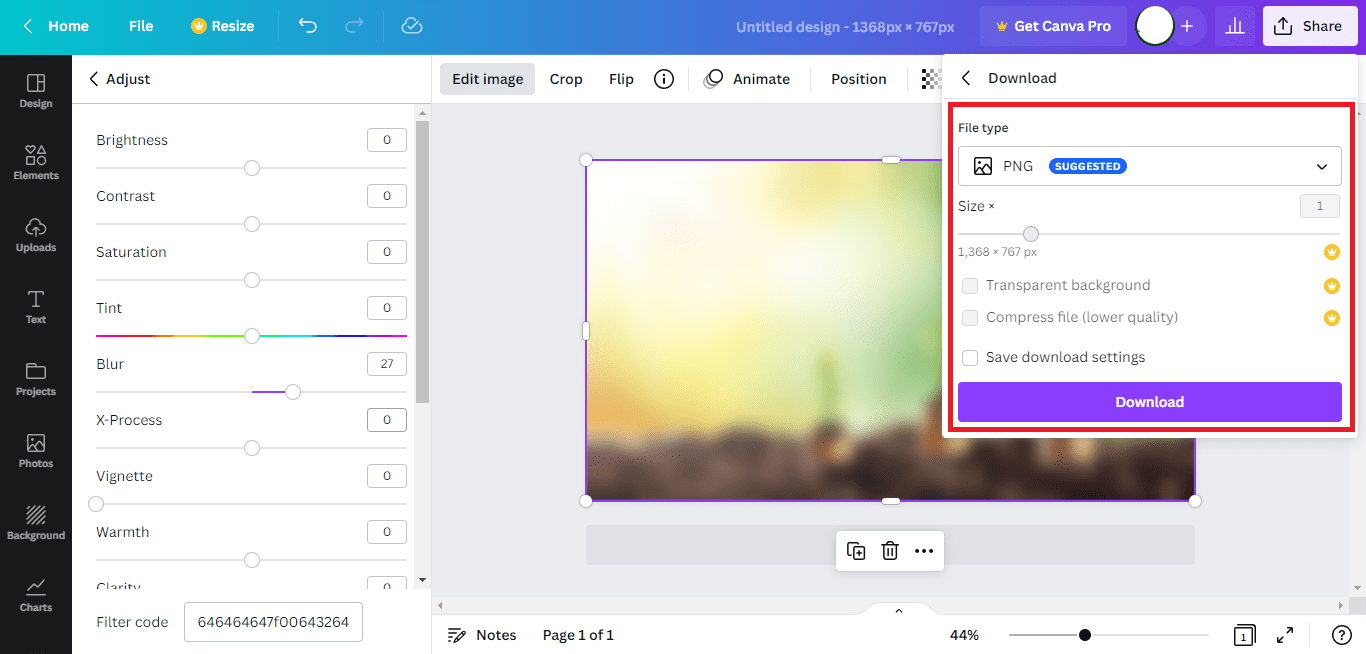
Once you’ve defined your image quality, file type, and other settings, click the Download button and that’s it!
You successfully blurred your image using Canva.
#2. Blurring A Part of the Photo
You can also blur a specific part of your photo using Canva. There’s a separate tool for that made by the Canva team.
To find it, just click the “Edit image” button and scroll down in the side panel until you find the Blur tool, as shown below.
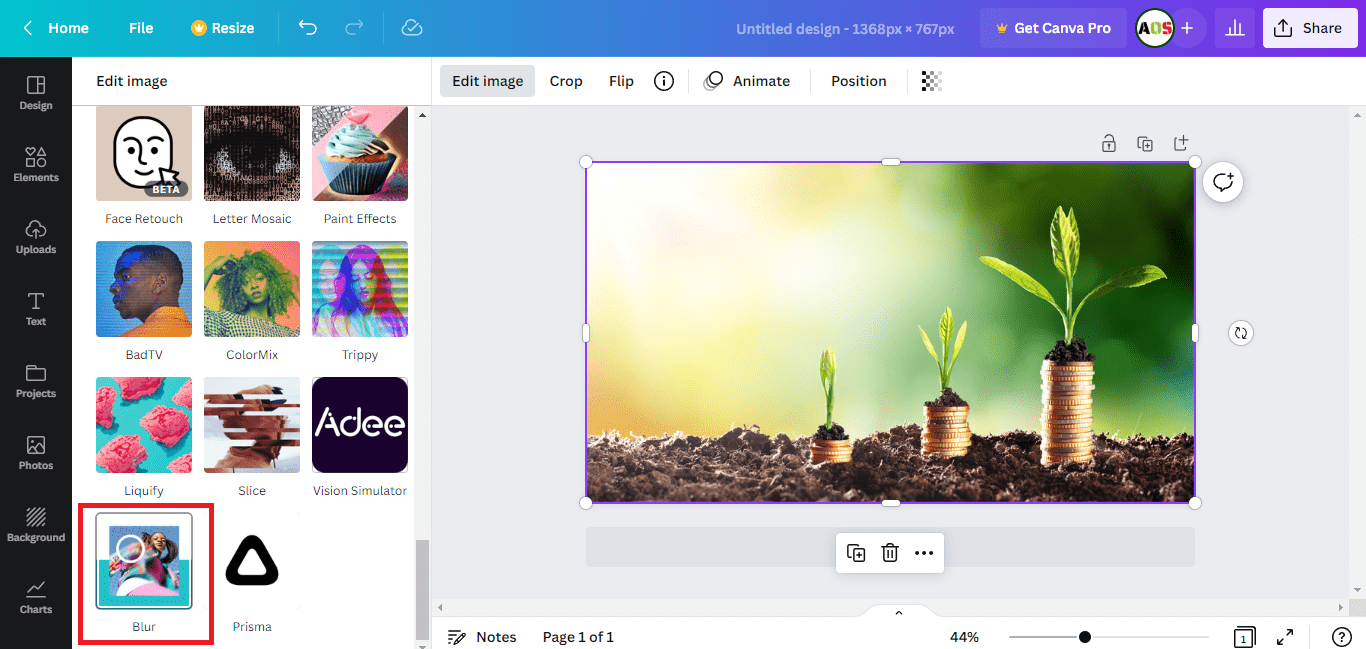
Click on the tool. If you’re using it for the first time, it will show a Use button along with a description of the tool. Click the “Use” button, which will open the tool in the side panel.
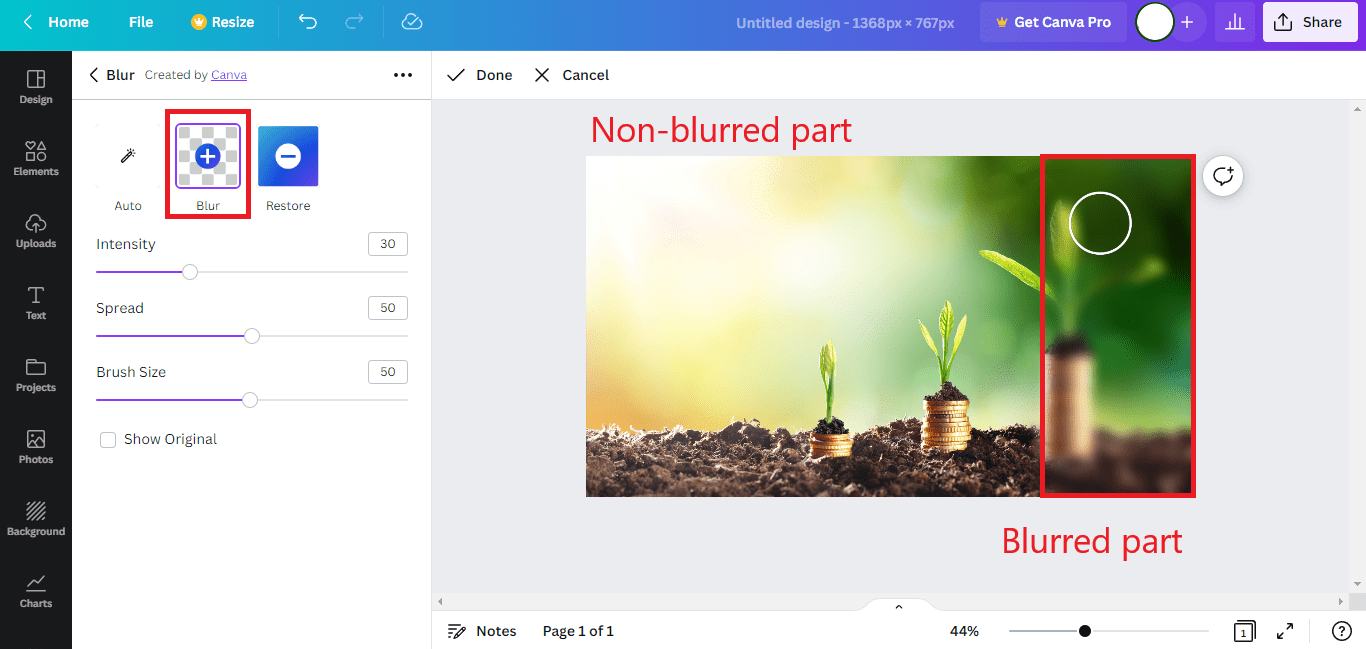
Now click the Blur option in the side panel. Then hover your mouse pointer on the image. You’ll see a circular brush as shown below, and you can click it or drag it over the part of the image that you want to blur.
The blur effect will be applied. You can also change the intensity, spread, and size of your brush from the side panel to achieve the desired blur in one stroke.
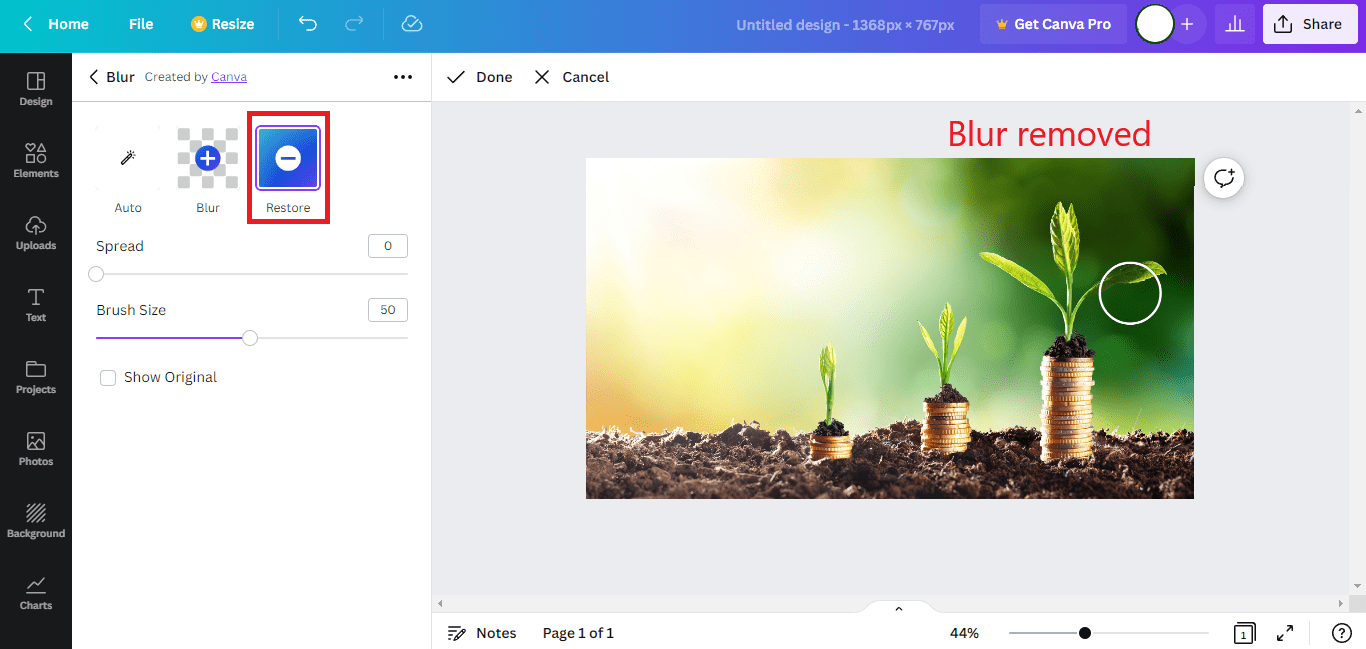
If you want to remove the blur effect that you applied, you can choose the “Restore” option from the side panel and then click or drag the brush similarly on the blurred part of the image.
This will remove the blur that was applied.
Once you are done, you can navigate to the File >> Download option again to download your image.
Similar Tutorials to Check Out
- How to Erase in Canva: If you’re having an unwanted element in any of your images, you can easily delete it using Canva. This tutorial explains how to do that.
- How to Ungroup in Canva: This tutorial explains how to Ungroup some grouped elements while working with Canva templates.
- How to Create a Gradient in Canva: Finally, this tutorial deals with how you can create a gradient in Canva. It can help you apply the gradient effect to any of your images or designs.
Wrapping Up
So that was how you can easily blur a photo using the Canva web application. As you can see, we have explained both how to blur a full photo and also how to blur a part of the photo.
We hope we explained the full process clearly and that you were able to understand it well.
Now it’s your turn to try the methods explained above on your photos. So give them a try and thank us later!


