
Want to create a WordPress staging site but not sure how? Congratulations on making it here.
A staging site allows you to tweak and play around with every bit of settings, configurations, plugins, themes, and codes on your website without fear of crashing it or disrupting your user’s experience.
So if you’ve ever wanted to try something new and the fear of crashing your site has been holding you back, fear no more.
A WordPress staging site is all you need.
This article presents 3 methods with step-by-step instructions you can follow to easily create a WordPress staging site.
Frequently Asked Questions
Do You Need a Staging Site for WordPress?
Of course, whether you like it or not, a time will come when you’ll need to make significant changes to your website.
Maybe to test a new plugin, add new features, change your WordPress theme or overhaul your design.
Using a staging site will make you worry less throughout the website design process.
What is the Best Way to Create a WordPress Staging Site?
There are many ways to create a WordPress staging site.
But by far, the best and most recommended way is through your web hosting platform.
If this option is not available for you, then you can use any of the other methods.
In this article, we’ll walk you through different ways to create a staging site.
How to Create a WordPress Staging Site: 3 Methods
There are 3 popular ways to create a WordPress staging site;
- Create a WordPress Staging Site Using Your Web Host
- Create a WordPress Staging Site Using a Plugin
- Create a WordPress Staging Site Manually
You can use any of the above methods.
But using a managed WordPress host makes it easy. And that’s where we’ll start.
Create a WordPress Staging Site Using Your Web Host
If you are looking for the user-friendliest approach to creating a staging site, most managed WordPress hosting platforms have a built-in staging feature.
With these platforms, you can launch a staging site in a few clicks.
We’ll show you how to create a WordPress staging site with Hostinger.
Don’t worry if you use other web hosts.
The steps are similar.
Hostinger is one of the largest hosting providers in the world with dedicated plans for WordPress websites.
If your website is hosted with them, you can benefit from their built-in one-click staging site solution.
Here’s how;
Log in to your Hostinger dashboard.
Go to WordPress on the left panel and select Staging from the menu.
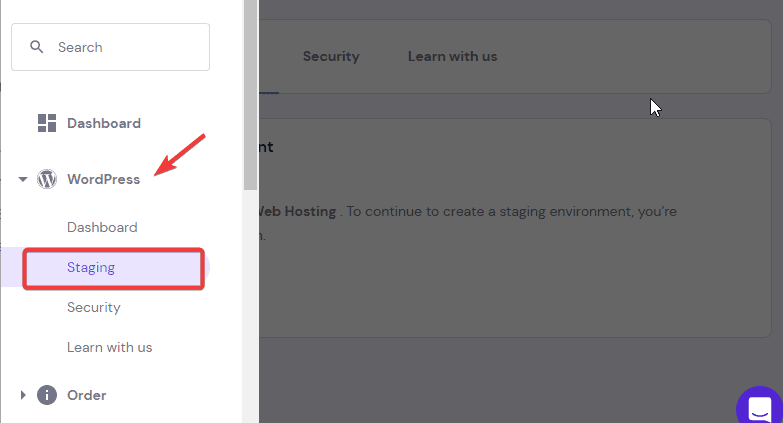
On the next screen, click on the Create staging button to continue.

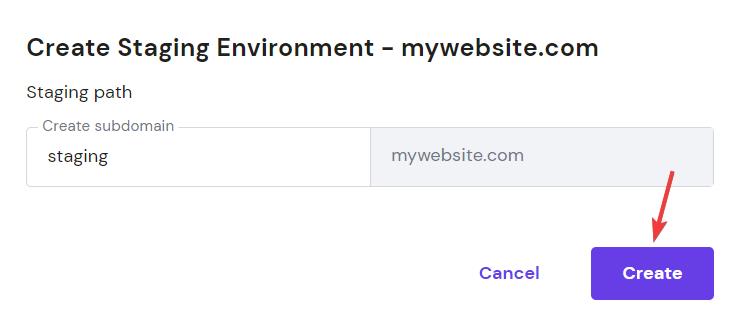
Next, a window will pop up to create a subdomain for your staging environment.
Enter the subdomain you want to use and click the Create button.
Hostinger will start creating your staging site.
This can take between 10-20 minutes depending on the size of your website.
Once it’s done, you’ll see your staging site on the Staging page.
And that’s all you’ve successfully created a WordPress staging site via hosting cPanel.
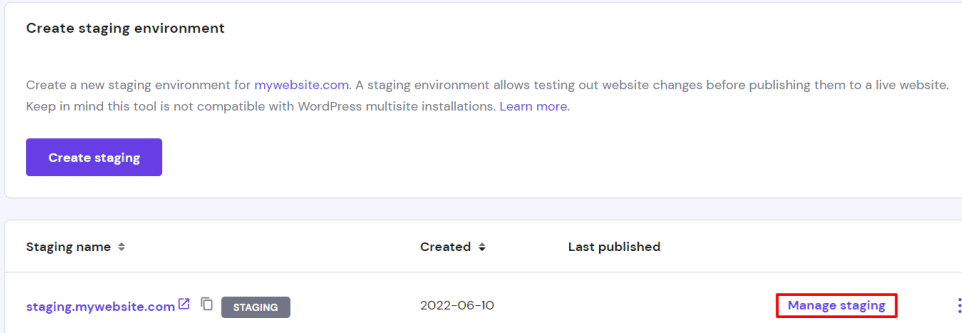
Now to work on the staging site, click the Manage staging button to proceed.
This will open your staging site dashboard.
You’ll see an Edit website panel on the left.
Click the Edit Staging button there.
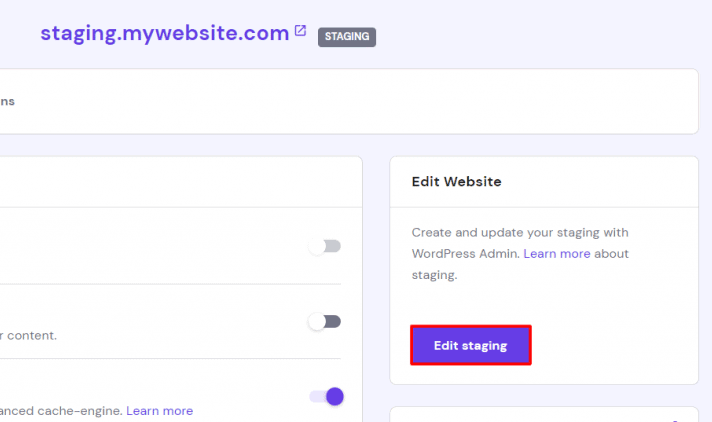
You’ll be taken to the WordPress dashboard of your staging site where you can make all the changes you want.
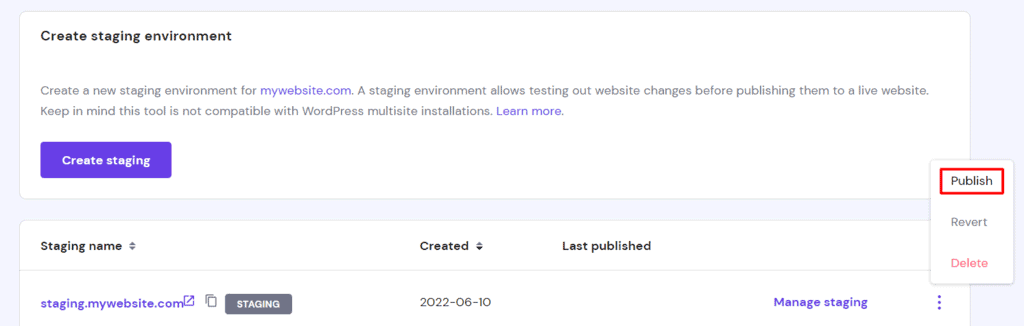
Once you are done with your changes, go back to the staging page on your hosting cPanel, then click the three dots icon next to the Manage staging button.
Select Publish from the resulting menu.
A window will pop up with this message; Publishing this staging will replace your live version of website with this staging copy…
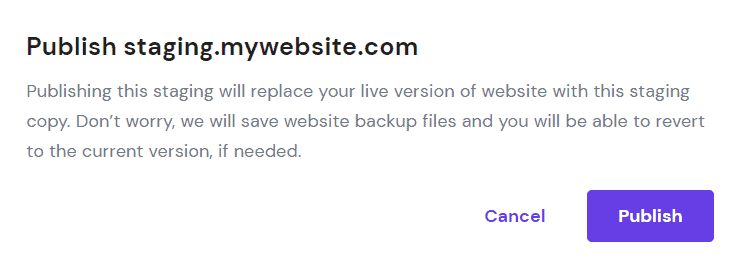
Click the Publish button to confirm.
Done! You’ve successfully deployed your staging site to the publication site.
Create a WordPress Staging Site with a Plugin
If your hosting plan doesn’t support a staging site feature or your WordPress hosting provider doesn’t have the feature, you can use a plugin to create a staging site.
Before we show you how to use a plugin to create a staging environment in WordPress, here are 2 things you should know.
- There are limitations to the level of access a third-party plugin can get from your hosting server. Hence, a 100% accurate result is not guaranteed..
- Staging plugins store your site data on their servers before they can create a staging site. For security reasons, you may not want to proceed with this.
That being said, let’s show you how to create a WordPress staging site using a plugin.
Stagecoach and WP STAGING are two versatile plugins for creating a staging site on WordPress.
These plugins create a subfolder for your WordPress core files and import all the pages, posts, media, themes, and plugins from your database.
We’ll use WP STAGING for this tutorial.
The first step is to install and activate the WP STAGING plugin.
Use this plugin installation guide if you need help.
Once done, go to the left panel on your admin dashboard, locate WP Staging, and select Staging Sites from the menu.

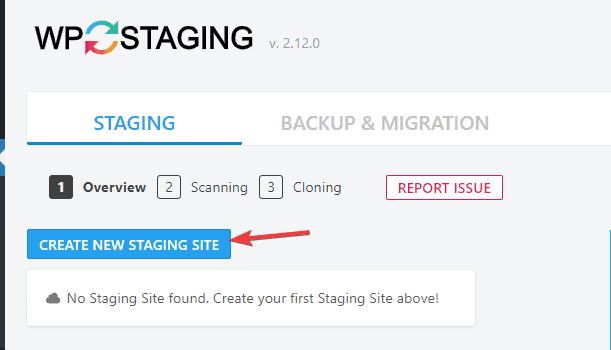
This will take you to the WP Staging page.
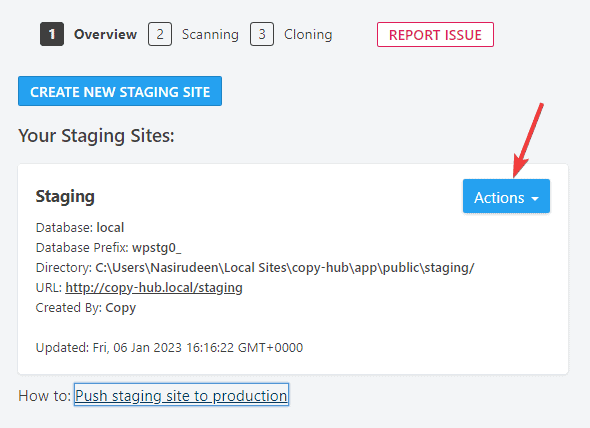
Click on the CREATE NEW STAGING SITE button to continue.
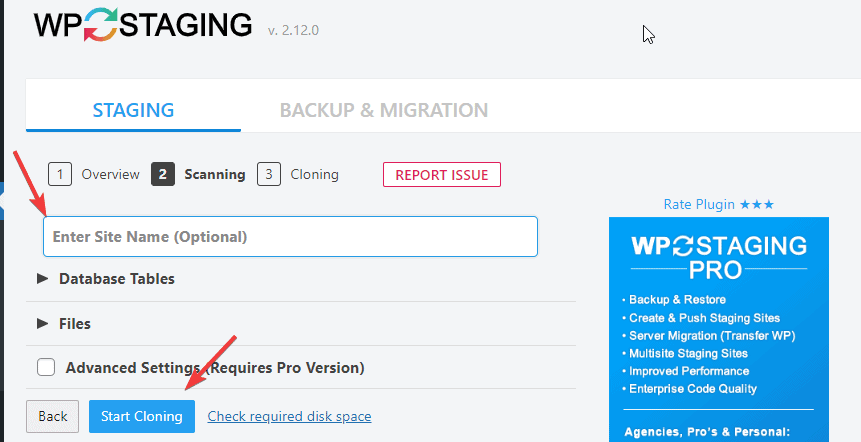
Next, give your staging site a name and click on Start Cloning.
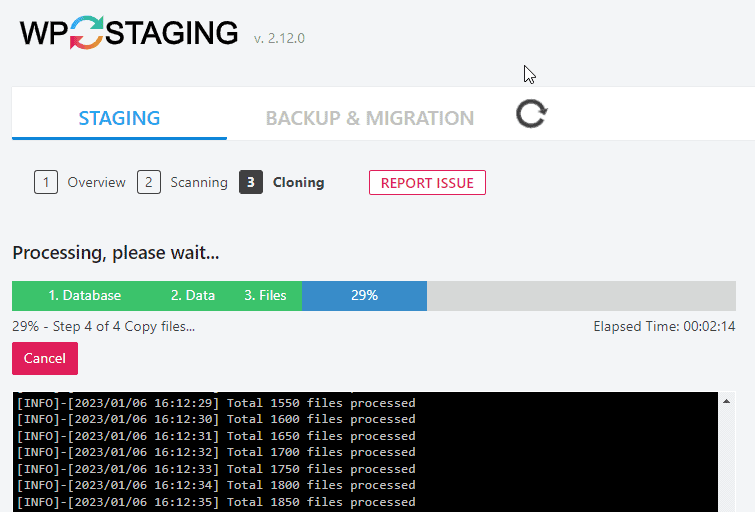
WP staging will start creating your staging site.
This may take a while depending on the size of your website.
During this process, the plugin will copy all your database files, pages, and posts and change their links to the staging site name you provided above.
Once the cloning is completed, you’ll see Congratulations under the progress bar with a link to your new staging site.
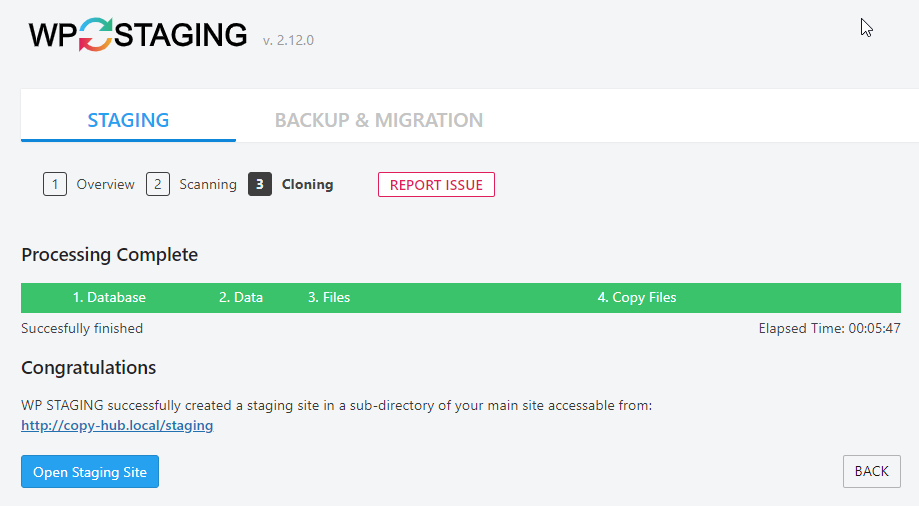
Click on the Open Staging Site button.
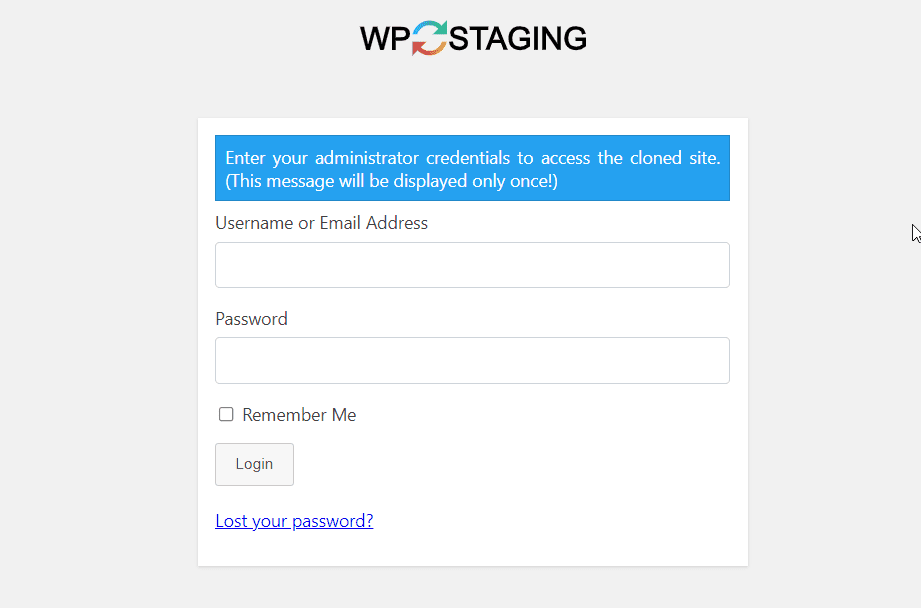
This will redirect you to log in to the admin dashboard of your staging site.
You’ll log in using the same credentials as your live site.
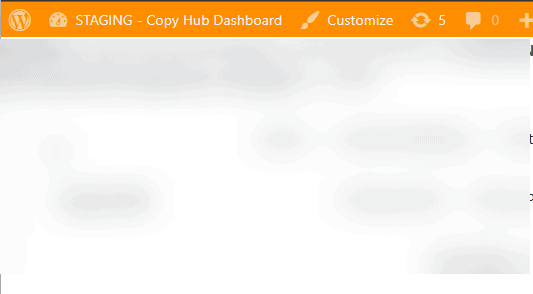
On your staging site dashboard, you’ll see a bright orange top bar at the top of your screen that indicates you are on a staging site.
Once you are done making changes on your staging site and you are ready to push them to your production site, go back to the WP staging page and follow these steps.
In Your Staging Site details, click on the Action button and select Push changes from the dropdown menu.
And that’s it.
You’ve successfully created a staging site, make changes and deploy it to your live site.
To enjoy the full functionality of the plugin, you’ll have to upgrade to a pro version.
Create a WordPress Staging Site Manually
The third method is more advanced and requires more work to create a WordPress staging site.
You need to understand WordPress core to a reasonable extent.
Nonetheless, you don’t have to be an expert to use it.
If you are ready to get adventurous and diligent in following instructions, you’ll do it without any hassle.
Let’s go.
Creating a WordPress staging site manually involves 5 steps:
- Step #1: Create a New Subdomain for Your Staging Site
- Step #2: Copy WordPress Files to the New Subdomain Folder
- Step #3: Create a Copy of Your Database
- Step #4: Upload Database to Staging Site Folder
- Step #5: Configure your Staging config.php File
We’ll use Hostinger for this tutorial.
Don’t worry if you don’t use other web hosting platforms, the broad steps are similar.
Follow along as we walk you through the steps.
Step #1: Create a New Subdomain for Your Staging Site.
Login to your hosting account Cpanel.
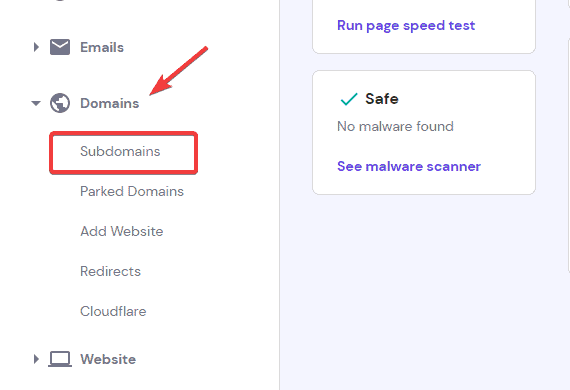
Go to Domains and Select Subdomians from the options.
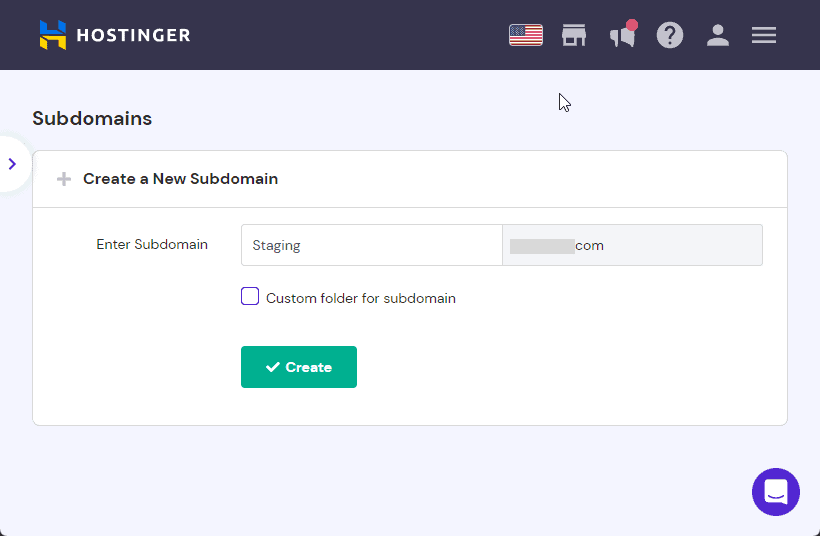
In the Create a new subdomain section, give your subdomain a name and click on the Create button.
You can use any name, but it’s advisable to use a descriptive name like Staging.
Once you click the Create button, a new folder with the subdomain name (Staging) will be added to your website public_html directory.
Now that you’ve created your subdomain, the next step is to copy all your WordPress files to the new subdomain folder.
Step #2: Copy WordPress Files to the New Subdomain Folder
There are two ways to do this, you can use an FTP Client or your cPanel File Manager.
The process is the same with both methods.
We’ll use the latter here.
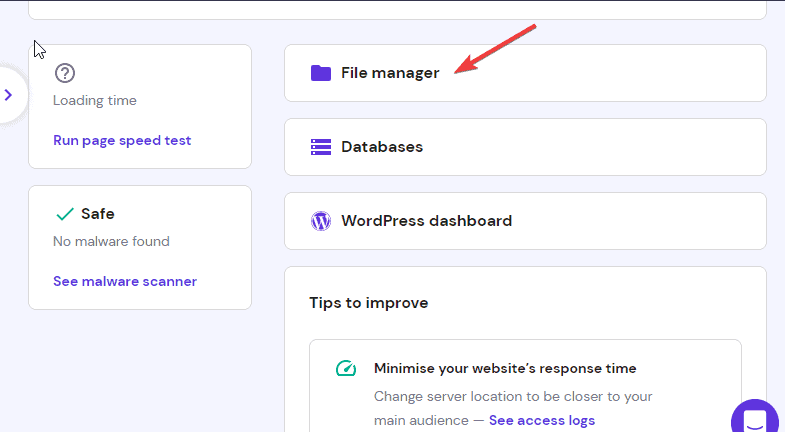
So go to File Manager in your hosting account dashboard and click on it.
This will open a new tab in your browser.
Click to open the public_html directory where all your website files and data are stored.
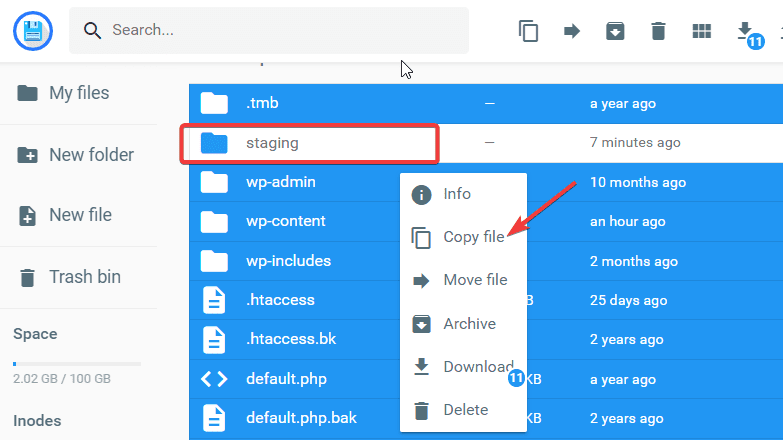
Next, select all the folders and files inside the directory except the subdomain folder which is your staging folder.
Right-click and select Copy file from the options.
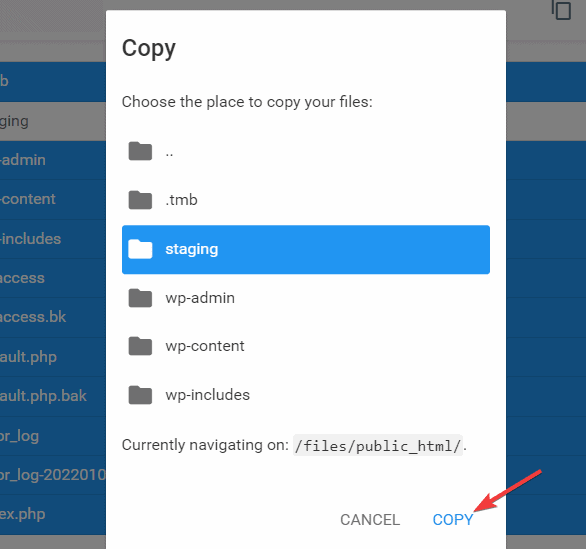
A window will pop up asking you to choose the place to copy your files.
Select the Staging folder and click COPY at the bottom.
Wait for the process to complete.
It may take a while.
Once It’s finished, crosscheck to make sure that all your website folders and files are in the staging folder.
Now that your staging folder is set, let’s make a copy of your database.
Step #3: Create a Copy of Your Database
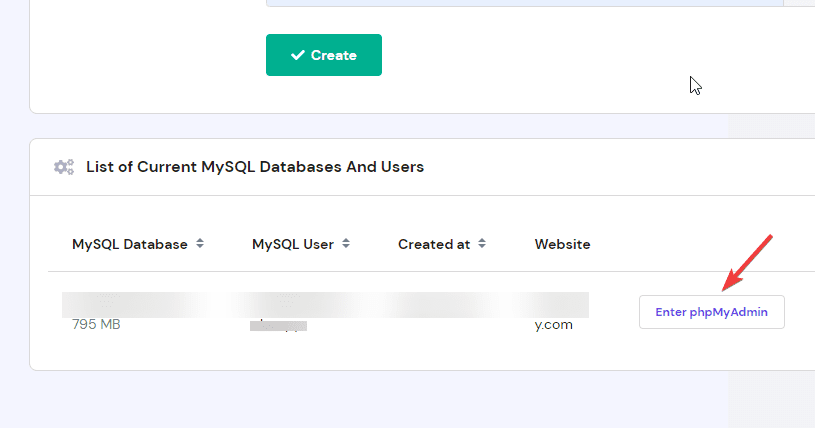
Go back to your Cpanel and go to Database.
Select the database of your live website and click on Enter PHPMyAdmin.
This might be a bit different with your hosting provider.
Whatever it looks like, you only need to export the database.
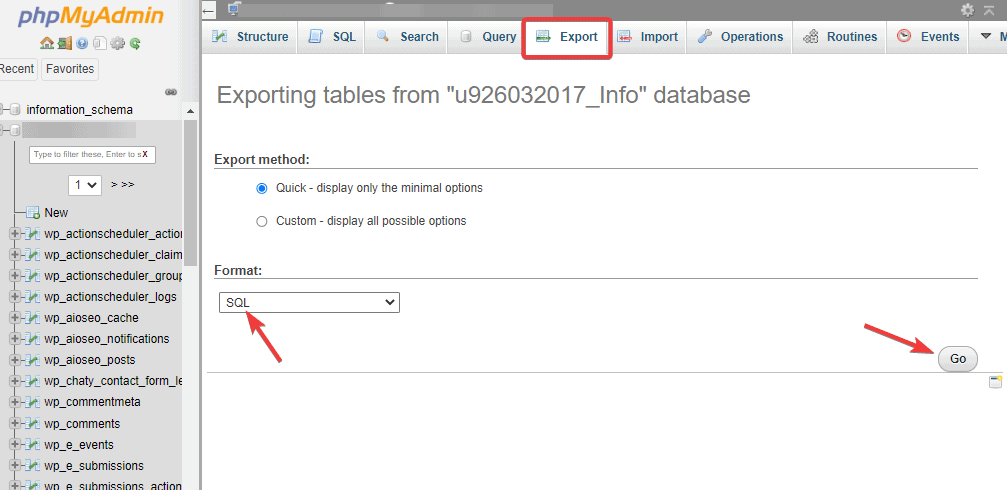
On your phpMyAdmin page, switch to the Export tab.
Select SQL as the database Format and hit the Go button.
Your database will start downloading.
Wait for the download to complete.
Now you have all your website files and folders already in the staging folder.
The next thing is to upload the database you just downloaded to the staging folder.
Let’s see.
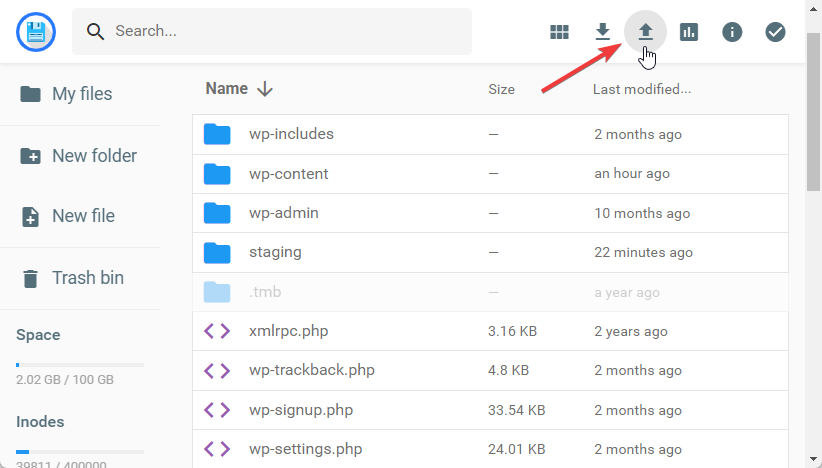
Step #4: Upload Database to Staging Site Folder
Go to the staging folder.
Click on the Upload icon on the top bar to upload the downloaded database from your local storage.
Done with that, you’ve successfully created a duplicate database.
The last step is to configure your staging site config.php File.
Step #5: Configure Your Staging config.php File
Go to the public_html directory, select staging (the staging folder), and locate wp-config.php from the list.
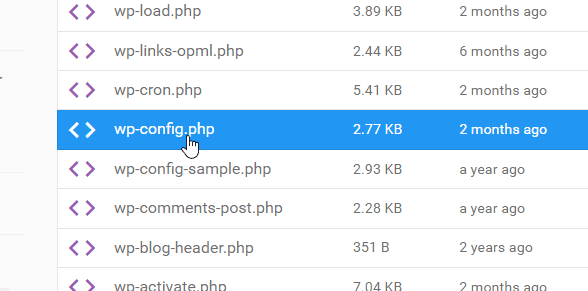
Double-click to open the file.
Inside the code look for the line that says My SQL settings- You can get this info from your web host.
Once you find it, paste these two code snippets above it.
define(‘WP_HOME’,’http://subdomain.domain.com‘);
define(‘WP_SITEURL’,’http://subdomain.domain.com‘);
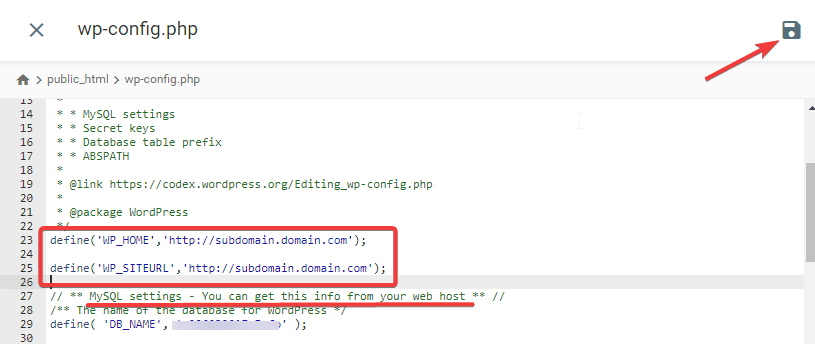
Remember to change the subdomain to your staging subdomain name and domain to your live site root domain.
Next, locate the line of codes with DB_NAME and Change the name in front of DB_NAME to your staging site database name.
Scroll to the line with DB_USER and change the make next to it to your site’s username.
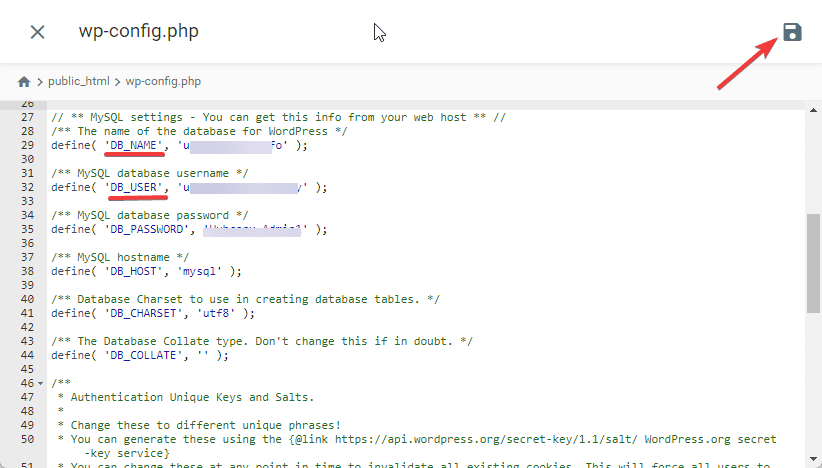
Lastly, click the Save icon to apply the changes.
And that’s all.
You’ve successfully created a WordPress staging site manually.
Once you are done making your changes, you can deploy the staging site by copying the staging files and folders to the live site public_html directory.
You must also copy the staging database back to the production site database as we did above.
More Helpful WordPress Tutorials:
- How To Back Up WordPress: If you are looking for a hassle-free way to back up WordPress, This article explains what a WordPress backup is, why it’s necessary and how to do it step by step.
- How to Restore a WordPress Site From a Backup: Problem with your WordPress website? Rest easy. Here’s how to restore WordPress from backup without any hassle.
- How to Reinstall WordPress: Reinstalling WordPress is easy than you imagined. Here are 4 methods to reinstall WordPress without losing your content, plugins, themes, or data files.
Wrapping up
A staging site is a replica of your live site where you can make changes that don’t affect your live site.
And as you can see, there are 3 ways to create a WordPress staging site.
The most recommended method is to use a reliable hosting provider that offers a built-in staging feature.
Method 3 can be too complicated if you are new to WordPress, you should only resort to it when other options are not available.
With this article, we hope you can now easily create a WordPress staging site.
If you have more questions, do not hesitate to drop them in the comments below.


