
When starting a new business vertical, you don’t always need to purchase a new domain for building its website.
Sometimes, you can go a long way with your existing domain.
That is because each domain allows you to create unlimited subdomains, and subdomains can then be used for building a new website.
That’s right — if you know how to install WordPress on a subdomain, you can easily build a brand-new website for any of your business verticals.
But if you don’t know that, no worries! We’re going to take you through the process of doing the same.
Let’s start!
Frequently Asked Questions
Before we dive in too far, let’s take a look at the basics.
Can I Install WordPress on a Subdomain?
Of course, you can.
You can install WordPress on any subdomain as long as you upload installation files in the correct directory and connect it to the database correctly.
What is the Best Way to Install WordPress on a Subdomain?
The easiest way to install WordPress on a subdomain is through the installer of your host.
However, if you don’t have that option, you can install it through an FTP client, which is the method we will cover in this article.
What You’ll Need to Install WordPress on Subdomain
You’ll need mainly 4 things to install WordPress on your subdomain:
- A subdomain.
- Your cPanel username and password
- A MySQL database with a database username and password
- Latest WordPress installation files.
How to Install WordPress on Subdomain: Step-by-Step Instructions
Most modern web hosts offer automated methods of installing WordPress on any of your domains and subdomains.
These methods come in the form of various installers (i.e. Softaculous, Installatron, Fantastico, etc).
But since instructions vary for each of them and we want to keep this a brief guide, we’ll focus on the manual installation method.
If you want to install WordPress using any of the installers provided by your host, you can search for the documentation relevant to that.
Here’s our method that will work on all hosts:
Step 1: Create a Subdomain
Before you can install WordPress on a subdomain, you need to have a subdomain in the first place.
The good part about it is that each subdomain is created on your existing, registered domain name.
Thus, you can create as many as you want from within your hosting dashboard.
The tricky part? Well, the method of creating a subdomain varies slightly from host to host.
Therefore, we can’t explain the full method here.
But given below are the links to some tutorials that explain the method for many of the popular hosting solution providers:
- Creating a subdomain on InMotion Hosting
- Creating a subdomain on LiquidWeb hosting
- Creating a subdomain on Hostgator
- Creating a subdomain on BlueHost
- Creating a subdomain on GoDaddy
- Creating a subdomain in DreamHost
- Creating a subdomain on Namecheap
- Creating a subdomain on SiteGround
- Creating a subdomain on Hostinger
Step 2: Download WordPress
For manual installation, you’ll first of all have to download the WordPress software.
Go to their official website and download the .Zip file of the latest version to your PC.
Once downloaded, extract its content to one of your easily accessible folders.
Step 3: Create New MySQL Database and Database Users
A WordPress website requires a database to store your website data.
So before you can start installing WordPress on your subdomain, you’ll have to create a database.
You can do this from the Databases section of your hosting’s cPanel dashboard.
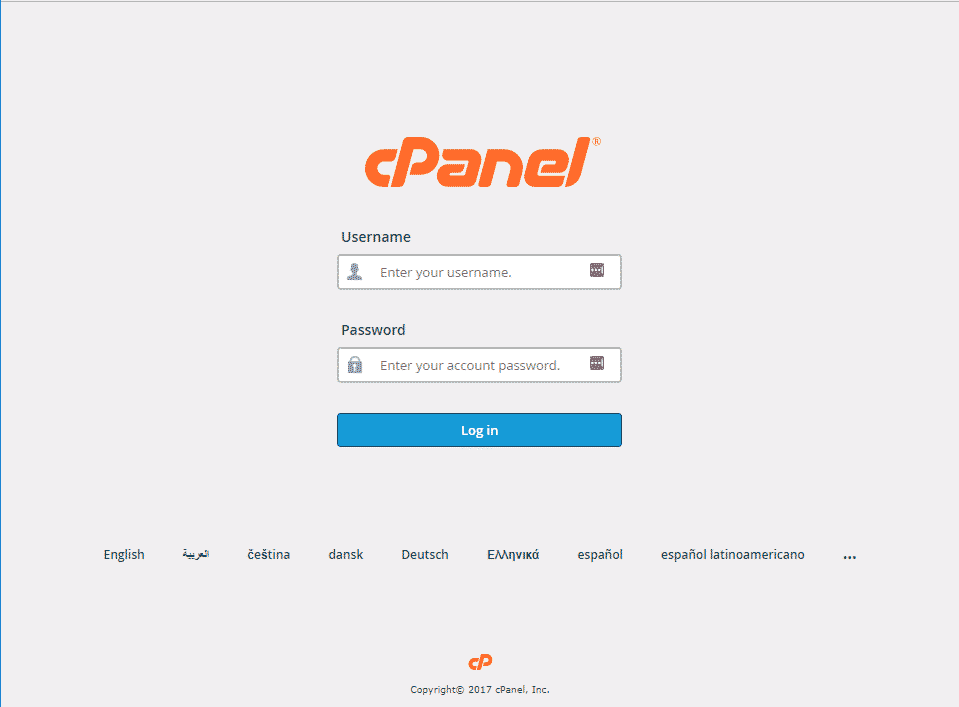
Log in to your server’s cPanel by navigating to yourdomain.com/cpanel link (replace yourdomain.com with whatever your root domain is).
Once you’re on the login page, enter the username-password combination of your cPanel account.
In case you don’t know the username and password of your cPanel, many hosts (i.e. GoDaddy, BlueHost, Hostinger, FlyWheel, etc.) also provide another option to log in.
They allow you to log in to cPanel with the click of a button from your hosting account dashboard.
If you have that option, you can log in through that route as well.
Once you’re logged in to cPanel, we can move ahead with the database creation process.
Some hosting companies offer a MySQL Database wizard inside their cPanel.
The wizard helps in creating a database as well as user account for the database by following a step-by-step procedure.
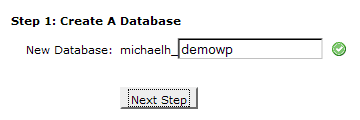
But if that’s not the case with your host, you can access the “MySQL Databases” page to create a new database.
Once you’re on the page, you can create a new database quickly by supplying a database name and hitting the “Create Database” button.
Once it’s created, your database will appear in the list of available databases below.
You’ll also see a success message on your screen.
The process of creating a user account linked to your database may vary depending on the host you choose.
Some hosts provide a section to create new user accounts on the same page where you create the database.
Some other hosts include a separate option for adding users in the Databases section of cPanel.
And if you use the MySQL Database Wizard, the user account is created during the database creation process itself.
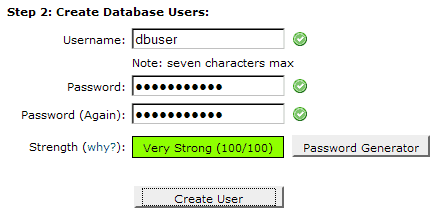
Whatever the case, to create a database user you need to choose a username-password combination of your choice and give it all the privileges.
Tick all the checkboxes when selecting privileges, so your new account has all the Read and Write capabilities for your new database.
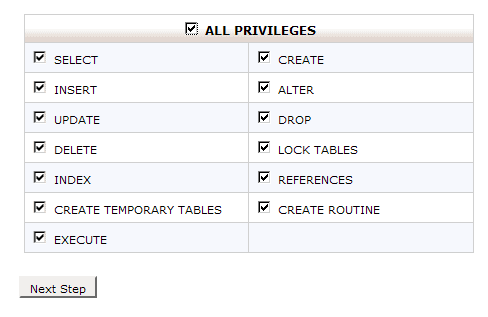
Also, note down the database name, username, and password.
These details will be needed for installing WordPress in the next steps.
Step 4: Upload WordPress Files to Subdomain Folder
The next step is to upload your WordPress installation files to the root folder of your subdomain on the server.
To do so, navigate to the File Manager of your cPanel, and inside it open the folder named over your subdomain.
Inside the folder, navigate to the public_HTML directory.
This is the root directory of your subdomain.
In this directory, upload all the files of your WordPress folder that you downloaded and extracted in step #2.
Step 5: Start the Installation Process
Now you’re ready to run the WordPress installation script.
You can do that by firing the URL of your subdomain followed by “/wp-admin/install.php” in your web browser’s address bar.
For instance, if your subdomain is mysub.example.com, then your WordPress installation script can be found at:
http://mysub.example.com/wp-admin/install.php
Now, WordPress will ask you to set up your wp-config.php file.
This is where your database information comes into the picture.
Enter your database name, database username, and database password that you created in the previous step and hit “Submit”.
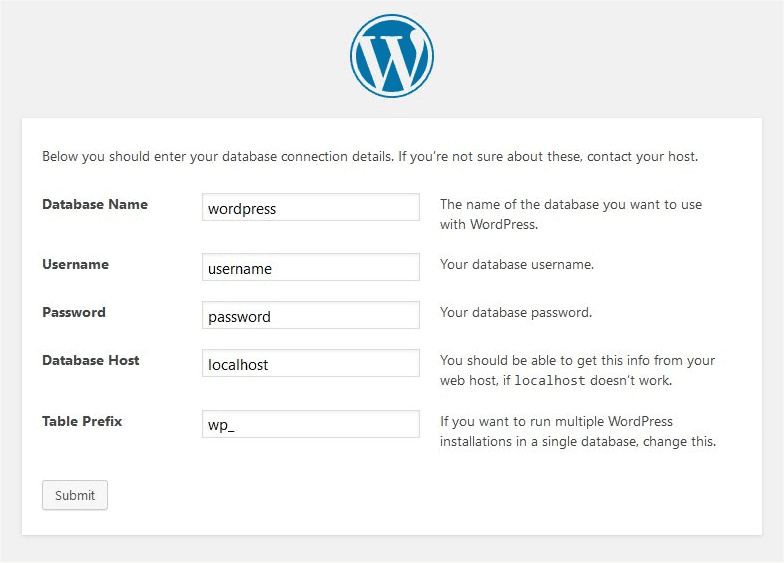
Following this, WordPress will generate a wp-config.php file for your server.
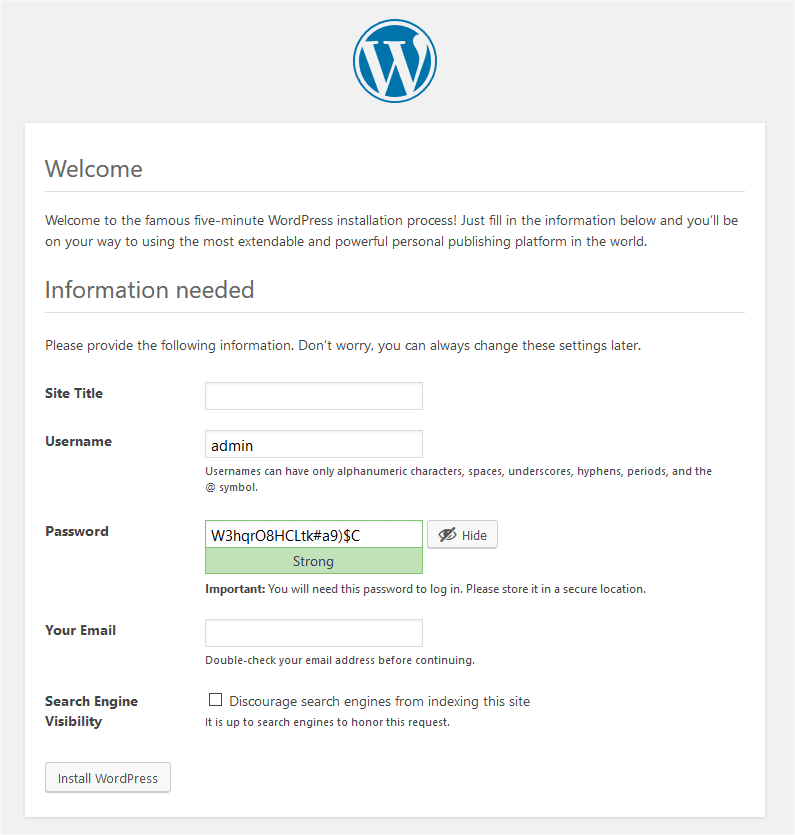
And once it’s generated, the installation script will take you to the next step in the installation process.
From there, everything is pretty clear and straightforward — you provide a site title, an admin username of your choice, and a password.
After filling out these details, hit the “Install WordPress” button.
WordPress is then installed on your subdomain.
Once the process is complete, a login prompt will be shown.
You can log in to the WordPress dashboard of your new site by using your admin username and password.
Tip: We suggest managed WordPress hosting for your website because in managed hosting all these things can be done by experts at one request submitted by you.
Similar Tutorials to Check Out
- How To Install WordPress Plugins: Plugins are an essential part of the WordPress ecosystem. If you know how to use them, you can drastically increase the potential of your WordPress site. This tutorial explains how to install plugins on your site.
- How to Install A WordPress Theme: A theme determines how your website looks and works. It’s one of the most critical components of any WordPress website, and this article explains how can you install it on your site.
- How To Install WordPress Locally: Finally, this article explains how can you install WordPress on your computer instead of a web server. The local installation can come in handy when you want to test out certain features before rolling them out on your main site.
Wrapping Up
It’s not always necessary to buy a new domain for something that can be done easily using a free subdomain.
By creating a subdomain and installing WordPress on it you can create a new site that will be free from your main site but still linked to it.
We hope we explained the procedure of installing WordPress on your subdomain in a proper way, and that you were able to understand it.
Share your feedback in the comments to let us know.
And if you liked it, share this tutorial on your social media handles too!


