Brett has been starting, growing, and monetizing websites since 2014. While in college, he began to learn about digital marketing. After graduating, he continued to build a diverse portfolio of websites while working a full time job. After years of building the portfolio on the side, he made the jump to run his websites full time.
Level up your digital marketing skills with our free courses, expert insights, forums, and social groups!
Are you looking to print your designs in Canva but can’t figure out how?
Canva, as a graphic design tool, needs no introduction. With thousands of ready-to-use templates, you can make professional designs within minutes, even if you have zero design skills.
But to successfully print your designs using a personal printer, you must take care of colors, margins, and print bleed. Otherwise, your entire work will go to waste.
And that’s why in this tutorial, I’ll show you how to print in canva using 8 simple steps. Let’s begin!
You’ll find the print option by opening the canva design, clicking on “Share,” and selecting “Print your design” from the dropdown menu. Then, you must check the print bleed and choose the print type per your need.
Ordering print on Canva is available in select regions, which includes the US. Printing costs start from $20 for fifty business cards and vary per design specifications.
Can I Print From Canva Without Paying?
Yes, you can print canva designs for free by downloading them.
First, click on Share>Download and choose PDF Print as the file type. After the File gets downloaded, open the File on your PC or mobile and select “Print” from your PDF viewer to successfully print your customized design.
You can use this option in both free and paid Canva plans.
Printing A Canva Design: What You’ll Need
Before you hit that download and print button, you must prepare your design for printing. Follow this expert checklist:
1. Use Print-Friendly Colors
You must be familiar with Red, Green, and Yellow (RGB) colors, as they are the standard color model for most digital design tools, including Canva. But personal printers use the Cyan, Magenta, Yellow, and Key (CMYK) model, which explains why some colors look different on screen and print.
For example, the neon color looks dull on Print.
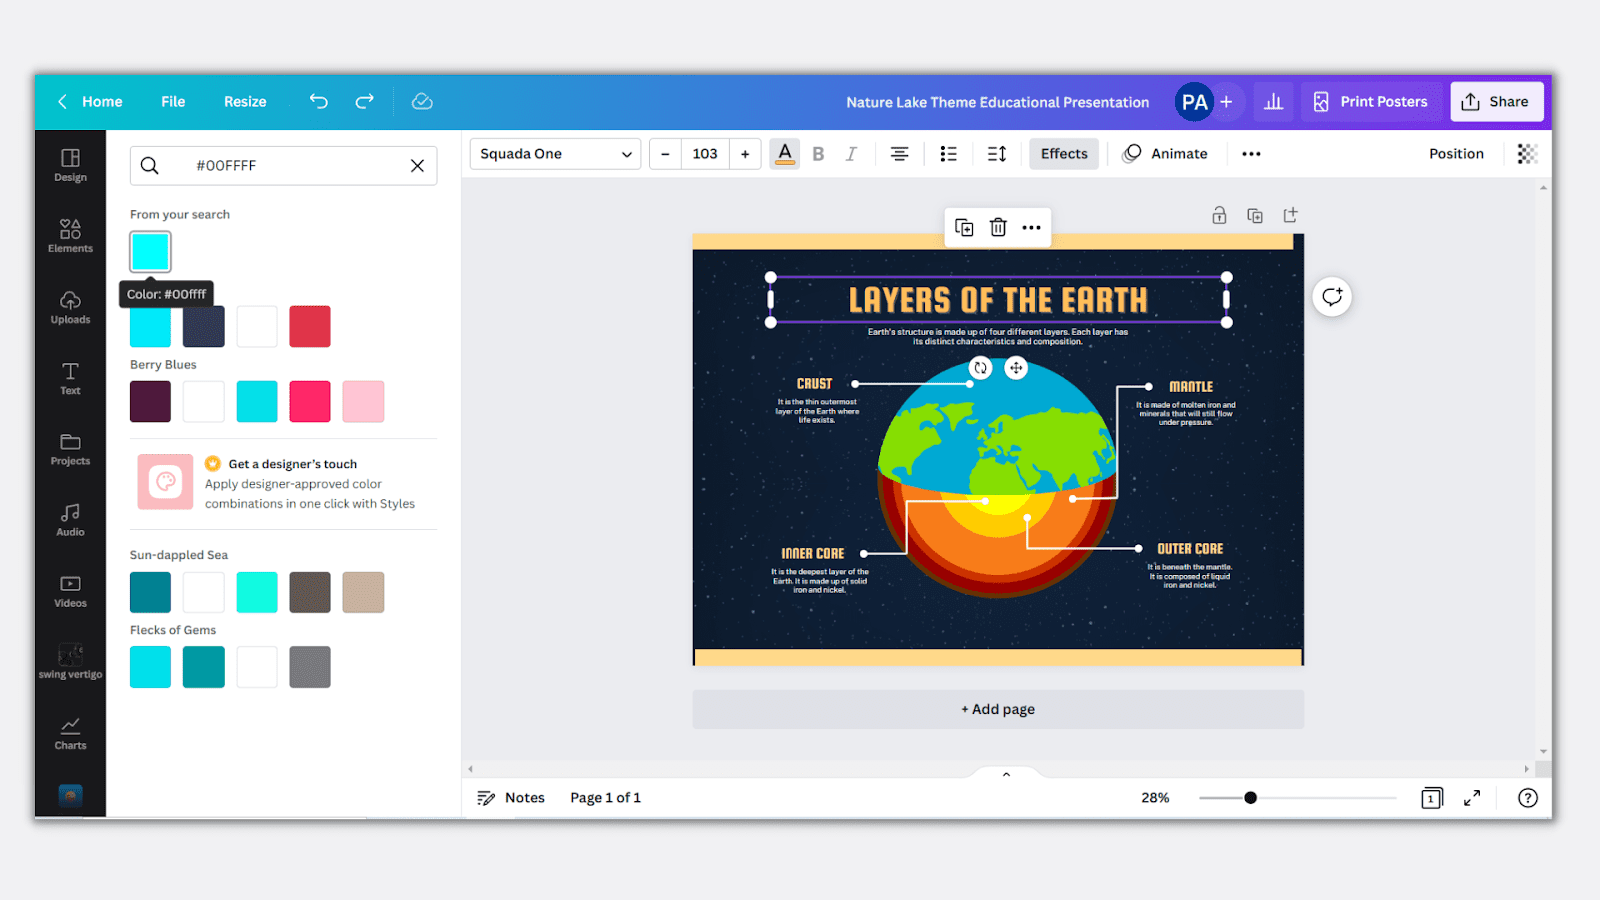
So it’s better to design using CMYK colors for high-quality print. For example, #00FFF is a hex code for cyan. You can find other CMYK color hex codes using google or the canva color palette.
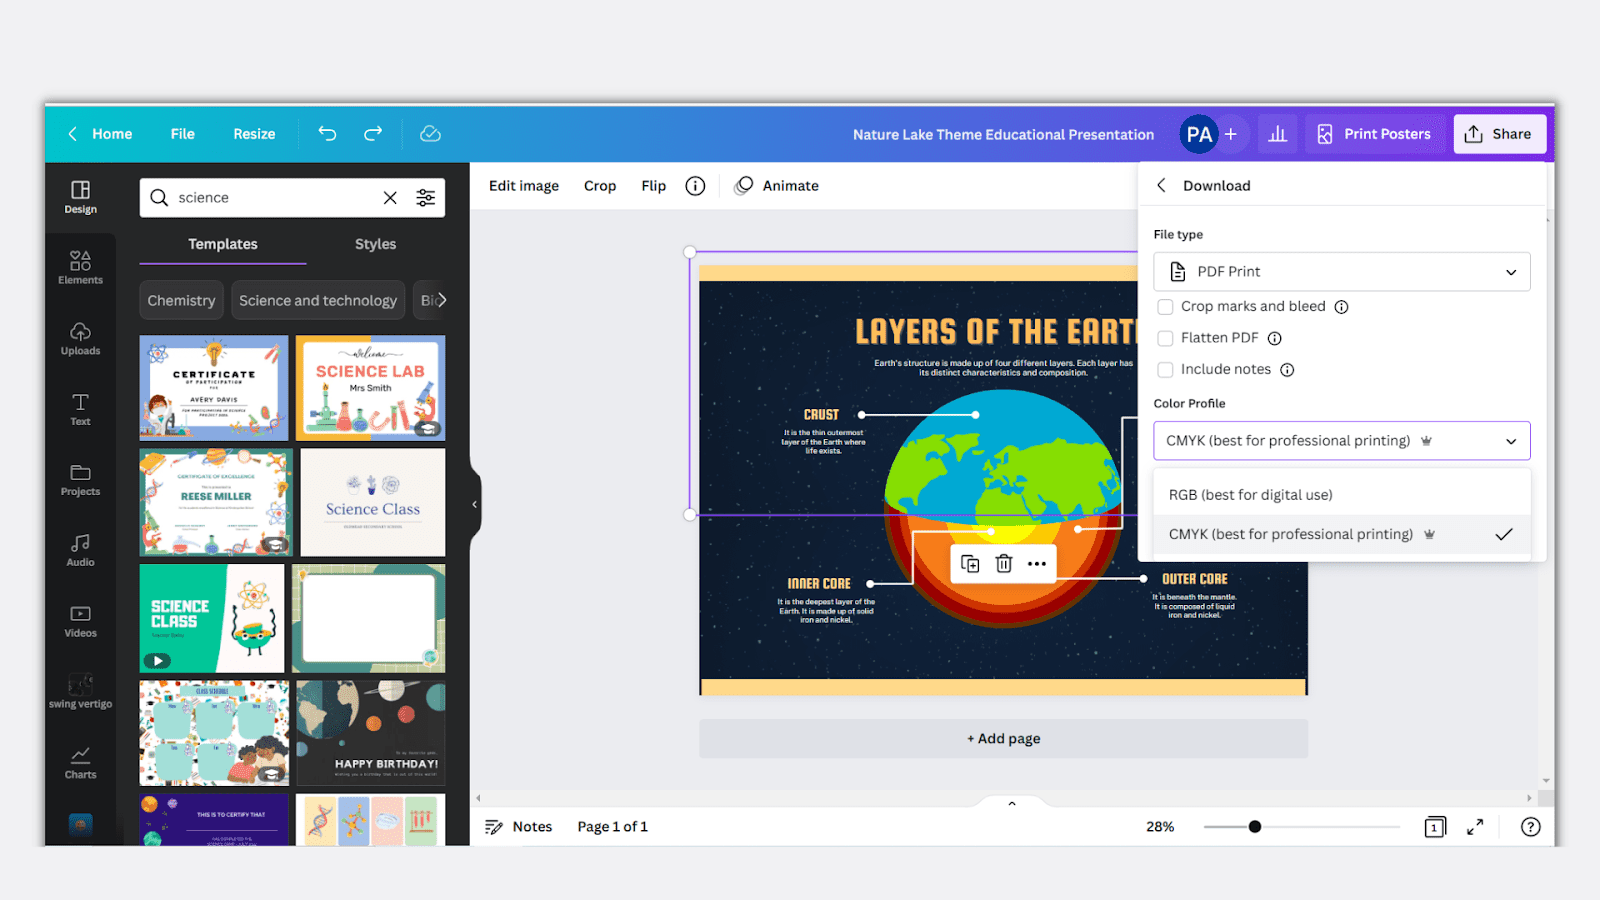
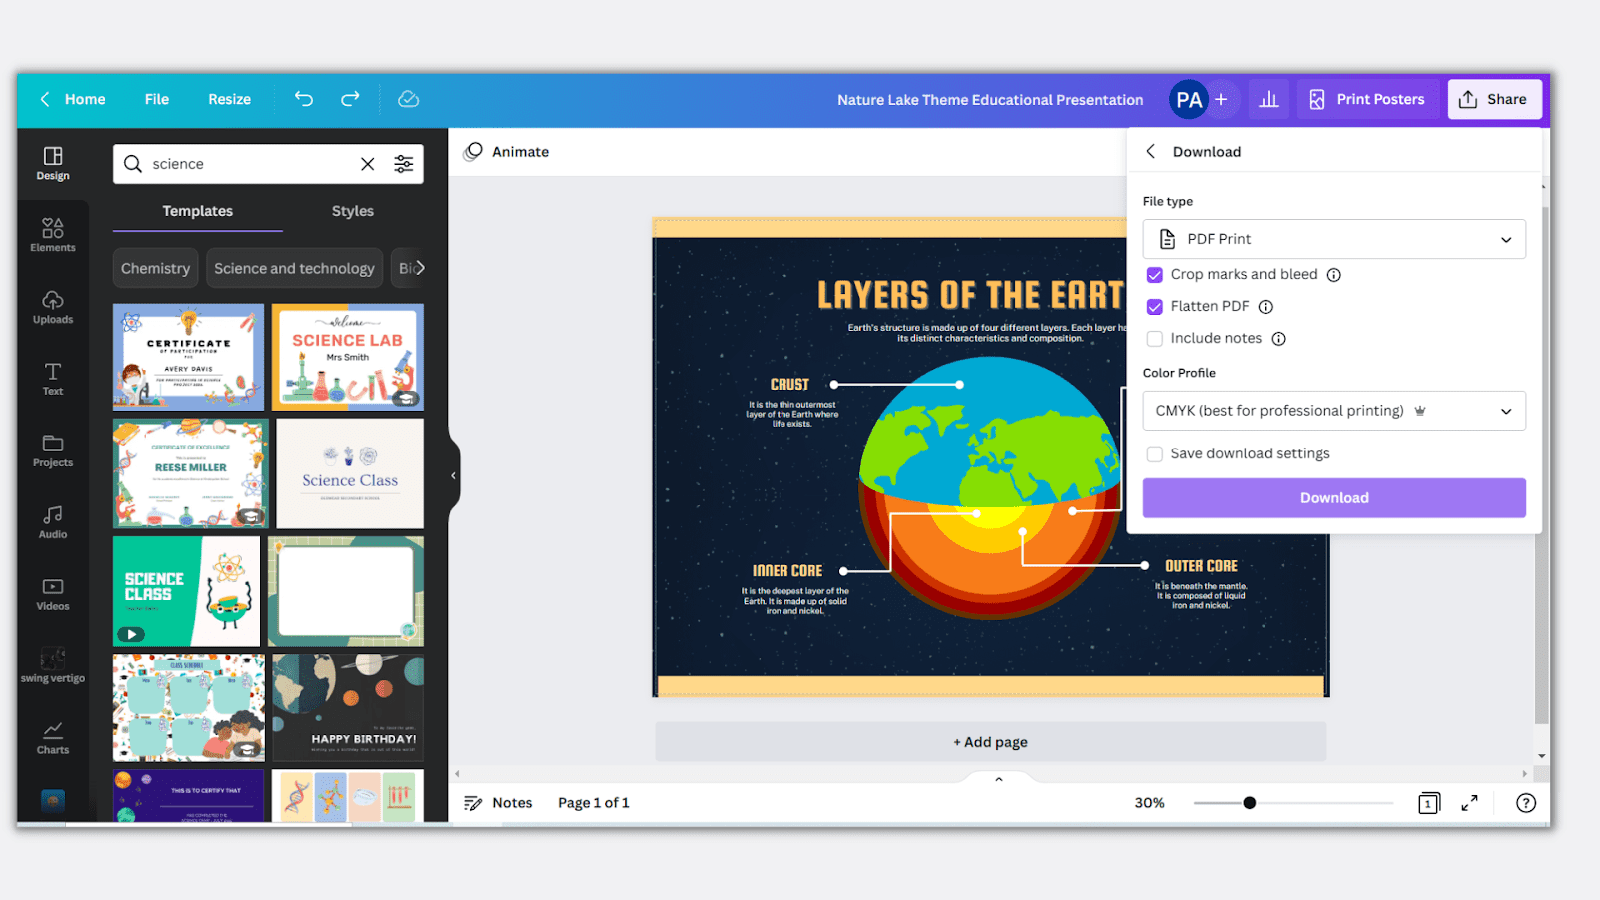
If you use Canva Pro, you can choose the color profile as CMYK before print:
(More on this later)
2. Follow Margins
You’ll not want any of your design elements to be cut off during print, right? That’s why it’s essential to see and follow margins.
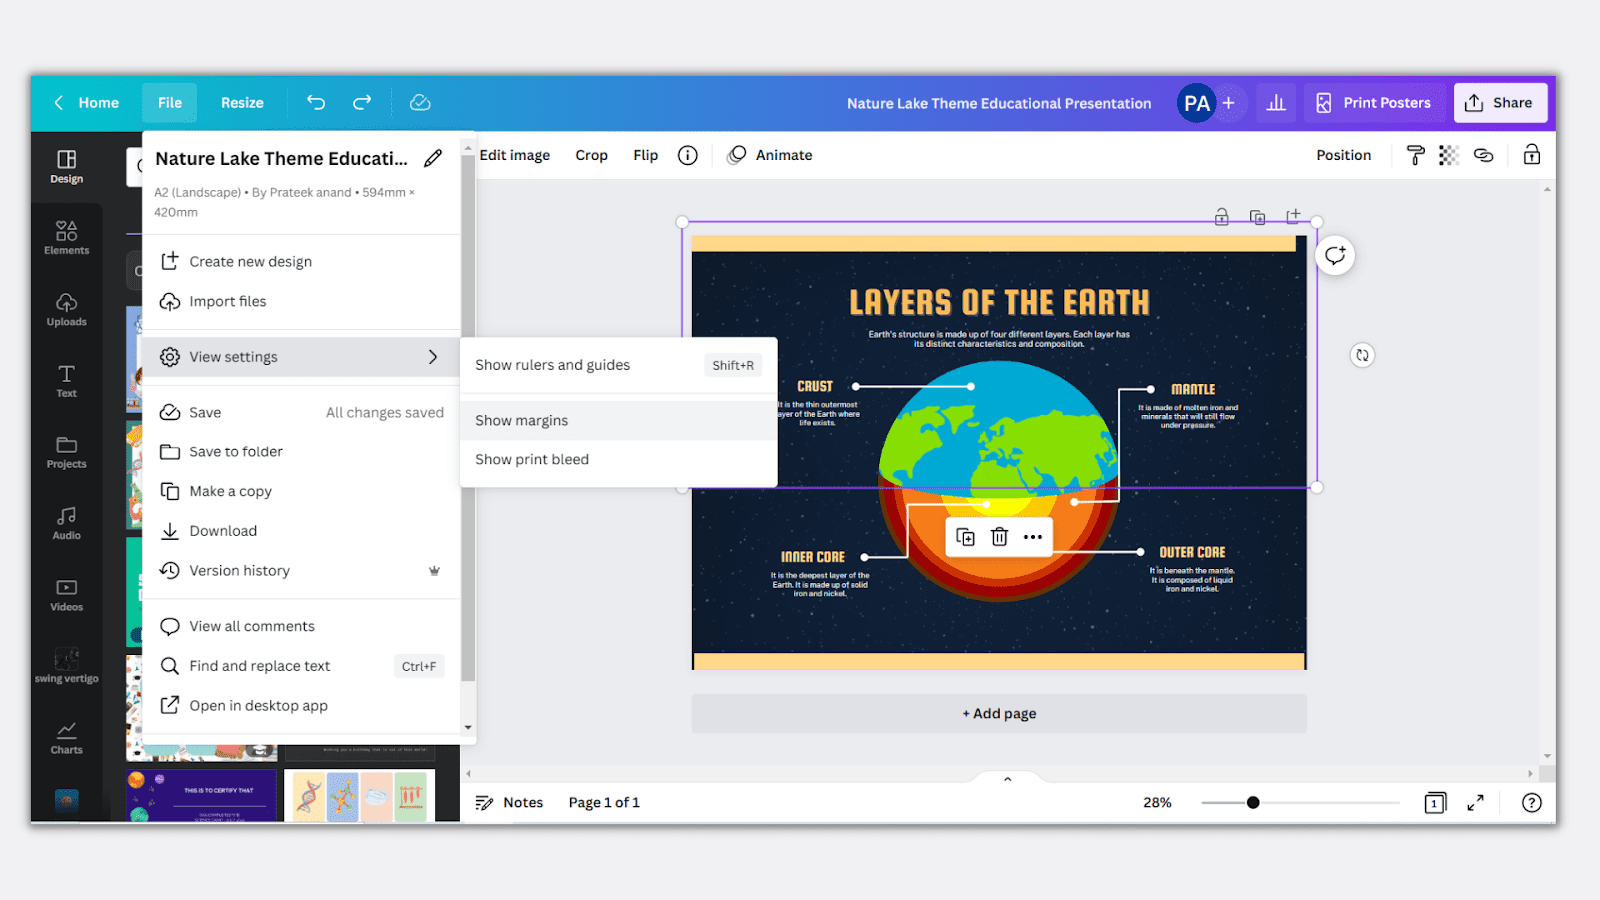
Simply click on “File” on top of your Canva design, choose “View settings,” and then “Show margins”.
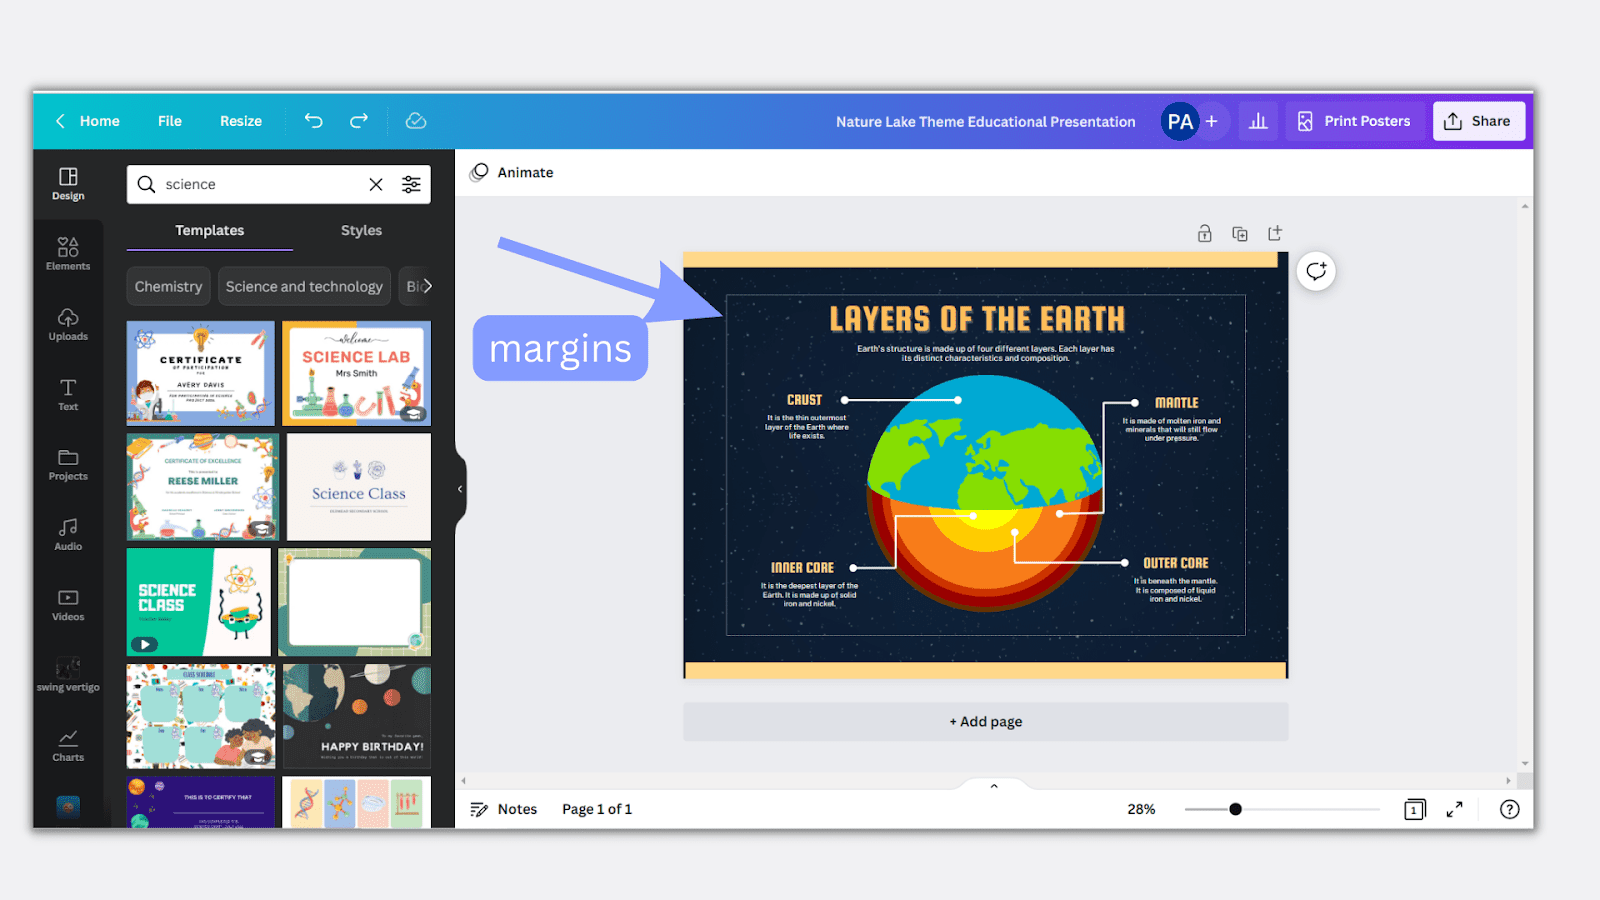
You’ll see a white border over your design:
Keep all your elements, especially text, inside the white border. Make necessary adjustments so that your print is as amazing as your design!
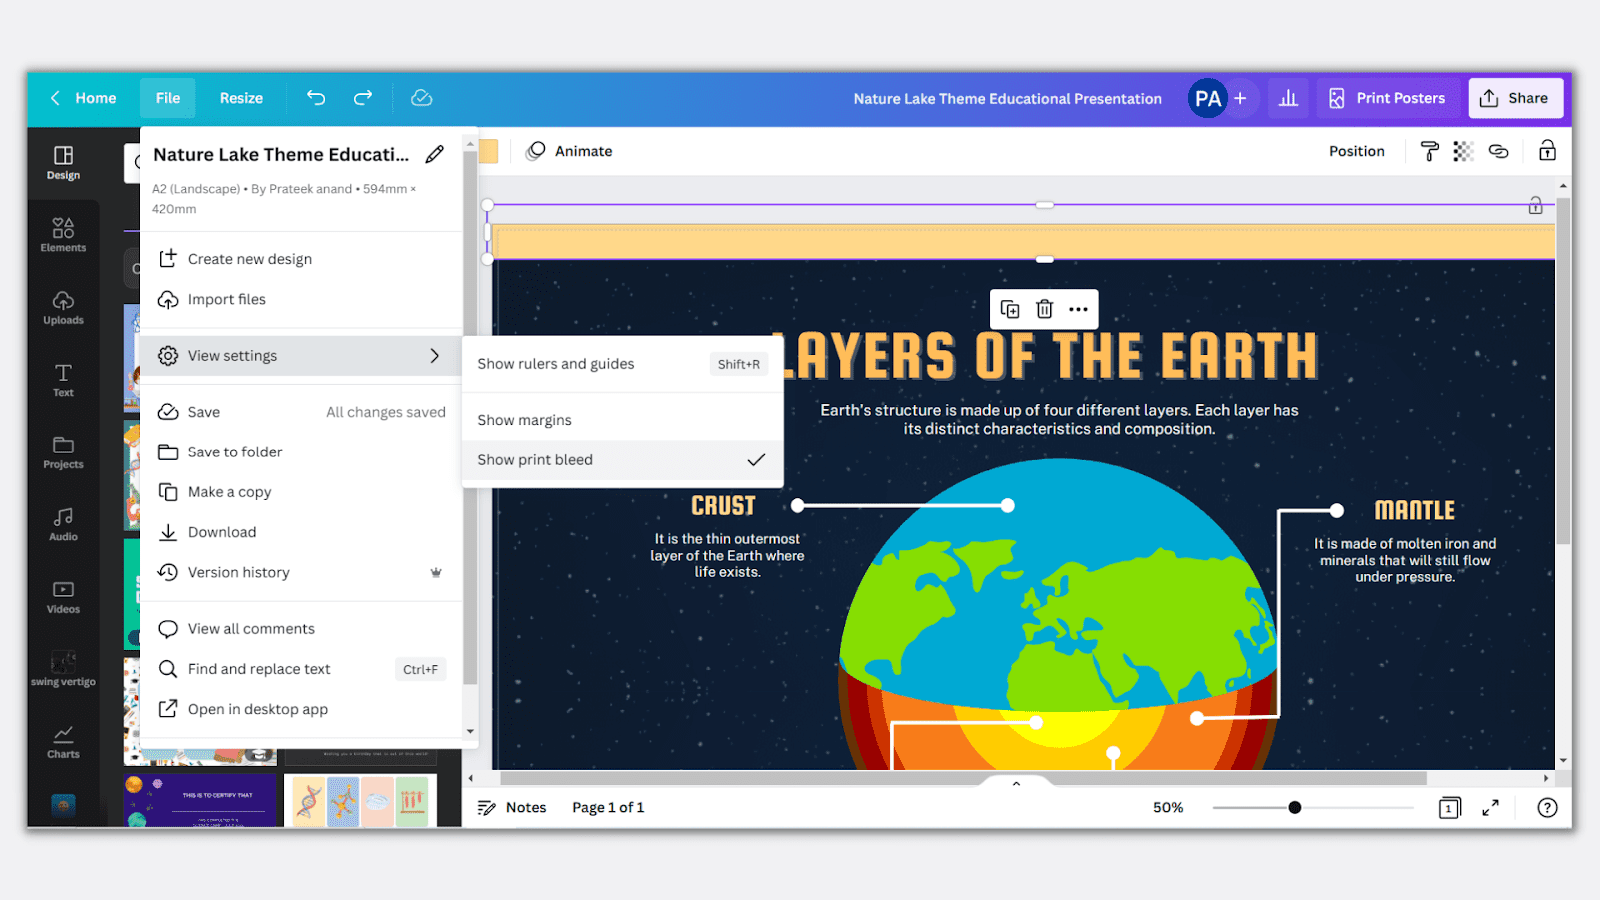
3. Check Print Bleed
Check print bleed if you don’t want to use scissors to remove white borders at the edge of your design after printing.
Simply go to File>View Settings and choose “Show print bleed,” as shown in the screenshot. You’ll see a dotted line on the edges. Adjust your file background so that it covers the dotted line fully.
How To Print In Canva For Free: Step-By-Step Instructions
We’ll be using the Canva For Education account for this step-by-step process. If you want pro account access, you can claim a canva discount and access premium features quickly.
Now, let’s begin with the steps:
Go to canva.com and open the design you want to print.
Adjust your design to follow margins and bleeds as mentioned above.
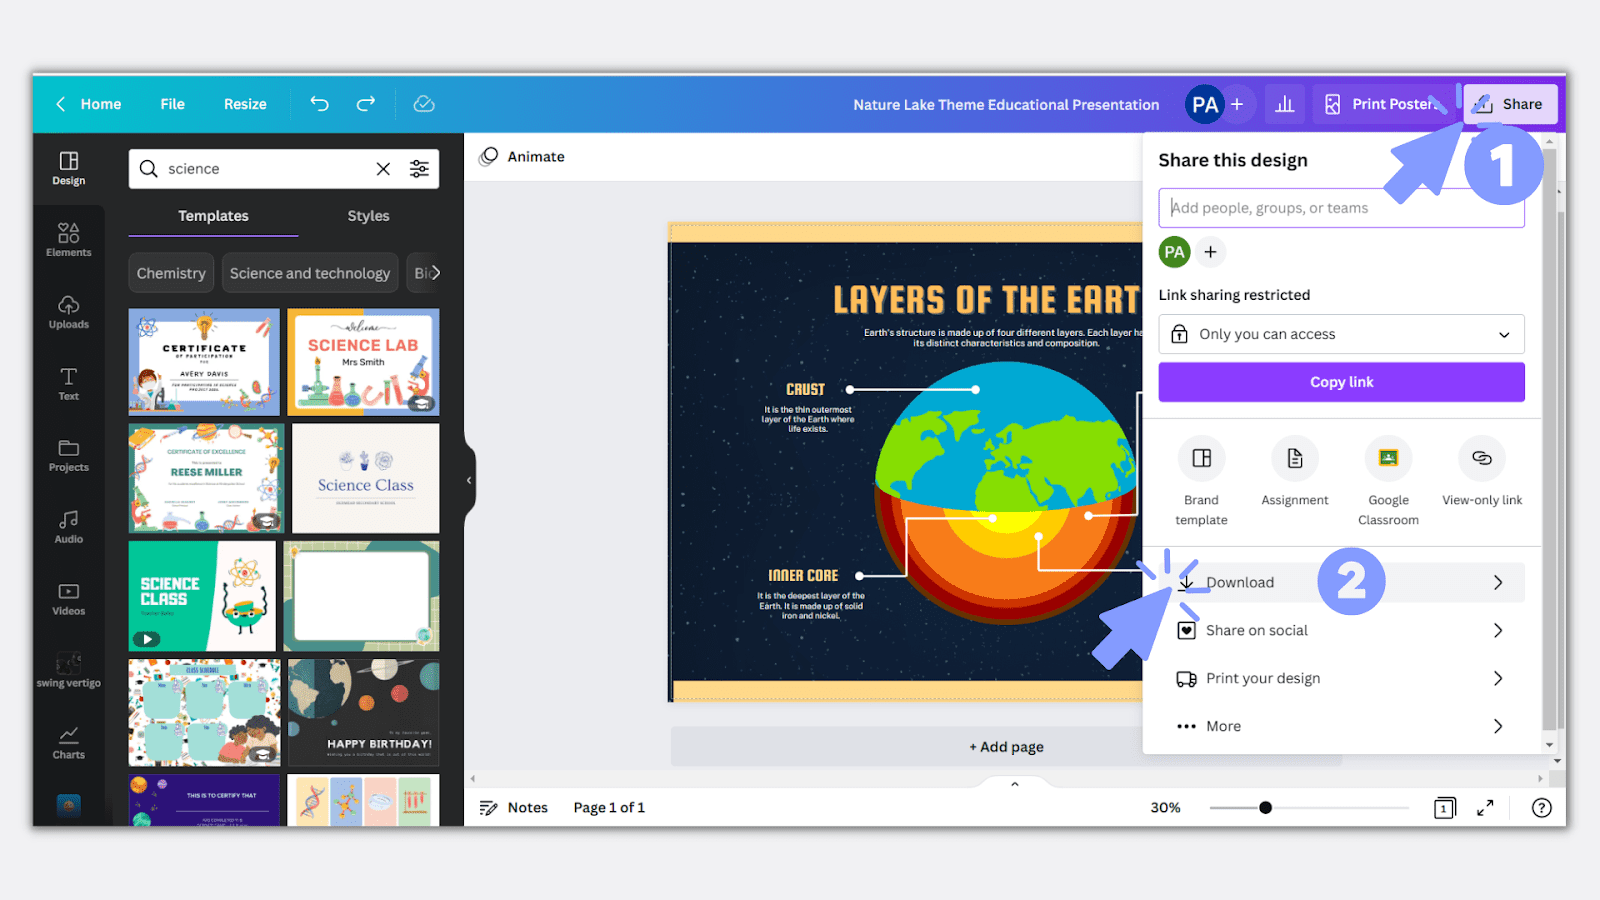
Click on “Share” in the top left corner of the editor menu bar and select “Download” like this:
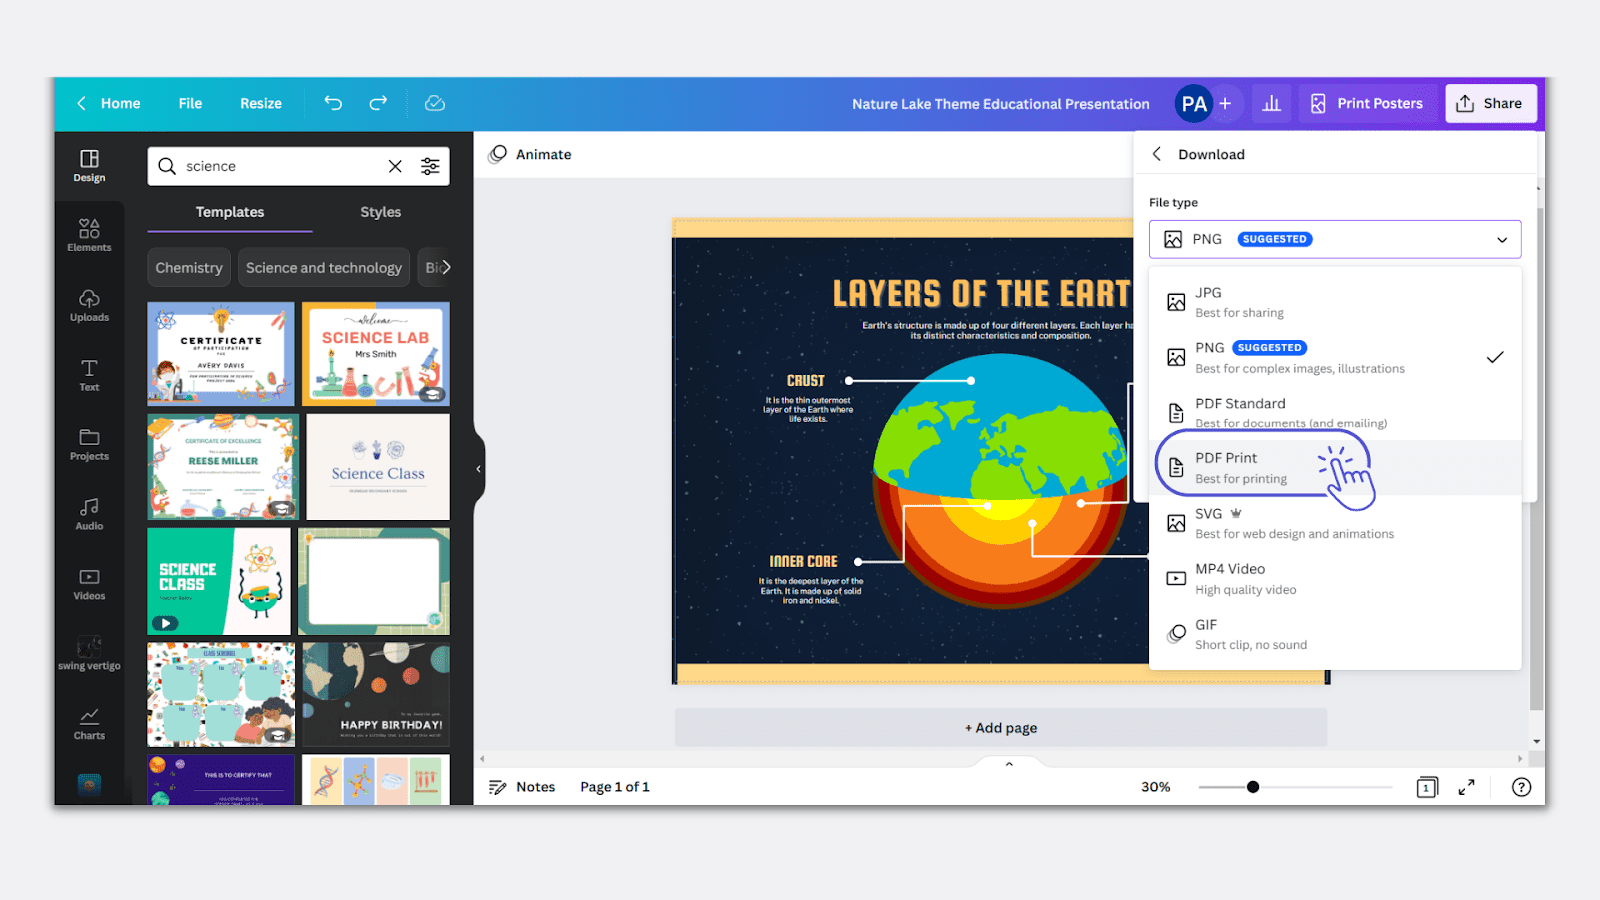
Select “PDF Print” as the file type. It’ll download your design in the highest resolution, and you’ll get the option to ‘Flatten PDF” for better printing.
Finally, select “Download” by choosing the CMYK color profile and wait for the file to get fully downloaded on your PC:
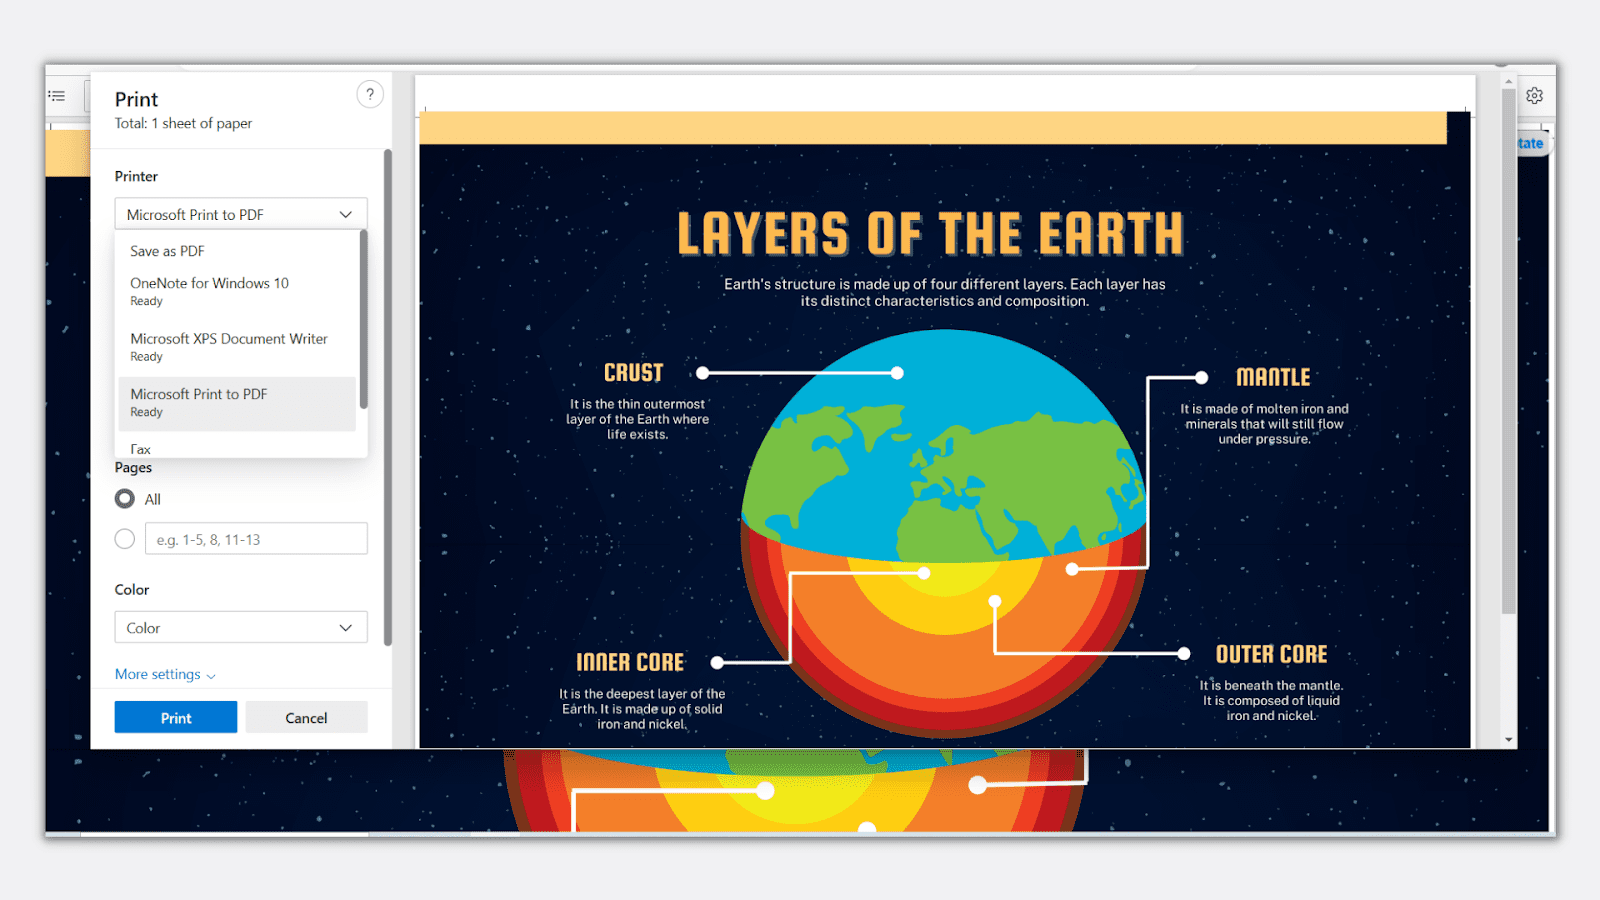
Once over, open the downloaded file and press Ctrl+P (for Windows) or Command +P (for Mac) to see the print preview:
Select your personal printer and set it to color and 100% scale to ensure the design is printed with the correct size and color.
Finally, click “Print” to start printing.
How To Order Print On Canva: All You Need To Know
If you don’t have a personal printer, you can try ordering print within Canva. Here’s how to do this:
Open your Canva design.
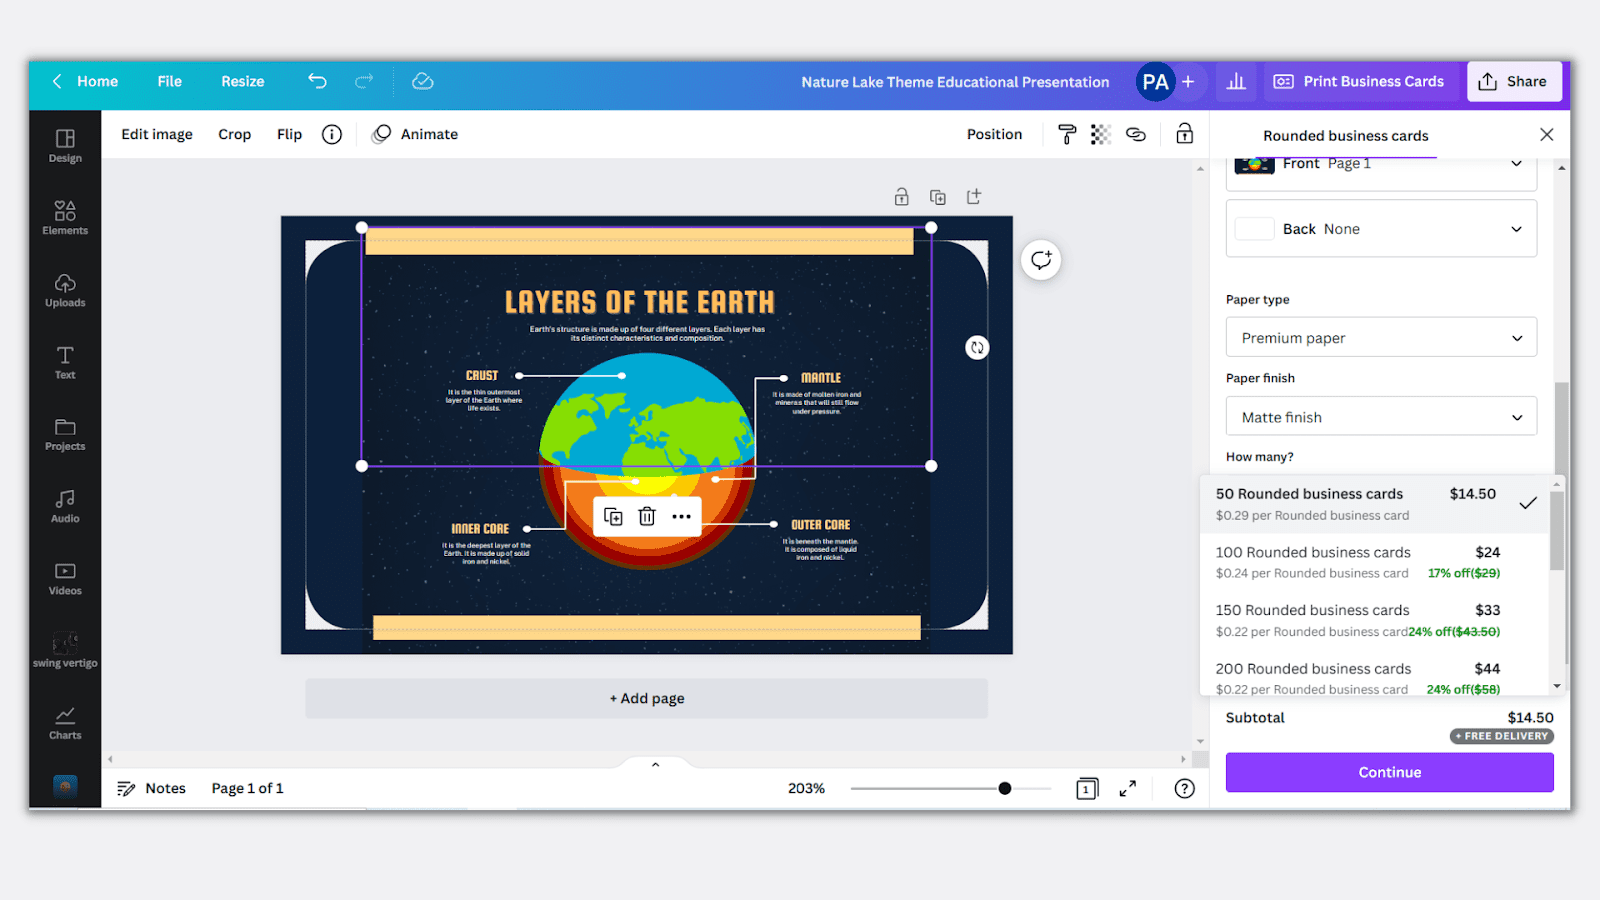
Click on the “Share” button in the top left-hand corner and click “Print your design”.
Select your print specifications from the list of options, including business cards, stickers, and envelopes. You can even print your design on a T-shirt!
Then select the number of designs to print, add your shipping location, and choose the payment method to finalize your order.
With little precautions like checking for margins and print bleed, you can print customized canva designs to hang in your office, distribute them as business cards, and lot’s more!
Here are some more canva printing related tutorials to check out:
How to Draw on Canva: Learn the step-by-step process to draw beautiful designs on Canva and impress your audience.
How to Create Mockups in Canva: Learn how to create and use innovative mockups in canva to present photos or screenshots creatively.
Wrapping Up
Canva is a go-to software for making designs for social media, blog posts, and presentations.
And you can easily print your designs by clicking on Share>Download>Choose PDF Print>Download.
Once your file is downloaded, open it on your PC, press Ctrl+P (for Windows) or Command + P (for Mac), and click Print to let your personal printer do its job.
Don’t forget to use CMYK colors, check margins, and print bleed to ensure a flawless copy!
By Brett Helling
Brett has been starting, growing, and monetizing websites since 2014. While in college, he began to learn about digital marketing. After graduating, he continued to build a diverse portfolio of websites while working a full time job. After years of building the portfolio on the side, he made the jump to run his websites full time.