
The higher your server response time, the higher your website bounce rate.
Visitors will abandon your site if it takes more than 3 seconds to load.
Optimizing images is one of the best SEO practices to improve your website performance.
But there’s little image optimization can do when the problem is actually with your server.
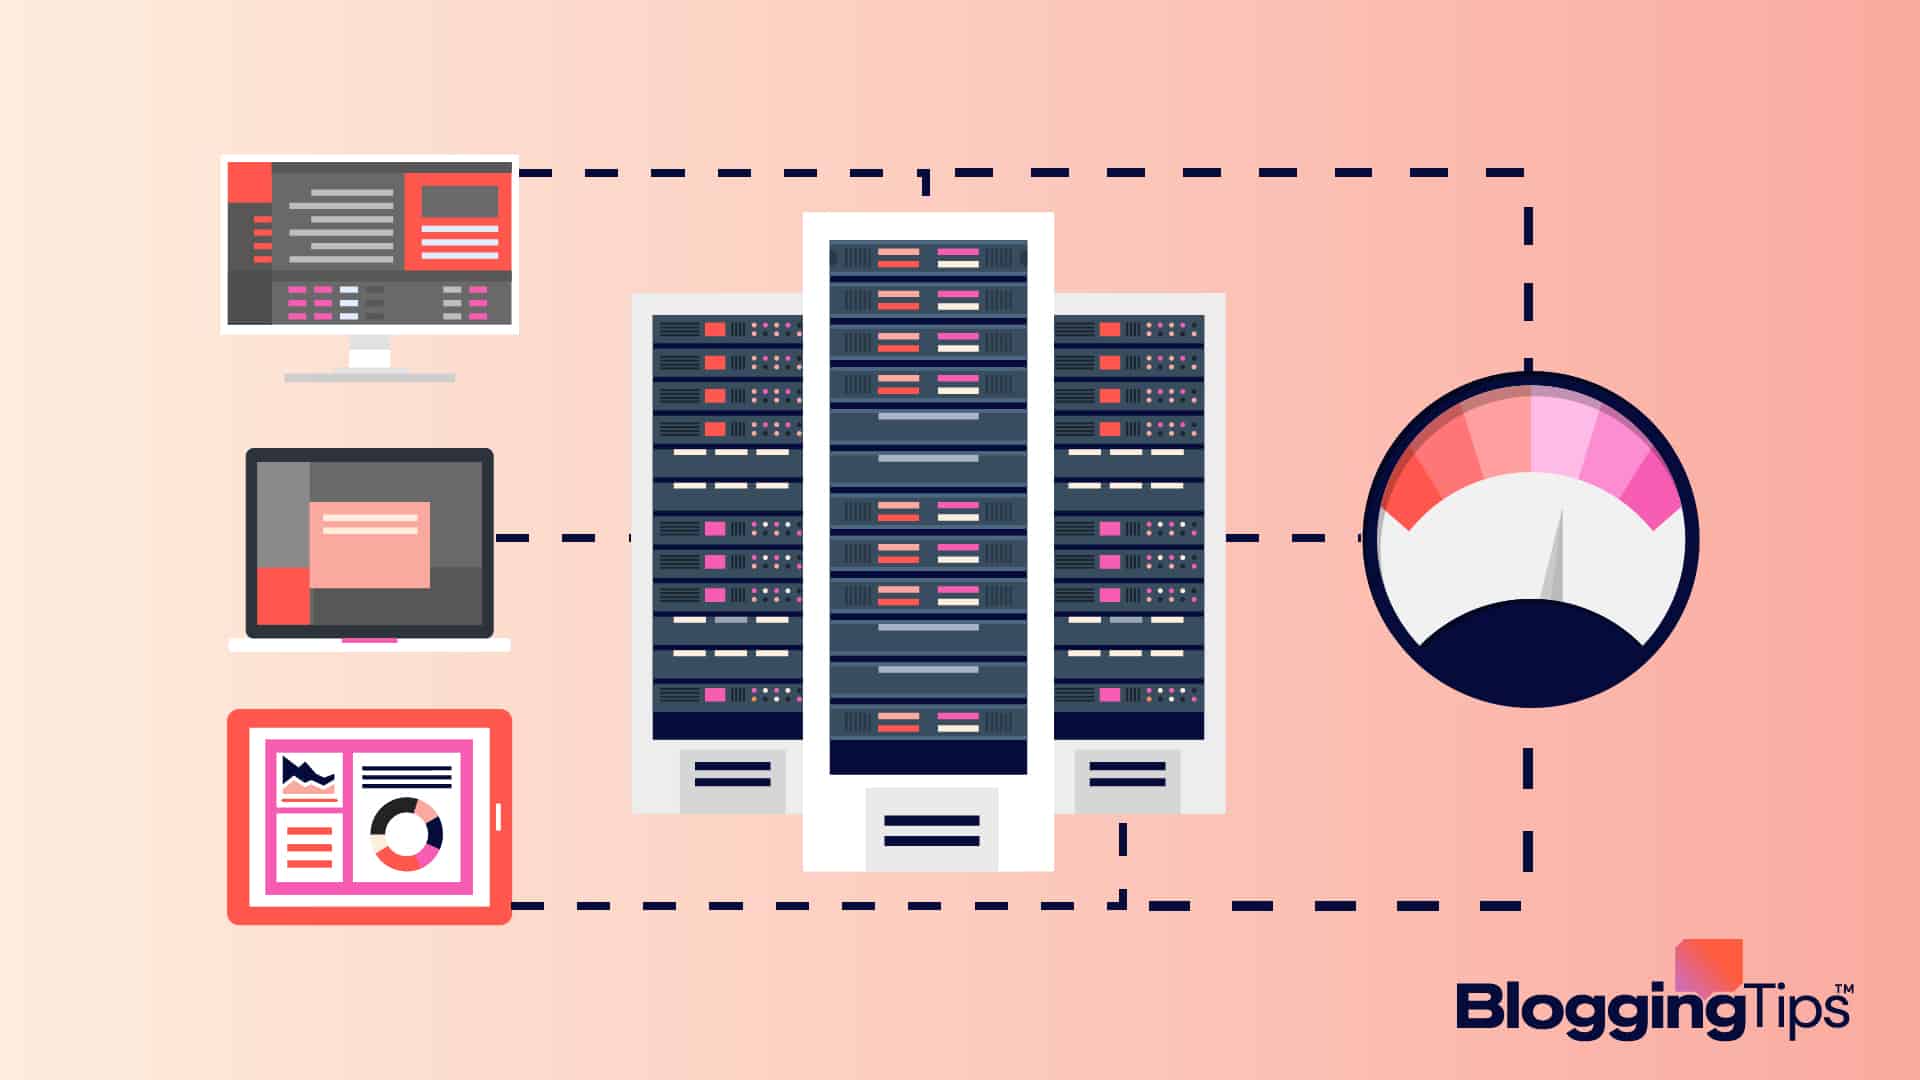
Your website server response time is instrumental to page loading speed.
And since page speed is one of the core web vitals that Google uses to rank websites, reducing your server response time is necessary.
Here’s the thing, with a high server response time, your website SEO, user experience and conversion rate will suffer a drag.
Sound like what you don’t want? Then let’s teach you how to reduce your server response.
- Frequently Asked Questions
- What You’ll Need Reduce Server Response Time
- 6 Methods to Reduce Server Response Time
- Method #1: Use a Reliable Web Host
- Method #2: Update WordPress, Plugins and Themes
- Method #3: Update PHP Version
- Method #4: Configure Caching
- Method #5: Use Content Delivery Network (CDN)
- Method #6: Optimize Your WordPress Database
- More Helpful WordPress Tutorials:
- Wrapping up
Frequently Asked Questions
Why is Server Response Time High?
A lot of factors can contribute to high server response time.
A bad web hosting provider is the leading cause.
Wrong server configuration, network latency, and dynamic content without caching and CDN can lead to high server response time.
We’ll explore all these causes and solutions in this tutorial.
What Affects Network Response Time?
Network response time, also called Network latency, is the time it takes for an internet request to be executed from the initiation point.
High server response time is one factor affecting network response time.
Other factors include transmission type such as WAN or fiber optics, storage delays, network overload, firewall, packet loss, network provider resources etc.
What You’ll Need Reduce Server Response Time
- WordPress Admin Access: You need access to the WordPress admin dashboard. You can only access this with an admin or super admin role on the WordPress site.
- Your Web Host Cpanel: You may need to make some changes to your hosting server to reduce server response time. You’ll have to do that from the Cpanel.
How to Reduce Server Response Time
Before we show you how to reduce your server response, It’s good to let you understand what server response time is and what’s a good server response time for your WordPress website, and how you can check your server response time.
Let’s start.
Server response time is how long it takes a server to respond to a client’s HTTP request.
In more technical terms, it’s the amount of time it takes a browser to receive the first byte of data from a website server after making an HTTP request.
This is referred to as TTFB, meaning Time to First Byte.
So the more you improve your TTFB, the better your server response time.
Now that you understand server response time, what’s a good response time for your server?
According to Google, you should reduce your server response time to under 200ms. So:
- Server response below 100ms is excellent
- From 100ms to 200 is good
- Under 1 second is acceptable, but it should be worked on.
- And above 1 second is slow. You have to reduce server response time.
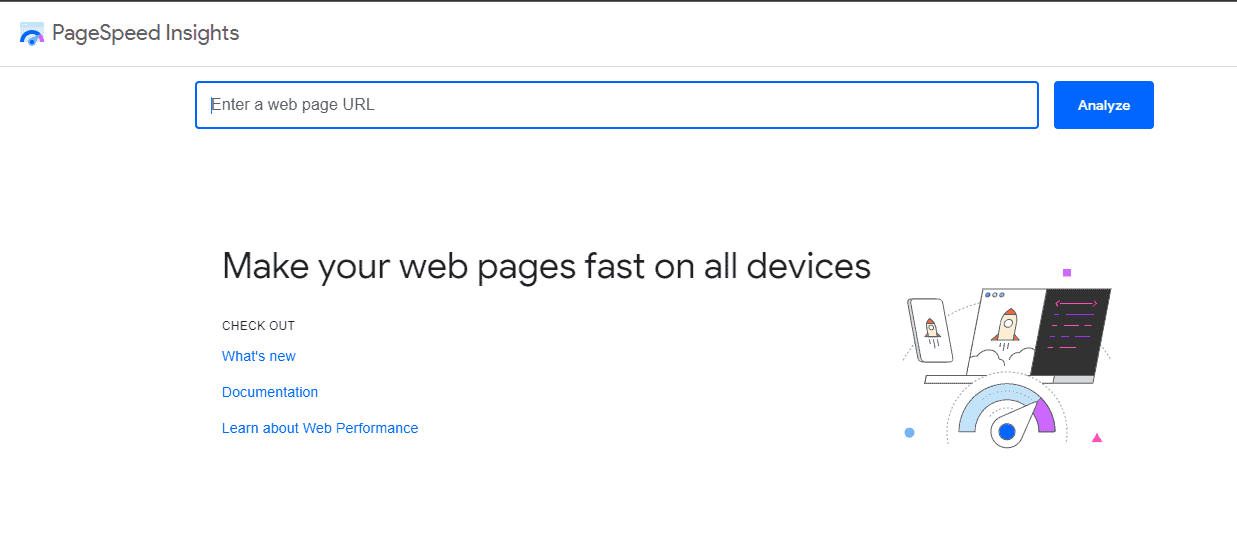
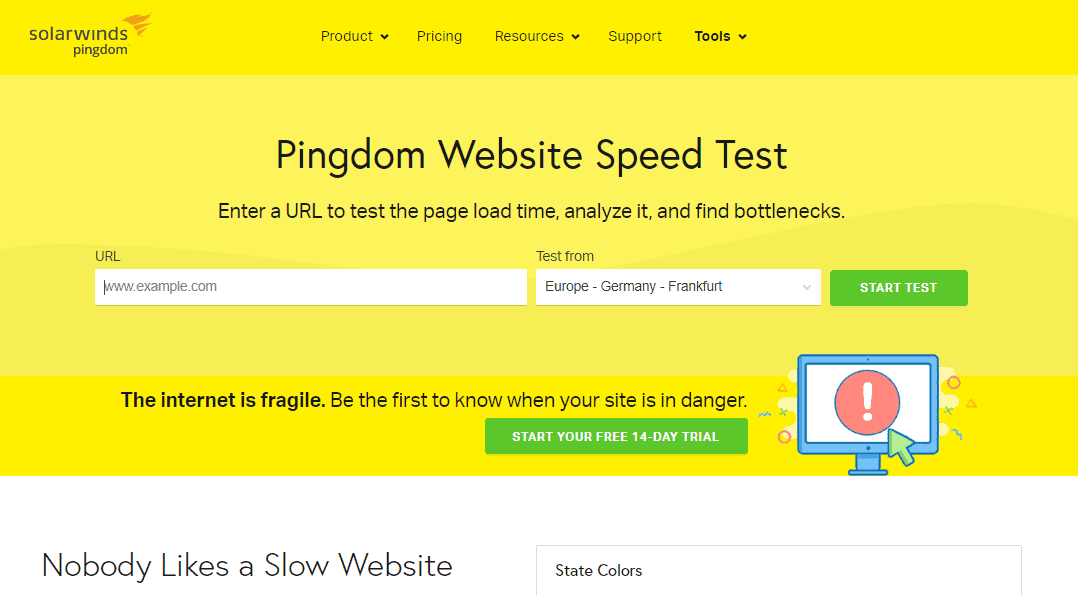
How do you check your server response time? There are several tools you can use.
We recommend using the popular Google Pagespeed Insight.
Pingdom Speed Test is another useful tool in this regard.
You’ve now understood what a good server response time means and how to check for it.
If you check your server response time and It’s above 200ms, It’s time to learn the causes and fixes.
We look at that next.
6 Methods to Reduce Server Response Time
- Method #1: Use a Reliable Web Host
- Method #2: Update WordPress, Plugins and Themes
- Method #3: Update PHP Version
- Method #4: Configure Caching
- Method #5: Use Content Delivery Network (CDN)
- Method #6: Optimize Your WordPress Database
Method #1: Use a Reliable Web Host
Your web host is the number one suspect for bad website speed and performance.
So if you are experiencing a slow server response time, It’s time to rethink your hosting provider or opt for a different hosting plan.
When selecting a hosting provider, always evaluate server performance and ensure they have a track record of speed and reliability.
Here are some things to consider
Choose a hosting provider with multiple server locations worldwide if you have a global audience.
However, if your users are in a particular region, you can choose a host with servers that are physically located closer to them.
That will ensure quick data delivery.
While free web hosting might sound nice, one downside is slow-performing servers as it relies heavily on shared server resources.
Also, make sure you select a hosting provider with up-to-date infrastructures.
Once you find a reliable web host, you need to choose your hosting plan.
A shared hosting plan may be why your server response time is sluggish.
Consider upgrading to a managed WordPress hosting where you have everything to effectively reduce response time without worrying about server management.
If you have the budget, a dedicated hosting service where you can manage and optimize server resources to meet your performance needs is best.
You can look at several Cloud and managed WordPress hosting providers for secure, fast, and highly optimized servers to reduce initial response time.
Method #2: Update WordPress, Plugins and Themes
Keeping every aspect of your WordPress updated is another way to reduce server response time.
Updating WordPress software is crucial for better performance, from plugins and themes to WordPress itself.
Often, developers release new versions of software.
This means they’ve identified some performance-dragging issues and vulnerabilities affecting their code’s efficiency.
Hence, the update.
Too many plugins and themes on your WordPress website can slow your site down.
You want to keep your site as lightweight as possible.
Always delete and remove all inactive plugins and themes completely from your site.
Similarly, having two or more plugins serving the same purpose on your site can cause plugin conflict and affect performance.
So It’s always a good idea to review the plugins on your site and evaluate if they are needed.
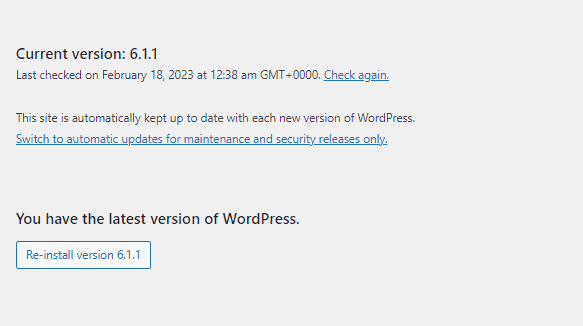
To update WordPress, on the left panel of your admin dashboard, Hover over Dashboard and select Updates from the options.
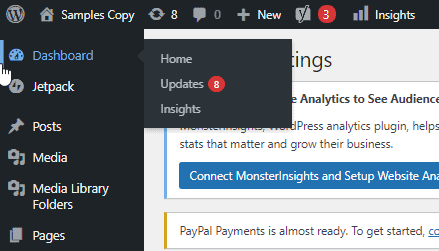
Here, you’ll see the latest version of WordPress, and you can click the Update button.
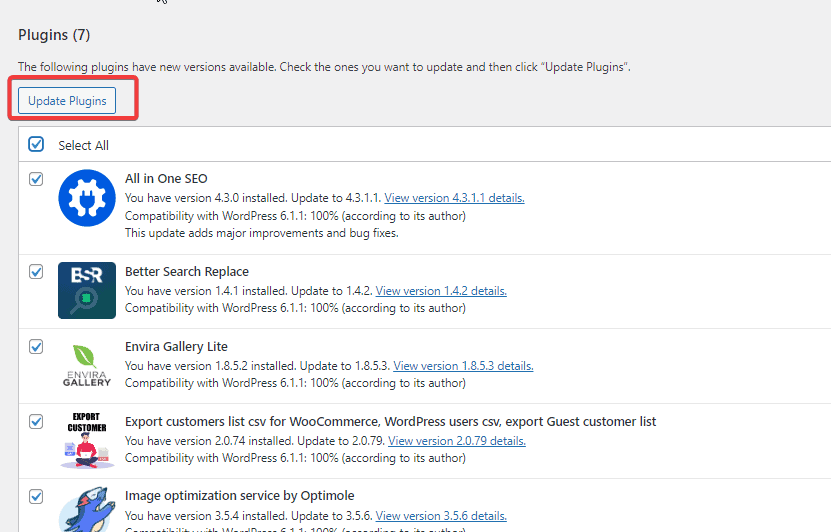
To update your plugins and themes, you’ll see all plugins and themes with updates available on the Update page.
Simply tick the box next to each plugin and click the Update plugins button to install the latest version.
Method #3: Update PHP Version
Just as with optimizing the WordPress database and upgrading software, Using the newest version of PHP is essential.
PHP is the open-source programming language that WordPress is built on.
Updating means switching to better codes, low memory usage and better speed.
This also help prevents hackers from getting to your site via the errors of older versions.
Updating the PHP version is straightforward.
You can do it with a few steps from your web host dashboard.
Before you update PHP, make sure you create a backup of your site so that in case something goes wrong, you can easily restore from the backup.
Although we’ll use the Hostinger dashboard here, the steps of updating PHP from Cpanel are the same for most hosting providers.
Let’s see.
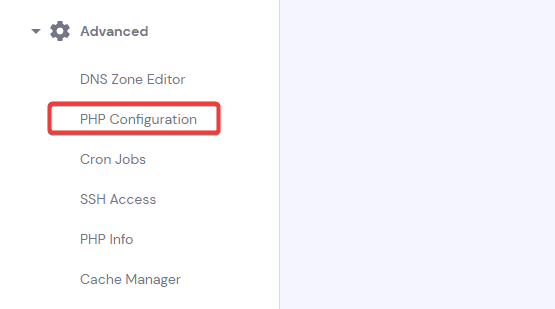
Log in to your hosting account and navigate to Cpanel.
Once there, locate the Advanced section and click on PHP Configuration.
Next, you’ll see all the supported versions of PHP available.
Select the new version you want to use and click on the Update button.

And that’s it. You’ve successfully updated the PHP version of your website.
You should now experience better server response time.
If you need help with this, contact your hosting provider for help.
The support team should be able to perform the update on your behalf or at least guide you through the process.
Method #4: Configure Caching
Another method to reduce server response time is to set up caching on your WordPress site.
Caching means storing copies of your website files on a user’s browsers to be reused, thus reducing TTFB.
When visitors return to your site, their browser request will be served from the cached files.
Without caching, your server must process and return dynamic content for every user’s request.
Requesting and retrieving every bit of data from scratch every time burdens the server.
This can get worse during high traffic.
Setting up caching reduces the burden on your server as the browser’s requests are served from a local or intermediary cache instead of each time a page loads.
Ultimately reducing server processing time allows data to be transferred and displayed faster.
Configuring caching for WordPress is easy.
First, if your WordPress hosting provider offers caching as part of their services, check that your current plan supports it and ask them to enable it for your site.
If not, upgrade to a plan that supports caching.
Alternatively, you can leverage several WordPress plugins to set up caching easily.
W3 Total Cache, WP Rocket, and LiteSpeed Cache are some of the best options available.
If you need more, you can check our list of WordPress cache plugins.
LightSpeed Cache integrates with servers and is a great option if you want server-level cache.
WP Rocket has database optimization features that significantly reduce TTFP.
Simply install and activate any of these plugins, and you are good to go.
They are all simple to set up.
Method #5: Use Content Delivery Network (CDN)
Another effective way to reduce TTFB is using a Content Delivery Network for your site.
A CDN is a network of servers spread geographically across the globe to serve user requests based on proximity.
As visitors try to access your site, their requests are served from the data center closest to their location.
This reduces the distance the data has to travel- the distance traveled to fetch the data from your server and the distance to return the requested resources, resulting in a faster load time.
When data travels the shortest possible distance to reach the visitors, website latency becomes minimal, and the overall server response time improves.
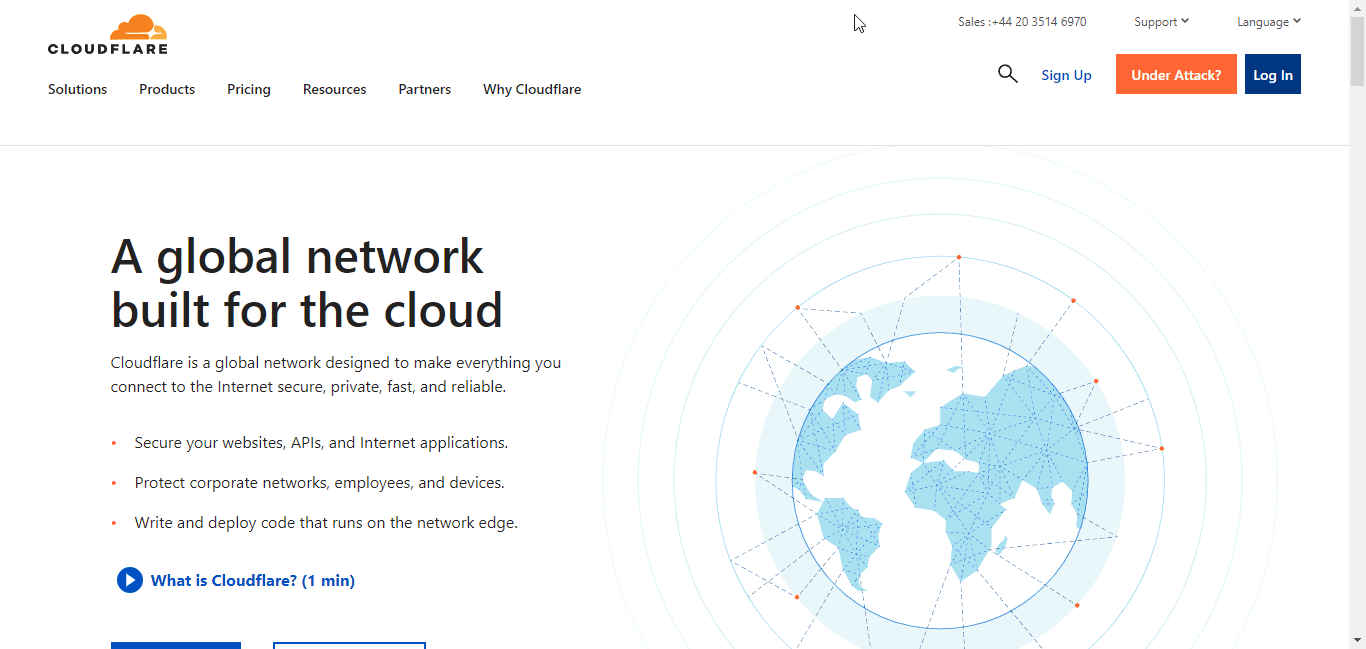
The Cloudflare free CDN is a popular and public option that works irrespective of your web host and hosting plan.
Cloudflare has a global network of proxies servers that deliver content within 50 milliseconds to 95 percent of the world.
With Cloudflare, you can offload bandwidth consumptions to its distributed data centers and significantly beat down the time it takes your server to respond.
Depending on your hosting provider and plan type, some web hosts have built-in CDN features.
If you need more clarification, you can contact your web host to enable it for your site.
If your hosting doesn’t include CDN as part of their service, you can use a third-party CDN.
Cloudflare integrates with top WordPress Caching and CDN plugins like W3 Total Cache and WP Rocket.
Method #6: Optimize Your WordPress Database
Your server response time depends on how optimized your database is.
And here’s why.
When you first set up your website, there are minimal data on your database.
Hence, your server response to queries is swift.
As your website grows, your database accumulates unnecessary data such as temporary plugin files, post comments and revisions, spam and trashed contents.
Thus, retrieving the right data takes longer because there is a forest of data to wade to locate the requested resources.
Furthermore, unlike your WordPress page, which is made of dynamic data, files in your database are static text files that can quickly grow bloated and slow down your server response time.
Fortunately, there are ways to optimize your WordPress database and improve your server response to queries.
You need to remove unneeded and outdated data impeding query execution time.
Many plugins are purposely designed for database optimization.
WP-Optimize is an example.
WP Rocket and LiteSpeed Cache are two other options.
WP Rocket allows you to remove bloated files and schedule automatic database cleanups routinely.
With it, you can delete unused plugins and optimize your database tables.

Install the plugin, go to database optimization features and start the cleanup.
More Helpful WordPress Tutorials:
- How to Speed Up Downloads: Want to make your downloads blazingly fast? Check out this ultimate guide on how to cut down wait time when downloading big files.
- How to Optimize WordPress for Performance: If you think your WordPress website is underperforming, you are right. It is. Here are the optimization tips and tricks that you need.
- How to Optimize Images for WordPress: Images are crucial parts of any web page. But they can be its doom when not well-optimized. Learn how to optimize images for your site step by step.
Wrapping up
There you have it! 6 methods you can employ to reduce your server response time significantly.
A low server response time offers a better user experience, lower bounce rate, increased conversion and SEO Performance.
If your website still has speed issues after attempting the methods in this guide, you should see our tutorial on optimizing WordPress pages for speed.
If you have other methods to speed up server response time not mentioned in this guide, Kindly share them with us in the comment section below.
We’ll be glad to learn from you.


