
WordPress is a very popular content management system that is used by a large portion of today’s online sites.
Blogs and websites use WordPress because of its adaptability and customizability.
One of these features is being able to replace the header image in WordPress.
This gives users the option to tailor their blogs or webpages to fit their tastes.
If you wish to find out how to change the header image in WordPress, read on to learn how.
Changing the Header Image
If you want to change or remove the header image in WordPress, then you can do so by following these steps:
Log in to your WordPress account dashboard.
To do this:
Add /wp-admin to the URL address of the location where you installed WordPress.
When prompted, enter your WordPress admin name and password.
Alternatively, you can log in to your WordPress account as normal and then click on the WP Admin button on the left side menu.
On the menu to the left of the Dashboard Window, click on Appearance.
From the dropdown menu that appears, click on Header.
Note that there will be some WordPress themes where the Header Link won’t appear.
This means that for the current theme that you’re using, Header edits aren’t possible.
If you wish to edit the header image, you will have to change your WordPress theme to something with an editable header.
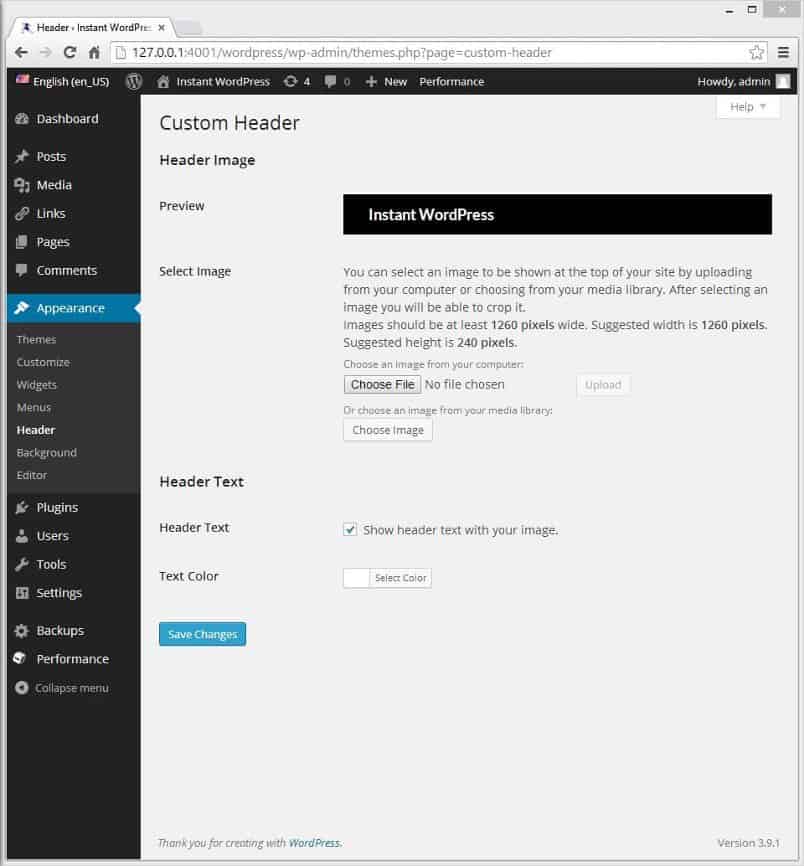
Once you click on Header, this will open the Customize window.
A description of the theme and the recommended heading image sizes will also be shown here.
If your current theme supports multiple headings, then it will also be shown here.
If you want to add an image, click on the Add new image button below the Current Header tab.
Choose an image to use for the header.
To do so, click on either Upload Files or the Media Library tab.
You can drag and drop an image onto the window or click on Select Files to choose an image from your choice’s directory.
To change the featured image size in WordPress, click on Edit Image on the Attachment Details tab on the right.
This will open up the Edit Media window.
Here, you can adjust the image as you see fit.
If you wish to skip image adjustments, click on the Select and Crop button on the lower right corner of the window.
Once you’ve made your adjustment, click on the Crop Image button.
If you’re satisfied with the header image, then click on the Save Changes button on the upper left part of the window to apply the header to your WordPress page.
On your WordPress Homepage, click on Visit Site on the upper right side of the screen to see the new header you created.
Useful Header Suggestions
If you want to maximize the effectiveness of the header that you’re using, then it’s good to keep these suggestions in mind:
- Choose images that relate to content that you wish to promote
- Headers are essentially the cover image of your blog or website. Choosing a header image that is related to your content allows visitors to get a feel for the website before they even begin reading
- Take note of the recommended image dimensions of your current theme
- Unless the image you choose has the exact dimensions as the header’s needs, you will have to crop off your picture portions. This isn’t a big problem most of the time, but some pics are less visually appealing when they’re not seen in full. It may be useful to reduce the image size itself rather than cropping portions of it. Look at the recommended dimensions and then make your decisions accordingly.
Enhancing Your Online Content
Knowing how to change the header image in WordPress allows you to customize your page’s design as you see fit.
A visually appealing webpage does wonders to enhance your content and will undoubtedly help if you want to increase its popularity.


