
Are you wondering how to delete a Facebook page?
If you’ve created a page for a business, project, or event that no longer serves its purpose, you may be looking for ways to delete it.
Whatever your reason, deleting your Facebook page is a relatively simple process that can be done in a few steps.
This guide will walk you through how to delete a Facebook page and how to go about the process.
Frequently Asked Questions
Can You Permanently Delete a Facebook Page?
You must be an administrator of your old page or have full access to your new Page on Facebook to delete it.
Your Facebook page will be immediately unpublished or deactivated if you ask us to erase it, but it won’t be completely removed until 14 days.
What Happens If I Permanently Delete Facebook Business Manager?
All assets, including ads, Pages, and sales presentations, will be permanently deleted from your company if you do this.
You will still be able to access all of the assets connected to this company through your Facebook account, where you will have administrator powers.
How To Delete A Facebook Page: Step-By-Step Instructions
A Facebook page that has been deleted will still be accessible to the public for 14 days after deletion.
You must unpublish it before erasing it if you wish for it to be hidden from the public.
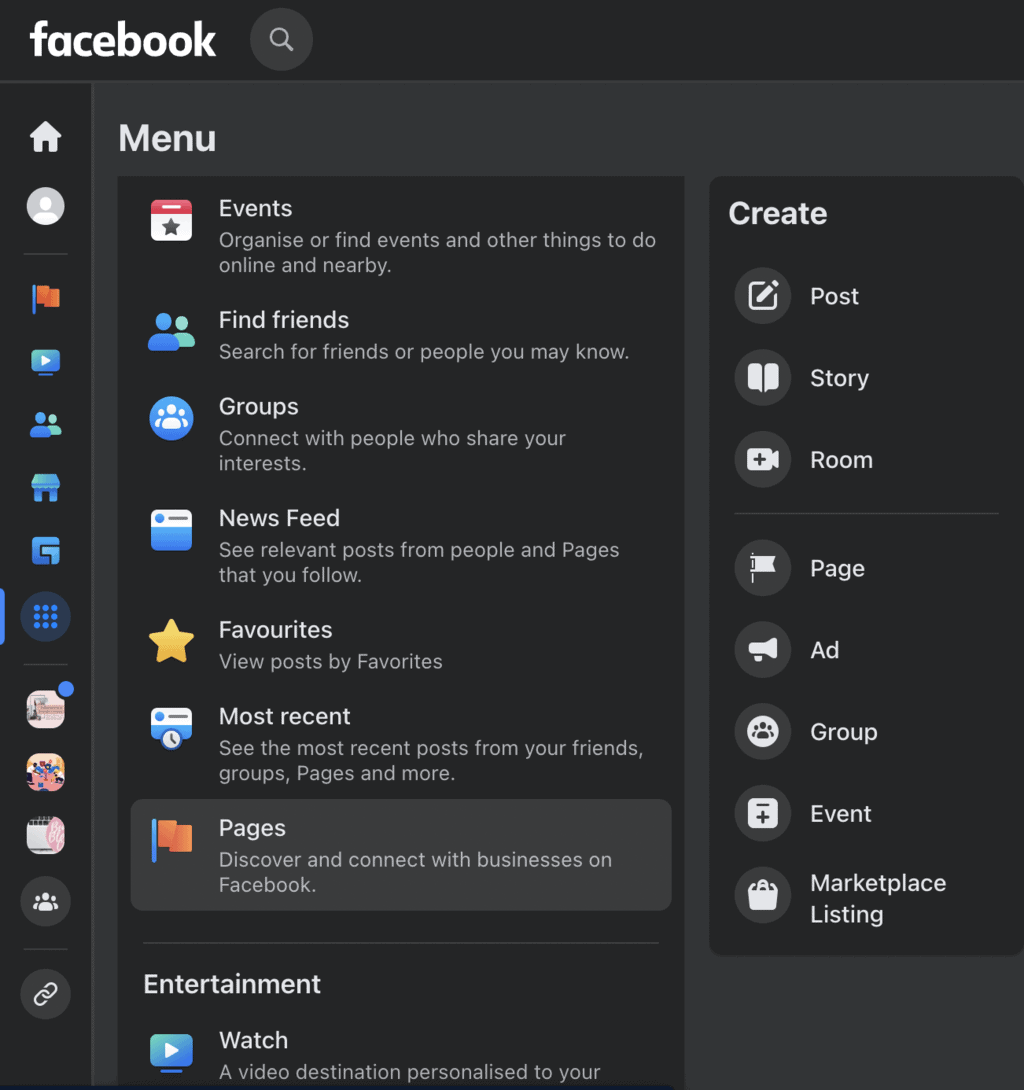
Step One: Log into your account by visiting the Facebook website. Select Pages in the left-hand menu on the Facebook main page.
Step Two: Select the page you wish to delete by clicking on it under Pages you manage.
You should just close any pop-up windows that ask you to link your page to WhatsApp.
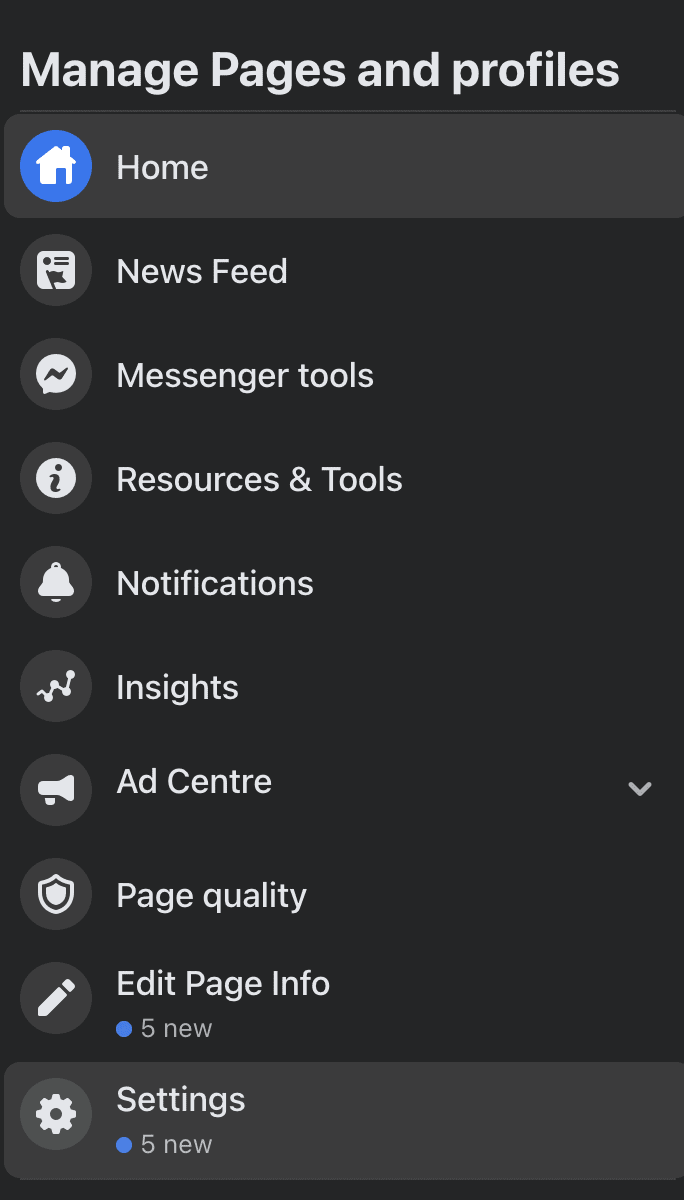
Step Three: Scroll down and choose Settings at the very bottom of the list in the side menu on the left.
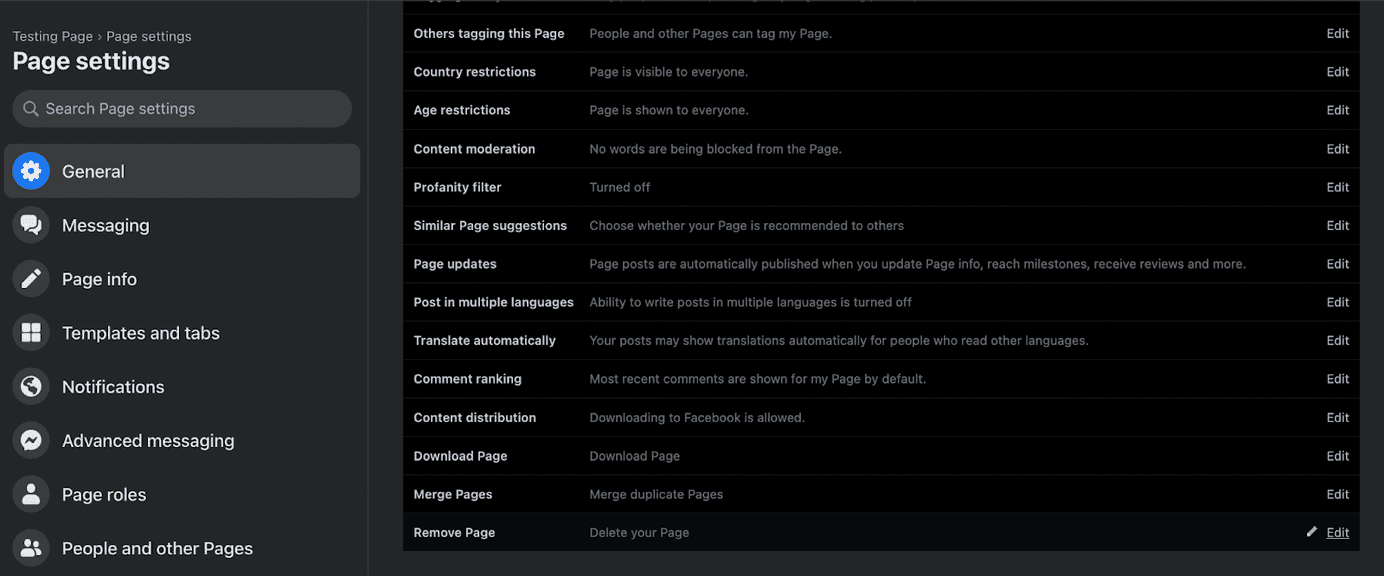
Step Four: Select Remove Page at the very bottom of the General tab on the Settings page.
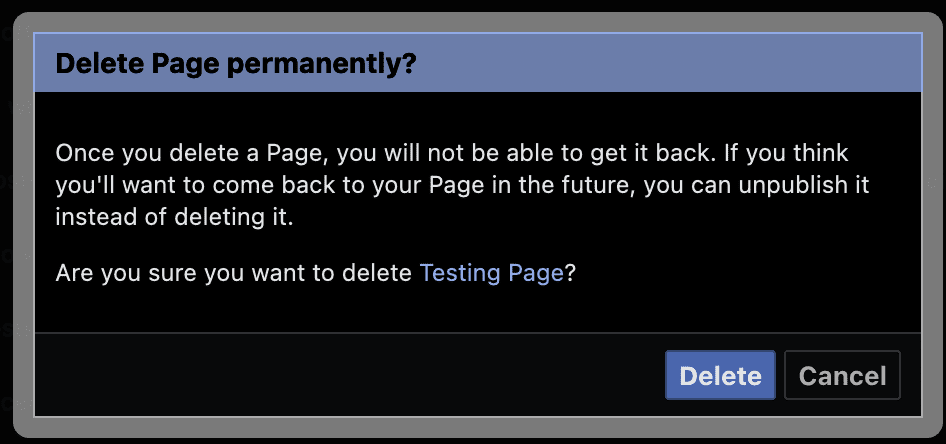
Step Five: In the pop-up window, click Delete Page after clicking the blue hyperlinks Delete the page.

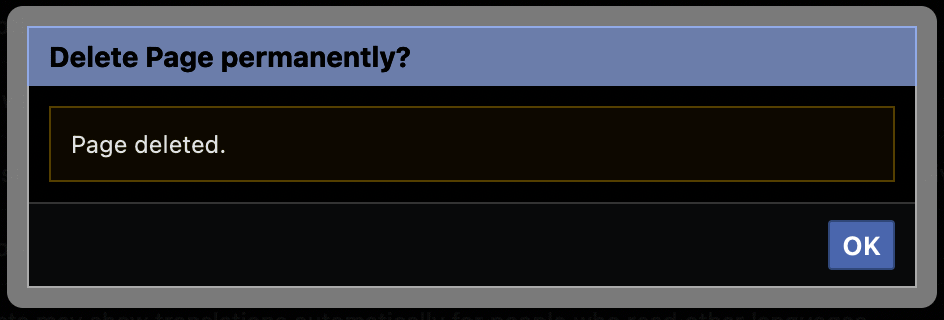
Step Six: A second pop-up will inform you that your page is “into deletion mode,” and you have 14 days to reverse the deletion. Select OK.
Step Seven: Click the General tab in the Page settings menu’s top-left corner to restart your page well within a 14-day window. Your page is about to be deleted, and a banner will alert you to this fact at the front of the General tab. Click Cancel Deletion, and then click Confirm in the pop-up that follows.

Similar Tutorials To Check Out
- How To Turn Off Facebook Notifications: Imagine attempting to concentrate on your work while simultaneously managing numerous Facebook pop-up notifications. That can be irritating, so we will show you how to turn off Facebook notifications.
- How To Leave A Facebook Group: Although Facebook groups can be a terrific way to meet people who share your interests, they aren’t always the right fit. This article will show you how to leave a Facebook group.
- How To Tag Someone On Facebook: Through the usage of the tagging tool, users have increased Facebook’s already high level of social interaction. This article will show you how to tag someone on Facebook.
Wrapping Up
All businesses wishing to start using social media marketing have turned to Facebook first, whether it’s because of its unmatched user base or its potent commercial capabilities.
It obviously makes perfect sense for many organizations trying to engage with their current and prospective new audiences since it is the social media platform with the most users.
However, learning how to delete a Facebook page can be very helpful because company strategies can change, and organizations may realize that Facebook isn’t the best fit for their brand over time.


