
Adding images to your posts is one of the surefire ways to get more attention and engagement on your website.
That said, images use a lot of resources, and can make your website sluggish.
The heavy memory usage of images is where the need for optimizing images for WordPress comes in.
It makes your website faster, irrespective of the number of images you have used.
Using lots of unoptimized images will lead to a slow website, which means your posts will not rank on page 1 of Google’s search results.
In this guide, you’ll find a comprehensive breakdown of everything you need to know about how to optimize images for WordPress.
We’ll cover:
- How to manually optimize images
- How to optimize images with plugins
- How to optimize images with Content Delivery Networks (CDN)
- How to enable lazy loading
- How to enable caching
Let’s get started.
- What is Image Optimization?
- Why is Image Optimization for WordPress Important?
- Should you optimize images on your website?
- How do I optimize WordPress images to speed up my website?
- How to Optimize Images for WordPress Manually
- Optimizing Image SEO with Alt Tags
- How to Automatically Optimize WordPress Images
- Wrapping up: Image Optimization for WordPress Key Takeaways
What is Image Optimization?
Image optimization refers to the steps you can take to ensure adding images to your posts does not slow your website down.
Some of the steps you can take include:
- Making your images lightweight in size without a noticeable difference in quality.
- Adding alt text to your images to make them discoverable by search engines.
- Using tools and enabling WordPress features to improve how your visitors’ web browser renders images.
Why is Image Optimization for WordPress Important?
Data shows that many web visitors will abandon a page if it takes longer than 3 seconds to load.
Images and media content contribute to page load times in a big way.
Adding images to your website without optimizing them is like asking peak Usain Bolt to carry 100kg weight and still run the 100 meters in less than 10 seconds.
It’s probably impossible, and the same applies to websites.
Image optimization is necessary to improve your website’s speed, retain more visitors, and ultimately rank higher on search engine results.
Asides from reducing page load times, the advantages of optimizing images for WordPress include:
- Not exhausting your web hosting space, especially if you’re on a tight budget
- Improving the user experience as images load faster
- Ranking higher on Google Image search
Should you optimize images on your website?
The short answer is yes!
Even if it’s just a millisecond you can eke out by compressing a few images and implementing the other strategies in this post, it all adds up.
Your goal should be to gain every advantage possible for your website if you want to rank higher.
Optimizing your WordPress images is one such idea.
How do I optimize WordPress images to speed up my website?
There are many ways you can improve how long it takes images to load on your visitor’s browser.
For best results, you will have to combine manual efforts with automation, using plugins and some features from your hosting provider and WordPress.
How to Optimize Images for WordPress Manually
In our interactions with new bloggers, one of the frequent questions we hear about images is, “Can you optimize images without a plugin to improve WordPress website performance?”
The answer is yes!
You can optimize your images before you upload them to your website.
If you want to do this manually, there are three things you need to address:
- What size (dimension) or resolution should images be for WordPress?
- What file size should images be for WordPress?
- Which image format is best for website speed?
What size (dimension) should images be for WordPress?
There’s no universal rule for the size of images you should use on your website.
The goal, however, is to have a consistent layout for all your posts.
The WordPress theme you’re using and the width of the content area assigned to different layouts of each page, will determine the size of some of your images.
For example, if a layout is supposed to be 500 pixels in width and your image is 800 pixels in width, you’re likely to experience what is known as Cumulative Layout Shift (CLS).
Have you ever opened a page on your mobile phone, and it seems the image is larger than the screen?
That’s called CLS, and it hurts a visitor’s experience.
Web visitors can easily assume your web page is broken and exit speedily.
You can alter the dimension of your images using tools like Adobe Photoshop and free online image optimizers such as resizeimage.net.
What file size should images be for WordPress?
You want the file size of your images to be as small as possible without compromising quality.
Photoshop is also a handy tool for this purpose.
Other tools you can use to optimize images for your website online include TinyPNG and Compress JPEG.
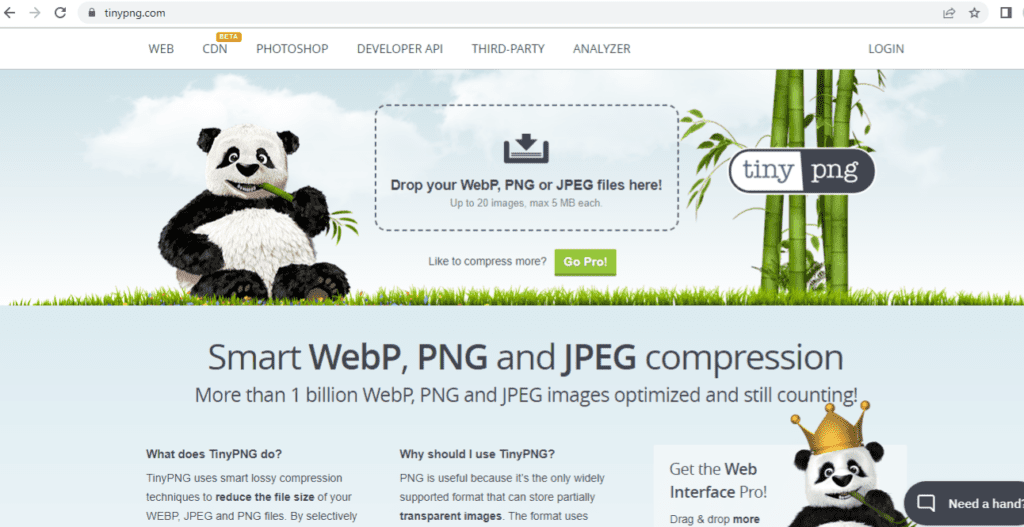
Image description: manually optimize wordpress images by compressing file size
Both of these options have a free tier you can use with a few restrictions.
Both allow a maximum of 20 images per time, and the images must not surpass 5MB each.
Which image format is best for website speed?
Here, not one size fits all. There are different reasons why you may choose PNG or JPEG as your image format.
I’ve found that JPEG works well with photographs of people, places, and landscapes, while PNG works better with computer-generated graphics like logos.
Whether you choose JPEG or PNG, make sure you compress and resize the files before uploading them to your WordPress website.
There is also another image format blossoming, WebP.
Of all the mentioned formats, WebP images are the lightest, sometimes as much as 50% less than the size of JPEG and PNG.
The only drawback is that iOS does not currently support WebP, which means the image won’t render on the Safari internet browser.
Optimizing Image SEO with Alt Tags
Alt or alternate text are substitutes for images if they fail to load or render.
It is the description you input into the image alt tags that the website shows the user. Alt tags provide search engines with information about the content of the image.
Search engines use this information to see if the image matches a user’s query.
This could help your website rank higher for the keywords you add to image alt tags.
Be careful, as Google frowns on keyword stuffing.
Use a simple phrase relevant to the content and one that describes the image succinctly.
For example, let’s say you have a picture of a dog playing fetch.
You could describe the picture as ”dog playing fetch,” but a more descriptive alt text would include the type of dog and the location, to read ”German Shepherd playing fetch in the park.”
The best practice is to add the appropriate alt text for each image when you upload them to your website.
You can always edit alt text if the need arises.
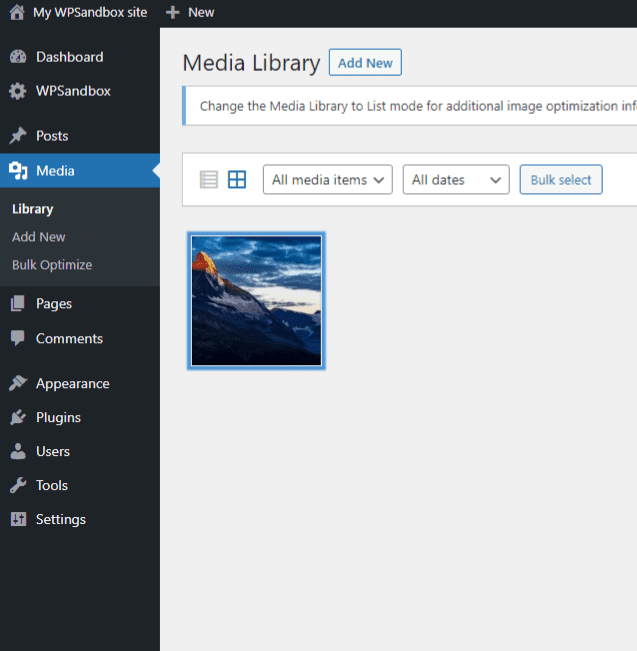
Image description: Media Library on WordPress
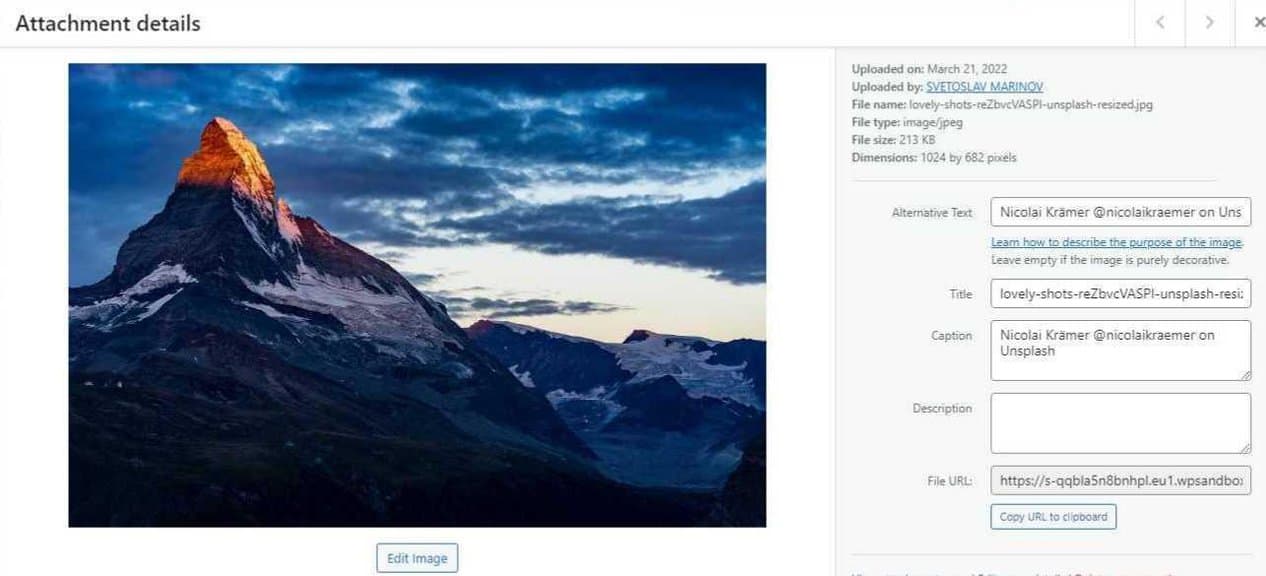
Image description: Optimize images for wordpress by editing alt text
How to Automatically Optimize WordPress Images
There are many ways to optimize images for WordPress, this includes:
- Optimizing new and existing images for WordPress with plugins
- Serving images and web content through CDNs
- Optimizing images with caching
- Implementing lazy loading
Optimizing new and existing images with plugins
Individually optimizing each image you intend to upload to your WordPress website is tedious.
There are image optimizer plugins that streamline this process and enable you to compress the images you upload to your website. Most of these plugins also allow you to optimize the images already on your website in bulk for free.
Once you’ve installed and activated your preferred plugin, you can optimize images from the “Media” tab of the WordPress dashboard. For example, EWWW Image Optimizer will add “Bulk Optimize” as an option under the “Media” tab.
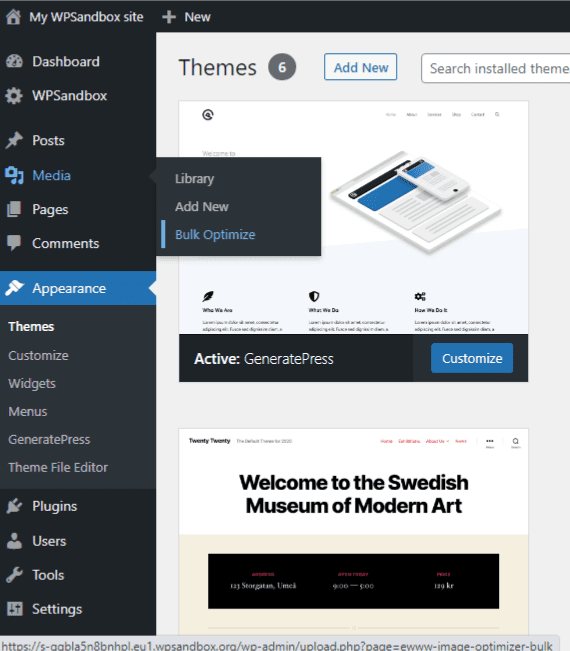
Image description: Bulk optimize with EWWW Image Optimizer plugin
You can then scan for unoptimized images from the next window.
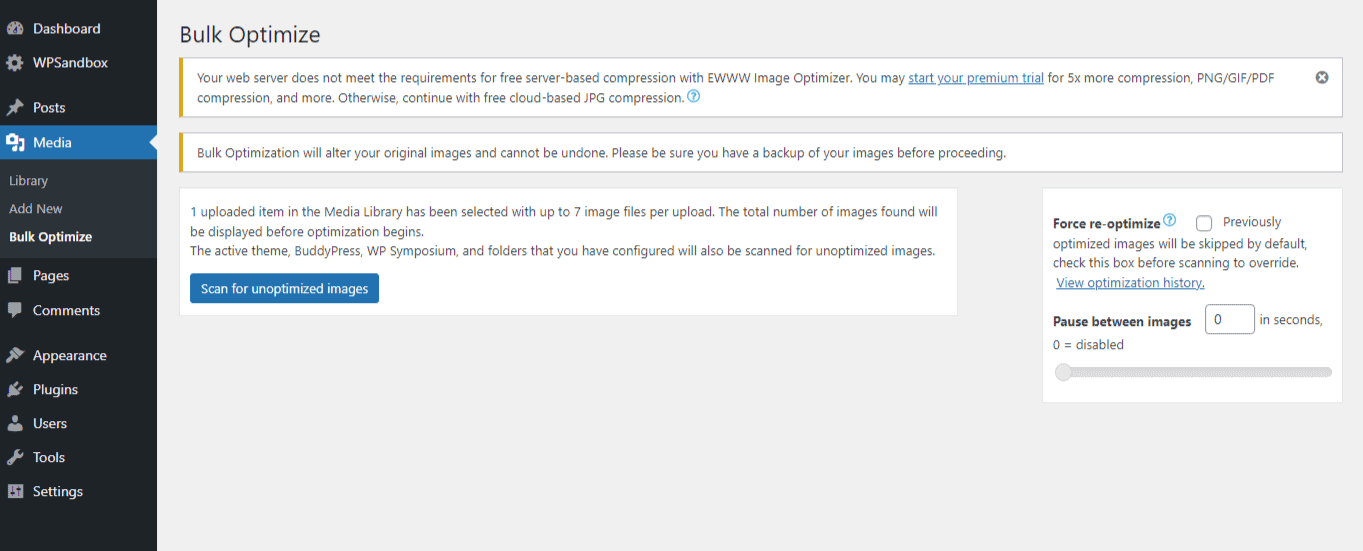
Image description: Scan for unoptimized images with EWWW Image Optimizer plugin
Five of the Best Image Optimization Plugins for WordPress
So what are the best image optimization plugins for WordPress to speed up your site? Here are our top five:
- EWWW Image Optimizer plugin
- Smush
- Imagify
- ShortPixel Image Optimizer
- Optimole
All of these options have a free tier with certain limitations. The table below summarizes the difference between the five WordPress image optimization plugins.
| Plugin | Maximum Image Size | Supported File Types | Pricing |
| EWWW Image Optimizer plugin |
|
|
|
| Smush |
|
|
|
| Imagify |
|
|
|
| ShortPixel Image Optimizer |
|
|
|
| Optimole |
|
|
|
Serving and optimizing WordPress images and web content through CDNs
Amazon has 1,137 fulfillment centers (packing warehouses) in the United States alone.
The fulfillment centers allow it to make faster deliveries in record time.
The fulfillment center closest to the customer processes the customer’s order.
The same logic applies to CDNs.
CDNs are like fulfillment centers for your website content.
With CDNs, your website content, including images, is uploaded to different servers around the World.
CDNs reduce page load time and bandwidth costs and keep your website available even if the origin server is enduring downtime.
Let’s assume someone from Africa visits your website, housed in a server in the United States.
Rather than sending the website content from the United States, a local server in Nigeria or West Africa storing a copy of your website sends it directly to the visitor.
Cloudflare is an example of a great CDN.
They also have a free WordPress plugin you can install and activate.
Cloudflare also provides the extra benefit of a free SSL certification, which can also be a boon for your website’s SEO.
Optimizing images for WordPress with caching
Caching is a way of storing some of your website files, including images and CSS, on a visitor’s web browser after their first visit.
The next time the user visits your website, the browser will load files locally rather than the server hosting your website.
Except, of course, if the user has cleared their cache.
Every time the user visits your website, their browser will ping the server to see if there has been any change on the website.
If there haven’t been any changes, it renders the files stored on the user’s browser.
It’s important to note that cached data is different from cookies.
Some WordPress caching plugins include W3 Total Cache, Cache Enabler, and Hyper Cache.
You can read our exhaustive guide on the top 10 WordPress cache plugins in 2022.
Implementing lazy loading
Lazy loading speeds up loading time by only loading the media content visible to the visitor.
Rather than loading all images and media content at once, it gradually loads the images as the visitor scrolls down.
As long as the image is not in view, lazy loading ensures the browser does not load it.
Thus, reducing initial load time.
This optimization is handy for websites that use many images in their posts.
If you only post one or two images, the difference in performance with lazy loading may be insignificant.
However, if you run a review site, then this is a fantastic way to minimize loading time.
So how do you implement lazy loading on WordPress?
Lazy loading comes shipped with WordPress from version 5.4 and above by default.
The only drawdown with using the lazy loading feature shipped with WordPress is that you cannot choose which images to lazy load.
For the freedom to choose which images to lazy load, you can go with a plugin.
Some plugins used to compress and optimize images for WordPress mentioned above also support lazy loading.
EWWW Image Optimizer plugin and Smush offer lazy loading features that allow you to choose which images to lazy load.
Other plugins you can use include Optimole and a3 Lazy Load.
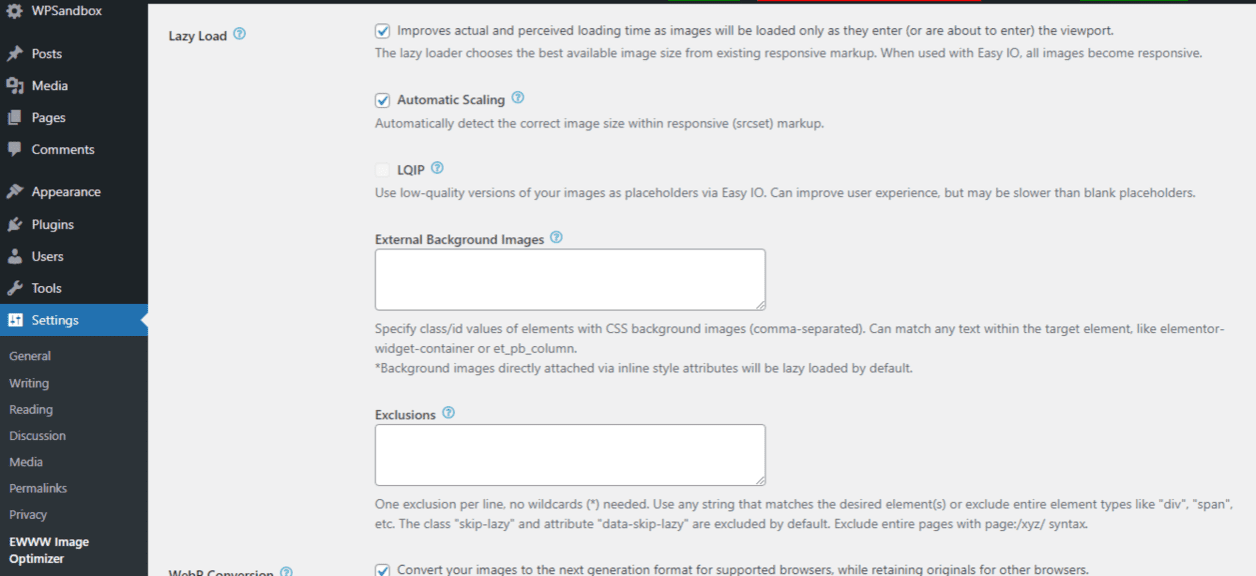
Image description: Implementing lazy loading with EWWW Image Optimizer plugin
Wrapping up: Image Optimization for WordPress Key Takeaways
The image optimization strategies above can make your website faster and deliver tangible SEO gains.
One of the most important things you can remember is that images are resource-intensive and need proper management.
You do that by:
- Compressing and optimizing images to reduce file size.
- Editing images to the exact dimensions they will appear on the website.
- Ensuring you use the appropriate image format for the right purposes.
- Ensuring all images have alt text describing the content of the image.
- Using CDNs to deliver content closer to each visitor’s location.
- Implementing lazy loading if your posts use a lot of images.
- Enabling caching to store and render images and files from your visitors’ web browser.
Before you implement these steps, it’s a good idea to track your website’s loading time so you can get a clear idea of how much time you gained with each implementation.
It’s important to stress that optimizing images for WordPress is only one of the numerous factors that affect the speed of your website.
Let’s know in the comments which of these strategies you’ve tried before and what the results were.
Which one are you trying next?
If you have any questions or comments, kindly post them below, and we’ll get in touch as soon as possible.


