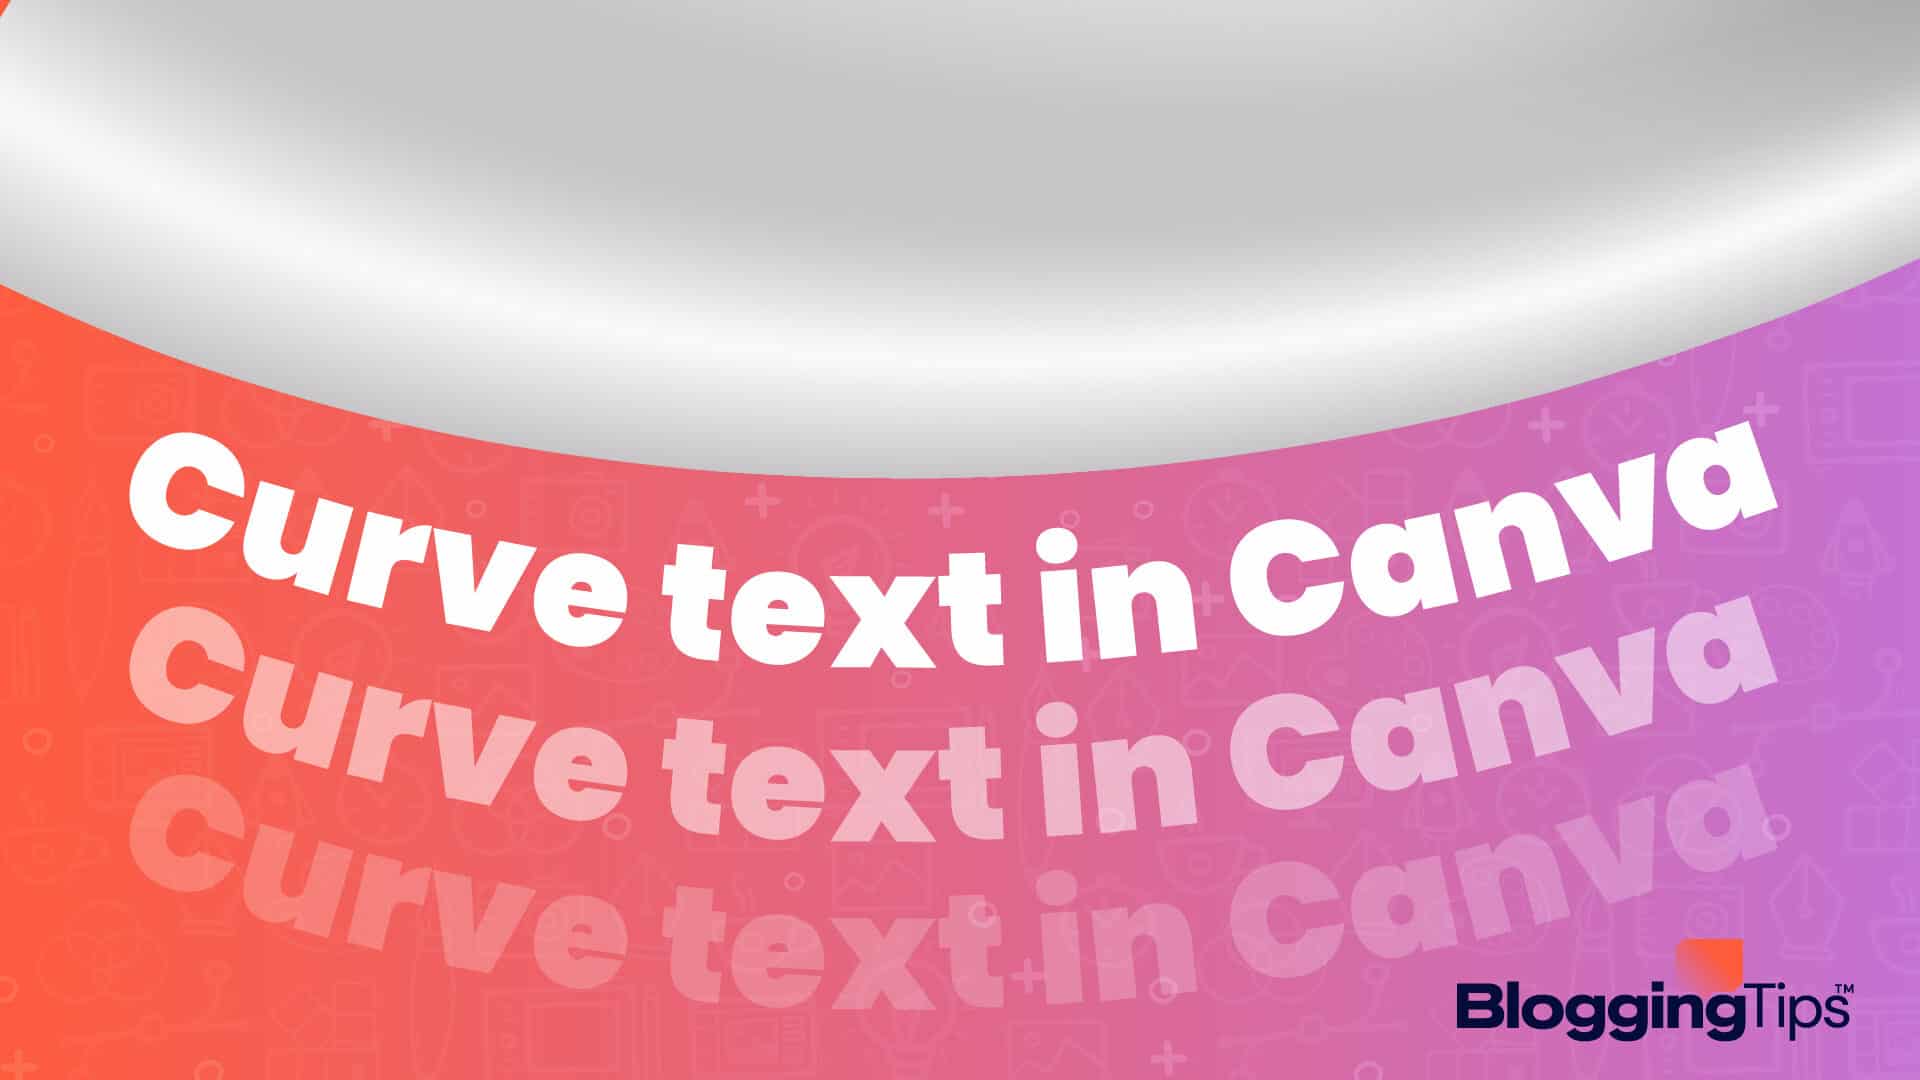

Think creating a curved text design is way above your head?
Think again, as curving text is not necessarily an advanced skill.
You can curve text for any purpose using Canva. It is no longer time-consuming as Canva has added some nifty effects to make curving text quick and straightforward.
This tutorial will show you how to curve text in Canva effortlessly. The steps are the same for all Canva pro, free, and app users.
Frequently Asked Questions
Is There a Way To Curve Text in Canva?
Similar to various other graphic design features, Canva makes it straightforward to curve text.
All you would need is to add some text in a text box and apply the curved text effect from the “Effects” menu.
It is also easy to add curved text to other Canva design elements.
Does Canva Have a Curved Text Generator?
After some painful waiting, Canva added a powerful curved text generator to its platform.
It is now easier than ever to arch your design’s text that transcends your personality.
You no longer have to curve individual letters as Canva’s curved text generator creates any desired shapes with a few clicks.
What You’ll Need To Curve Text in Canva
As one of the best graphic design software platforms, Canva requires no fancy hardware or software setup to curve text.
You can create curved text for logos, social media posts, or any other purposes with the following:
- A computer with an available internet browser. You can also utilize the curve option in the Canva app on your smartphone.
- Valid login credentials to access the Canva platform. All Canva pro and free users must sign up to utilize its graphic design features.
- A reliable internet connection to upload, design, and download with Canva. As it is mainly a web platform, you must have a speedy internet to use all Canva features.
How To Curve Text in Canva: Step-by-Step Instructions
Gone are the days when you had to curve individual letters to add flairs to your texts.
Thanks to the Canva curved text generator, it is arguably easier than Adobe Photoshop to curve text and add it to your Google Slides presentation.
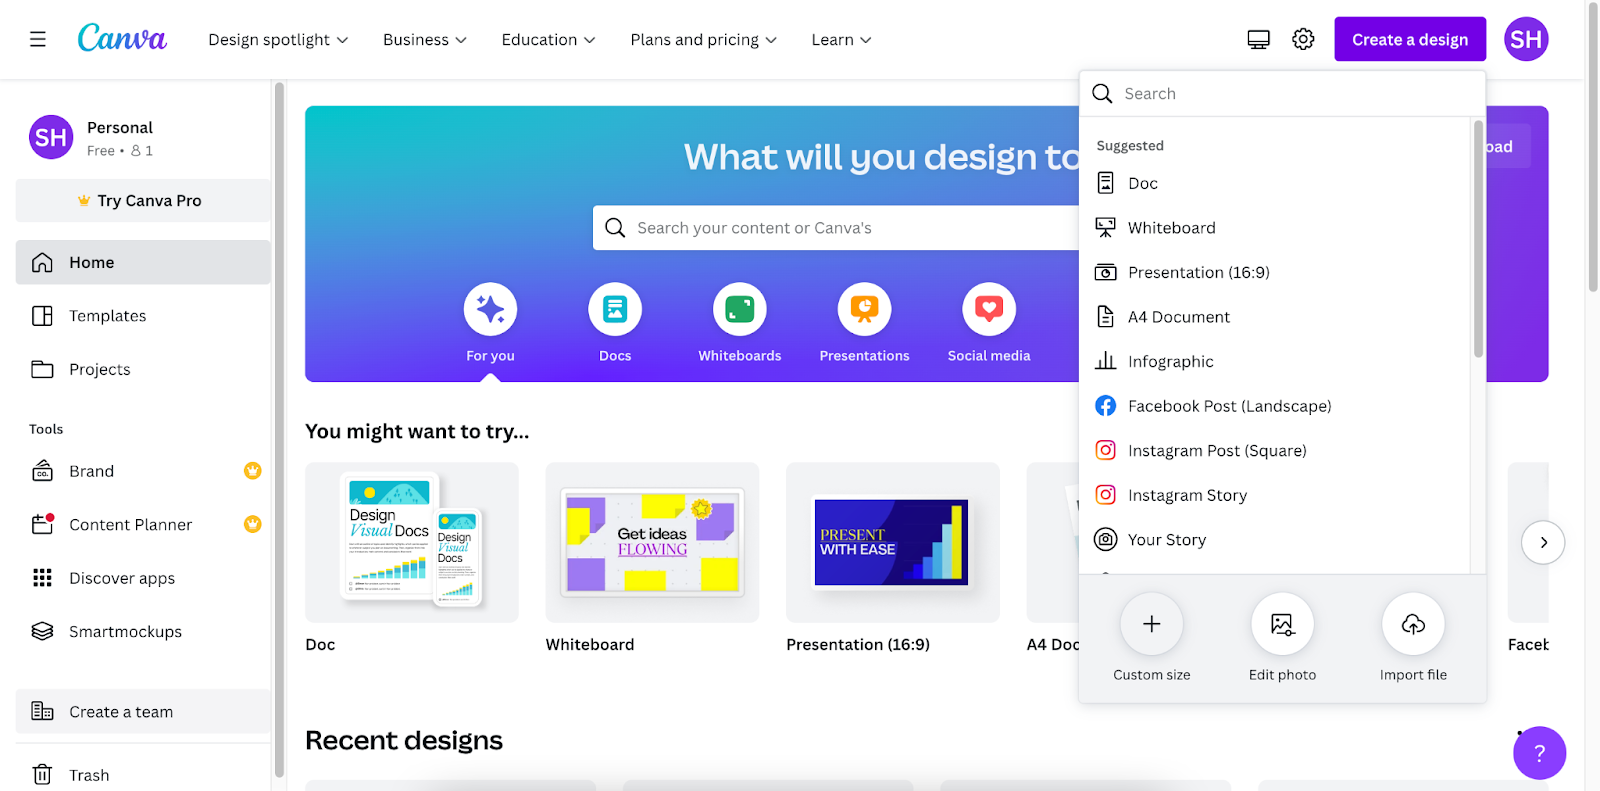
Step 1: Log In to Canva and Create a New Design
Visit the Canva website and log in to the platform using your registered username and password.
If you use it for the first time, create an account before signing in.
After logging in, tap on the “Create a design” button from the right corner at the top.
You can choose from various templates, import your file, or create a custom-sized canvas to curve text.
I am using the “Instagram Post (Square)” template, but you may find the “A4 Document” more useful for printing purposes.
Pro Tip: Curve Text Over Images or Canva Templates
You don’t necessarily have to start with a blank canvas to curve text.
The curve text effect can be applied to a text box in any background, whether photos, presentation slides, Canva templates, etc.
Simply upload your design by clicking on “Uploads” or choose a template from the “Templates” tab at the beginning if you prefer to curve text over a graphic background.
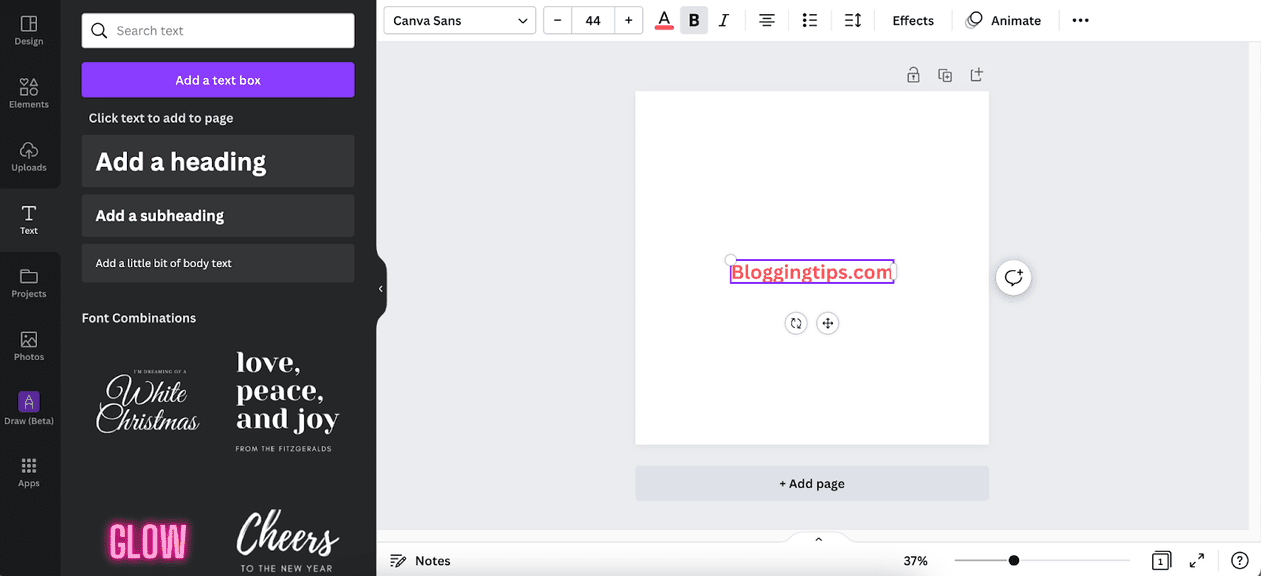
Step 2: Add a Text Box and Type in Your Desired Text
Click on the “Text” option from the left menu, then hit the “Add a text box” button from the expanded options.
You can also choose from the heading, subheading, body text, or other available text templates for specific formatting.
Once the text box is added to your canvas, type in your desired text for curving.
You can change the font type and color, increase or decrease the font size, etc., from the options above.
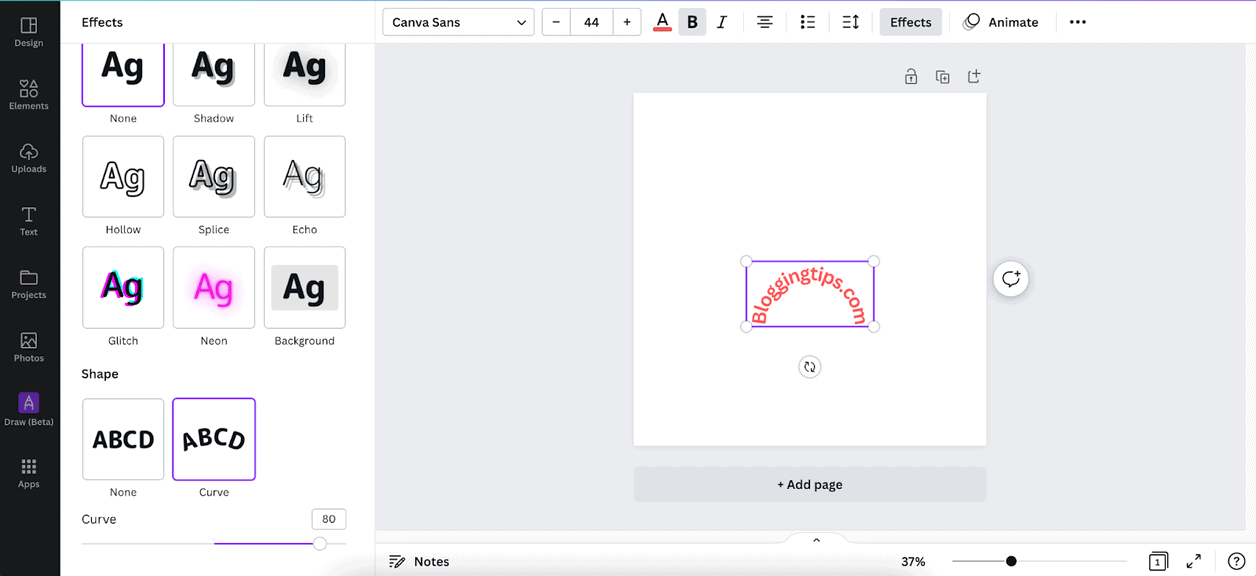
Step 3: Apply the Curved Text Effect to Your Typed Text
Click on the text box on your canvas if it’s not already selected, then hit the “Effects” tab from above.
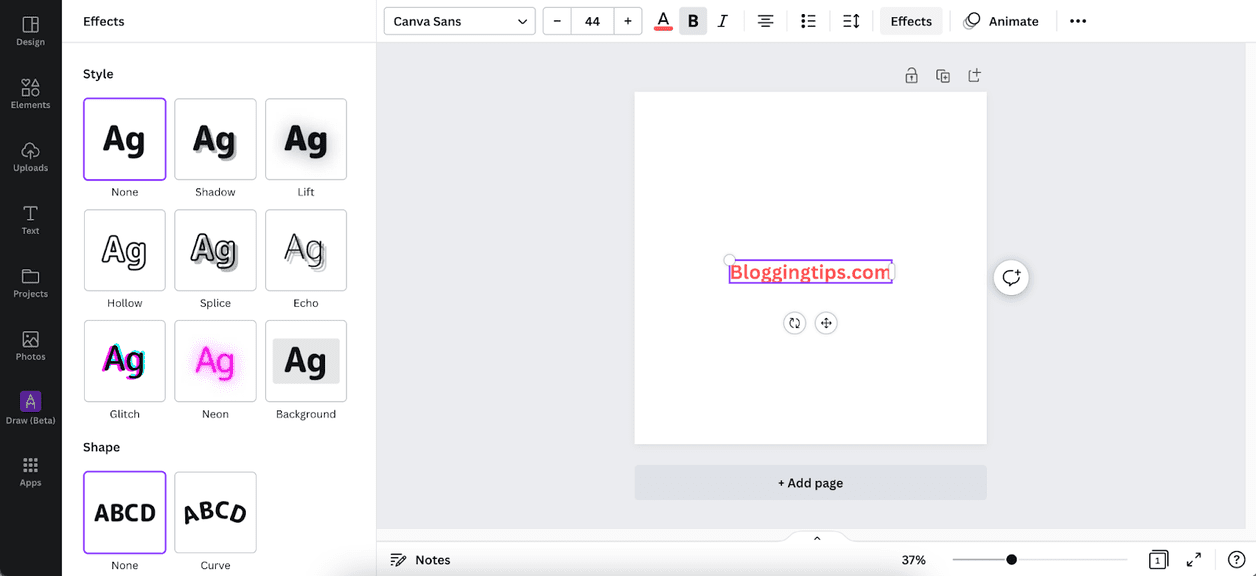
Locate the “Curve” shape from the expanded menu on the left and click on it to create curved text.
Your text should take the shape of a semicircle at 80 degrees.
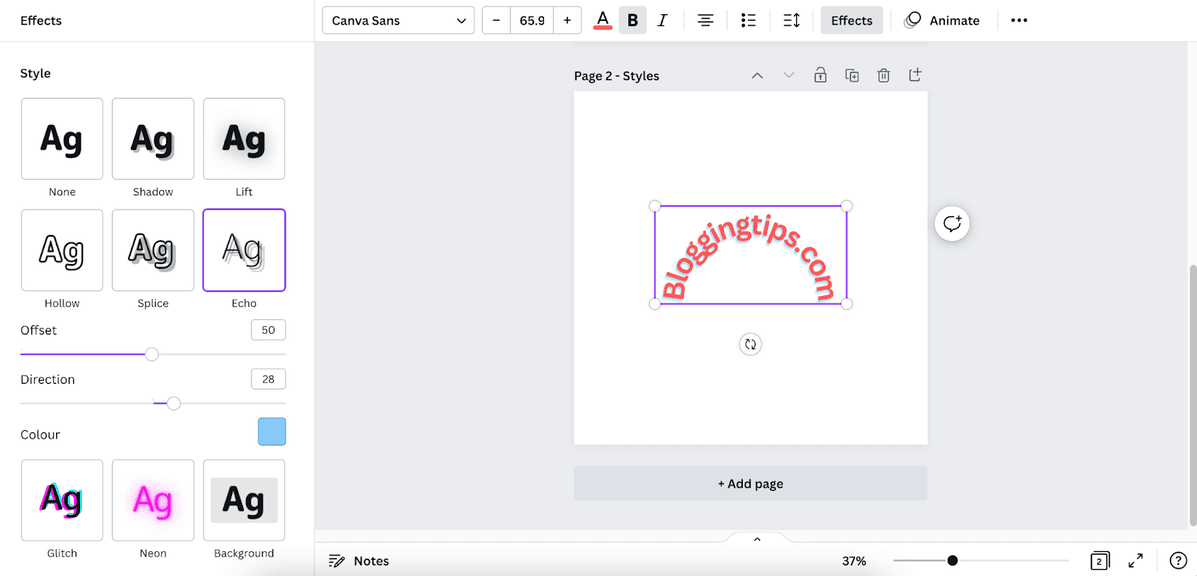
Pro Tip: Give Your Curve Text a Unique Style
Notice the “Style” section above the shapes in the expanded “Effects” menu?
Clicking on any of these preset styles would transform your text to that design.
Depending on your chosen style, you will get further customization options to adjust the direction, intensity, color, etc., and make it your own.
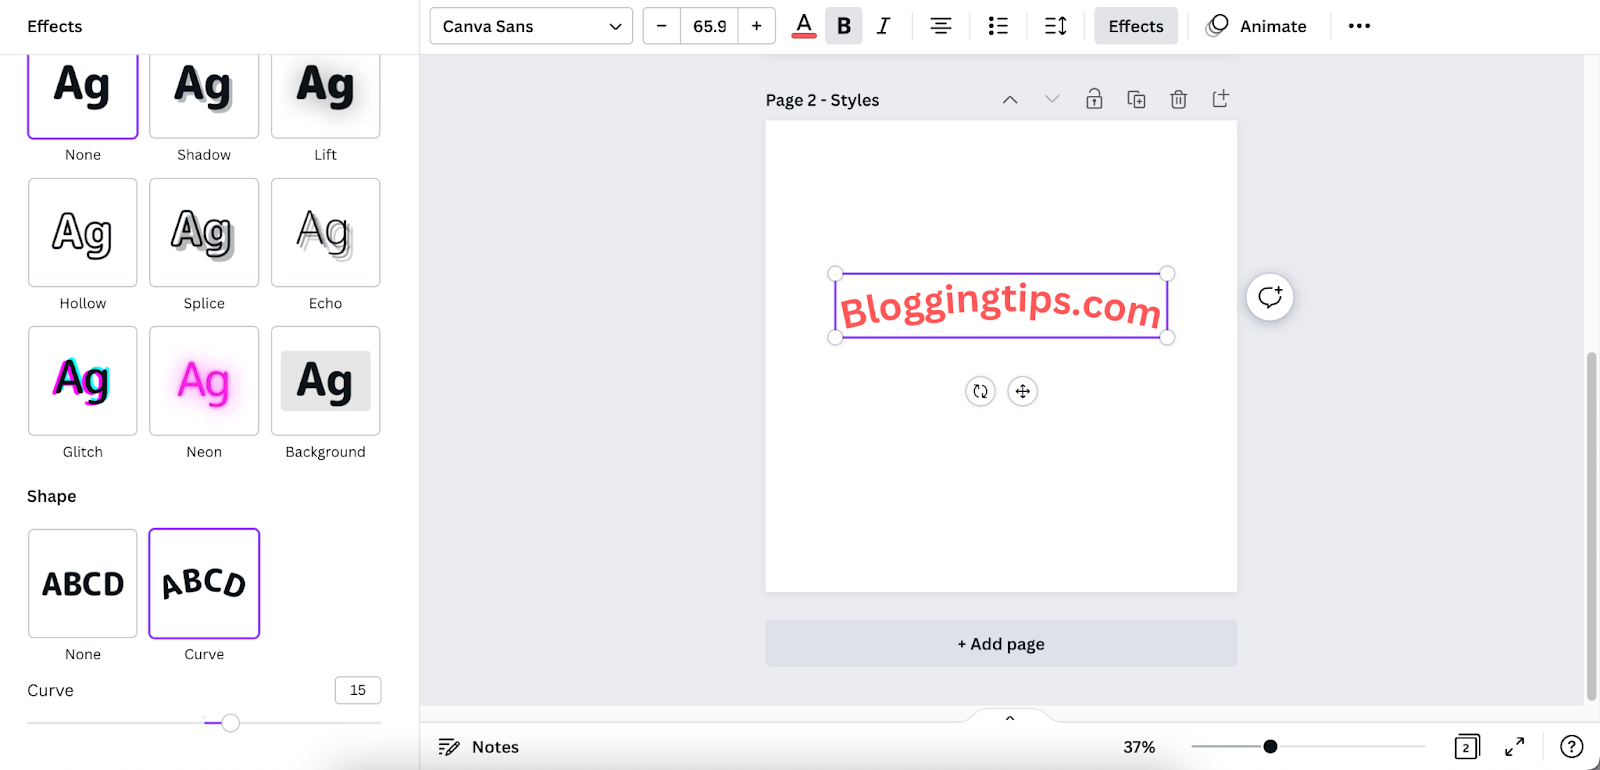
Step 4: Make Adjustments to Your Curved Text As Desired
Once you apply the curve text effect, a curve slider will appear just below the shape menu.
You can drag the slider to transform your curve into a full circle, reverse circle, or anything in-between.
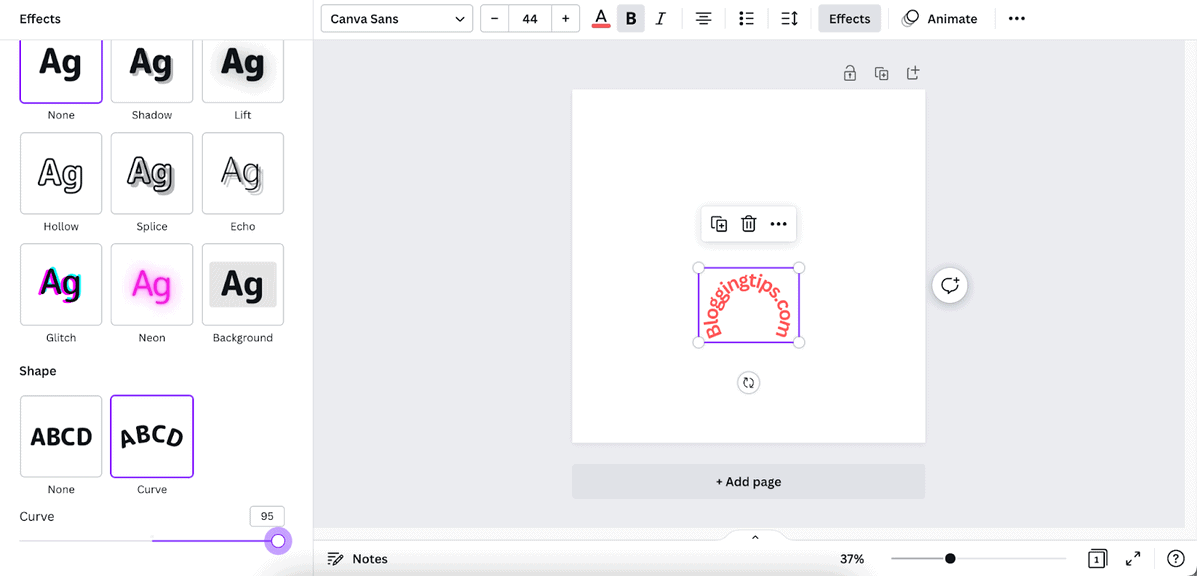
Positive Curve Value for Curved Text
At around 15 degrees, you will get almost horizontal text with slightly curved edges.
As you drag the slider to the right, it will increase the curve value.
The bigger the curve value, the more acute a circle your curved text will be.
For example, your horizontal text will resemble a circle at a curve value of 90 and above.
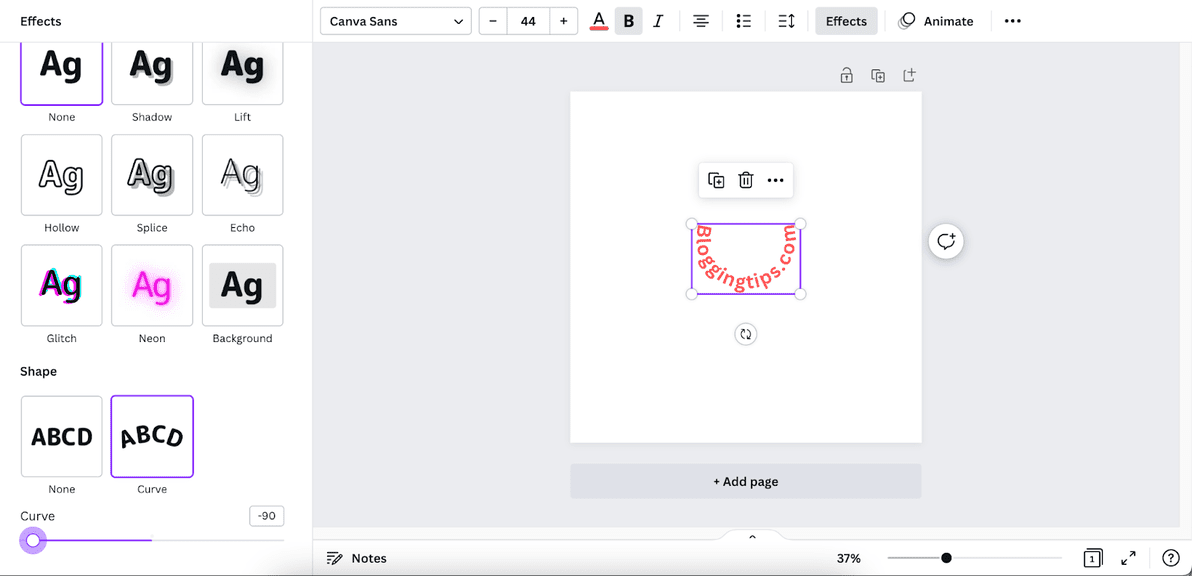
Negative Curve Value for Curved Text
You can also drag the curve slider to a negative value of -100 degrees.
The effect on your text would be similar, except that it will be reversed in the opposite direction.
Your horizontal text will resemble a smaller circle in the opposite direction at around -90 degrees and above.
Step 5: Combine Your Curved Text With Different Elements
As curved text is often used to embellish an image or a logo, Canva enables you to combine a photograph or other elements with your curved text.
A circle or a similarly shaped image would match perfectly with the arched text.
You can use an image from the Canva selections or upload your logo or other shapes.
For example, I used a globe symbol by searching for the element in this demonstration.
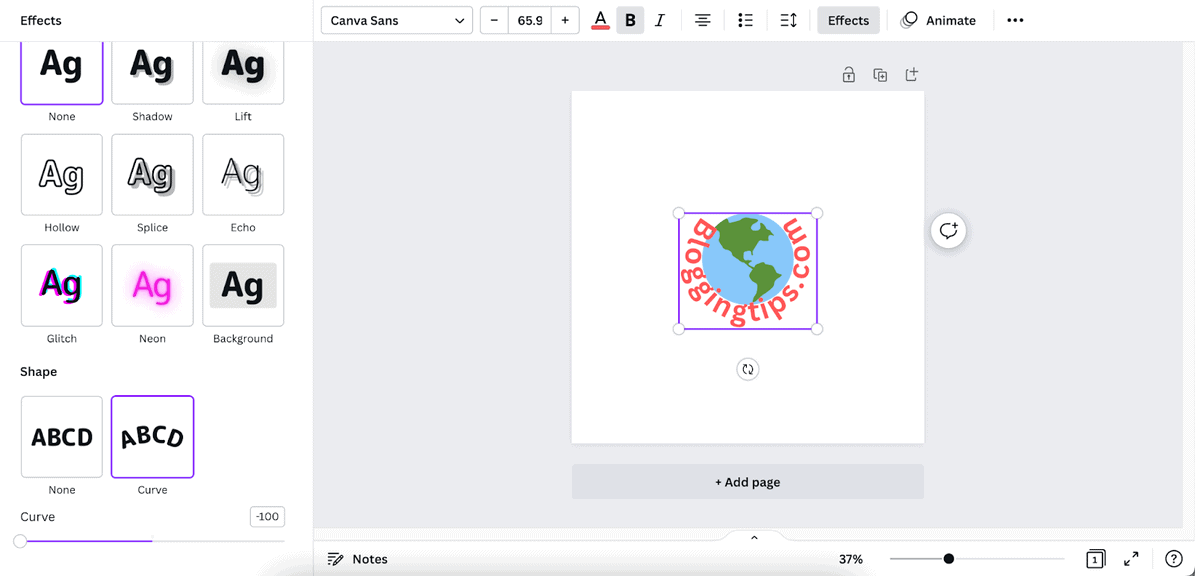
To do the same, add your desired element to your canvas by clicking on it.
You can resize, reposition and recolor the shape as desired.
After that, adjust your curve value to match the shape.
You may need to reposition and resize your curved text a few times to get it right for your final design.
Similar Tutorials To Check Out

Excited to learn more about designing in Canva? Check out a few related Canva tutorials below:
- How to Use Strikethrough Text: Spice up your design using the traditional error removal method by learning how to use strikethrough text.
- How to Draw on Canva: Let your imagination do the talking with doodles, sketches, and drawings by exploring how to draw on Canva.
- How to Crop a Picture Into a Circle: Give rectangular photos a circular shape by discovering how to crop a picture into a circle.
Wrapping Up
With its curved text generator, Canva lets all its users add a bit of style and class to their design.
I hope you find this tutorial helpful to curve text and embellish your logo, text art, data visualization, artistic quotes, etc.
So why wait? Make your audience glance in awe with the organic look of your curved text!
Don’t forget to engage through comments, as your appreciation gives me the energy to write more tutorials.
Also, please let me know if you need further clarification for curving text.


