
How To Post on Instagram From Mac: 2 Methods
Annoyed about needing to use a phone to post on Instagram? I don’t blame you.
While the Instagram app is fun, nothing is exciting about creating an Instagram content on your Mac and then transferring it to a phone to upload.
You can avoid this extra step by posting directly on the Instagram website from your computer.
In today’s post, let me show you how to post on Instagram from Mac.
Can I Add Photos to Instagram From a Mac?
You can add photos to Instagram from a Mac in a few simple steps. It is a quick way to post pictures and carousels on your feed.
You can also post an Instagram story from a Mac, which requires tinkering with the developer’s tool on a web browser.
Does Instagram Have an App for Mac?
Instagram doesn’t yet have an app for Mac. However, the Instagram website is easily accessible from Mac with a web browser.
The web version of Instagram has many app features, although the social media interface differs from the Instagram app.
What You’ll Need To Post on Instagram From Mac
In addition to the content you want to share, you will need the following few things to post on Instagram from Mac:
- Access to an Instagram account. You can use your personal or professional account to post from Mac.
- A web browser to access the Instagram web. The default Safari or Chrome browser will do.
- Access to the Instagram creator studio. This is an alternative method applicable to a professional or business Instagram account.
How To Post on Instagram From Mac: Step-by-Step Instructions
Two default ways are available to post on the Instagram website from a Mac, but it doesn’t allow posting Instagram stories.
You can use a social media tool like Sprout Social to create and share Instagram stories or posts.
This requires linking your Instagram account to the third-party tool and paying a subscription fee. I will only cover the free steps in this guide.
Method 1: Sharing an Instagram Feed Post From Mac
The Instagram website lets users create and share feed posts from Mac or any desktop computer.
You can post Instagram videos, photos, and carousel posts, but not stories.
Step 1: Head to the Instagram Website and Login
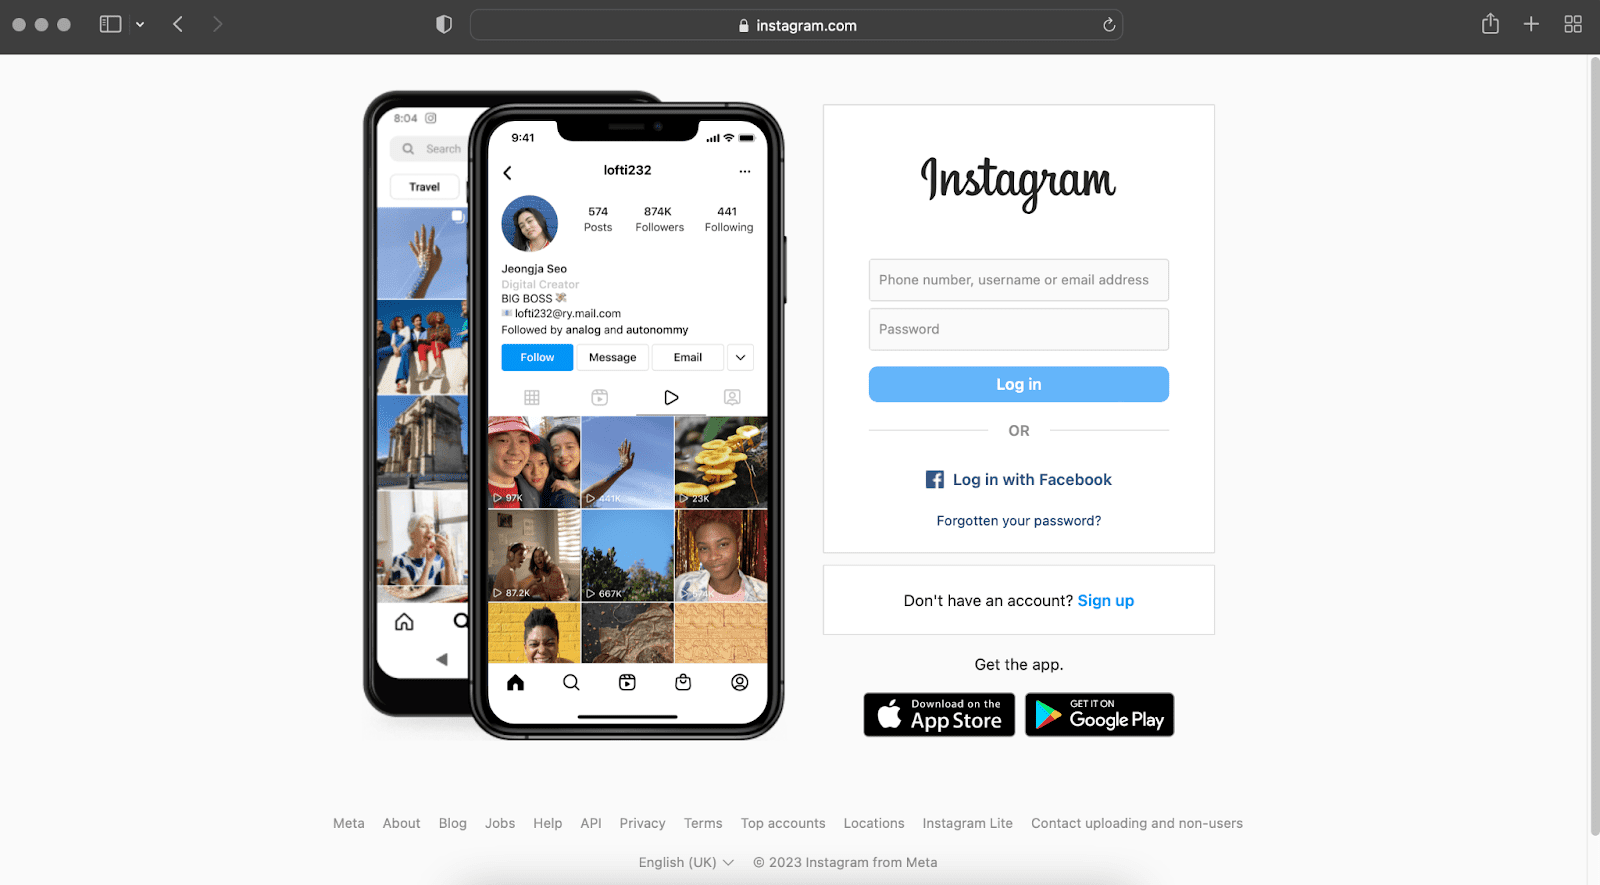
Find and open the Safari web browser on your Mac and visit the Instagram website.
If you can’t find Safari, simply type its name on the Spotlight search before clicking to open it.
Enter your username and password in the designated field and hit the “Log in“ button.
With the correct account credentials, you will be logged in in no time.
You must enter the access code to use the platform if you have switched on two-factor authentication for your Instagram account.
Pro tip: Safari doesn’t work with Instagram for some users. If that’s the case with you, install the Google Chrome browser before logging in to Instagram. The interface will be the same.
Step 2: Upload Your Photos and Videos to Instagram
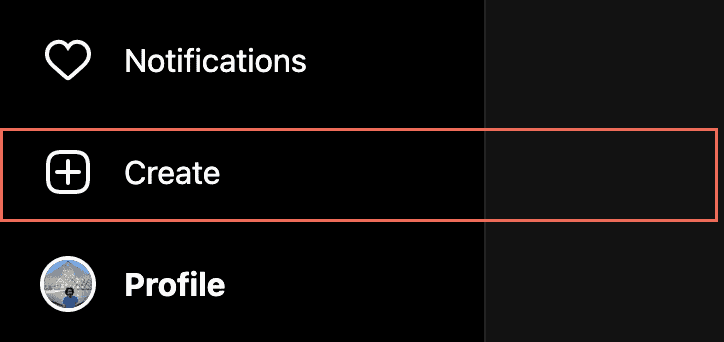
Unlike the app, all menu options on the Instagram website reside on the left sidebar.
Click on the “+ Create” menu from the sidebar. You will get a pop-up window on the right web panel for a new post.
Drag your photos and videos from the Mac over to the web panel. They should be uploaded immediately.
You can also click “Select from computer.” This will take you to Mac’s file manager.
Simply navigate to the location of your content and select it. Then hit the “Open” button to upload it to Instagram.

Pro tip: You can upload up to 10 photos and videos to create a carousel post. This works whether you drag or select your media on a desktop.
Step 3: Crop or Reorder Instagram Photos and Videos
Once your content is uploaded, you will get several cropping options at the bottom of your content.
Hit the “opposite arrows” icon from the bottom left to select an aspect ratio for your photo or video.
You can zoom in on your photo by clicking the “magnifying glass” icon, but this option isn’t available for Instagram videos.

Hitting the “double square” icon at the bottom right will enable you to add more photos and videos to your post and reorder their sequence.
Click the “single arrow” icon in the middle right to navigate and crop other content in a carousel post.
Once set, hit the “Next” button from the top right corner of the post window.

On the edit screen, you will have 12 filters to apply to your photo.
You can also edit the brightness, contrast, saturation, and other elements from the “Adjustments” tab.
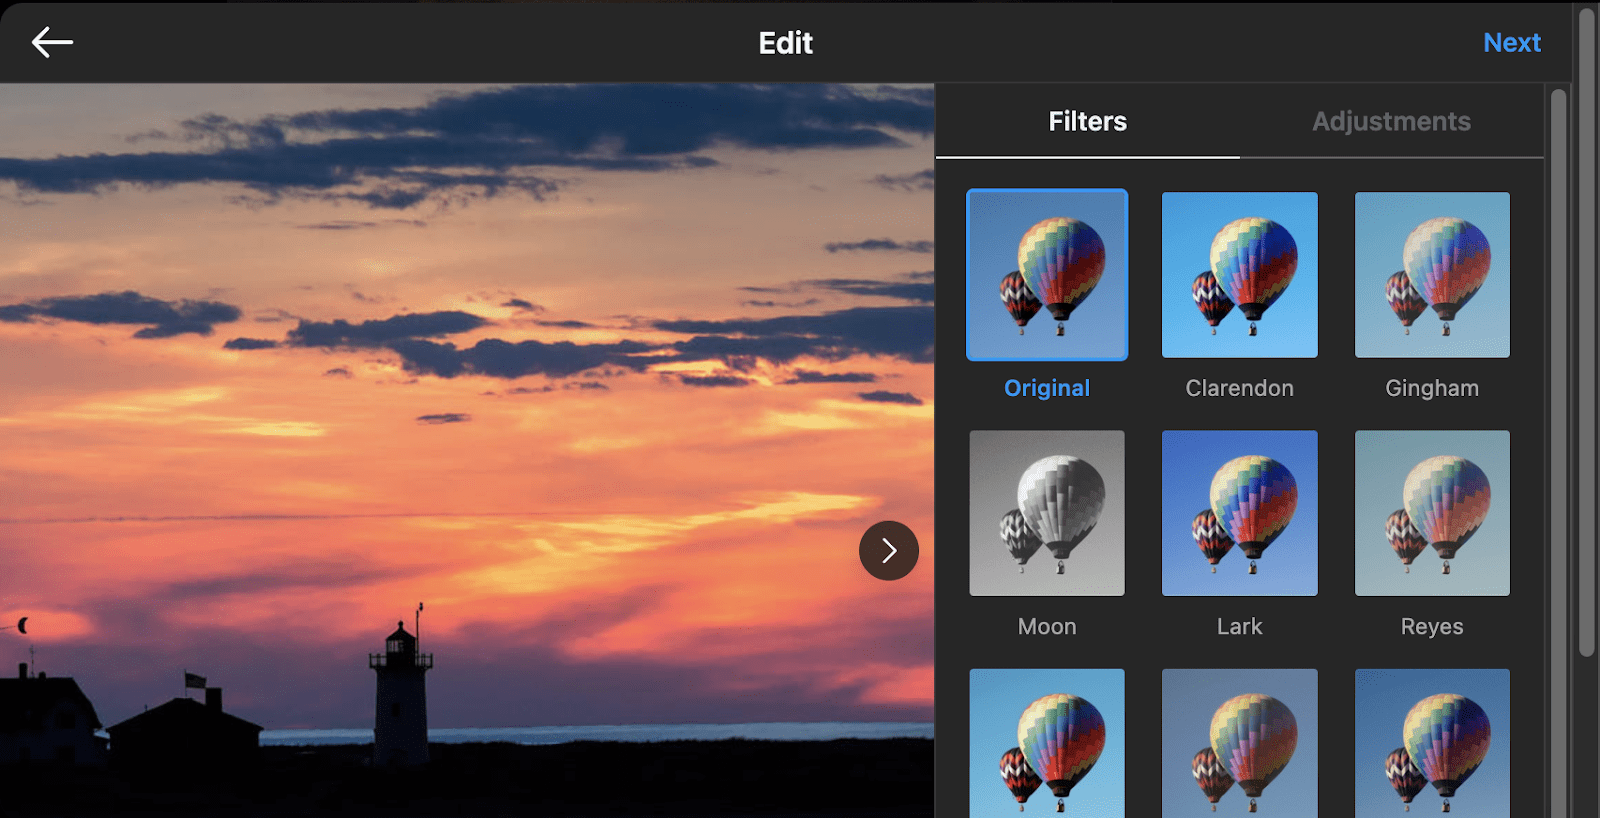
Hit “Next” when you are ready to create your post.
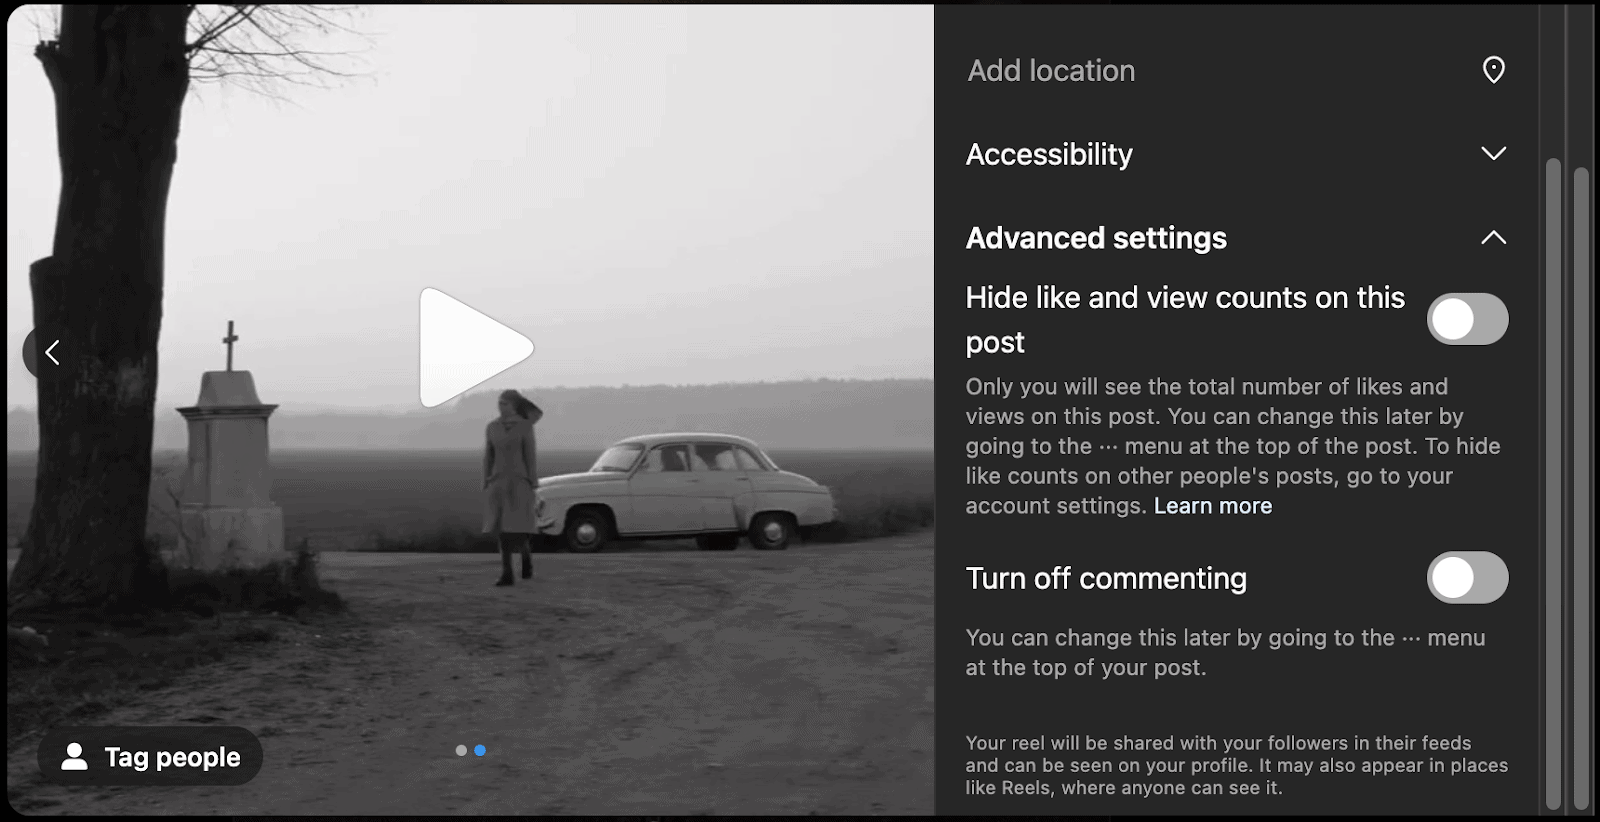
In the “Create new post” window, you can write a caption with an emoji (smiley icon), add location, Alt text, etc.
“Advanced settings” are also available to hide like and view comments or turn off commenting. You can also tag people if applicable.
Once done, click the “Share” button from the top right corner. Your Instagram post will be shared.
Method 2: Sharing an Instagram Post Using the Creator Studio
You can use the Meta creator studio (previously known as Facebook creator studio) with a professional account to post on social media.
You must link your Instagram account to the creator studio, which requires having a Facebook page.
Sounds complicated?
Facebook has a detailed guide on how to link your Instagram account to the creator studio. You can find it here.
Once connected, head to the Instagram section. After that, navigate to Create Post > Instagram Feed.
Simply follow the on-page instructions or watch the YouTube video below to add a caption and location, upload Instagram photos and videos, and publish your post.
You can use photos and videos already published on your Facebook page.
It is also possible to publish simultaneously to both Instagram and Facebook social media platforms.
Similar Tutorials To Check Out
Feeling relieved about posting on Instagram from a Mac? Check out the following tutorials to learn more about different Instagram features:
- How To Repost On Instagram: Entertain new followers with your top-performing content by exploring how to repost on Instagram.
- How To Reply To A Message On Instagram: Engage with your Instagram community by learning how to reply to a message on Instagram.
- How To Get Verified on Instagram: Get the prestigious blue tick badge on your profile by discovering how to get verified on Instagram.
Wrapping Up
It is pretty straightforward to post on Instagram from Mac, except that it doesn’t allow creating Instagram stories.
Like the app, the Instagram website offers different filters and adjustments to customize your post; simply follow my detailed instructions.
Please leave a comment with your feedback to keep these posts coming. I would also appreciate it if you shared this guide with your friends, fans, and followers.


