
Having to rotate an image in Google Docs?
Many professionals and students deal with this issue, as do most amateur photographers. It can be because of an incorrect picture perspective or a formatting preference.
Rotating images may also help to wrap text around them better.
You can rotate images in Google Docs without much effort. There are several quick ways.
With detailed steps, let me show you how to rotate images in Google Docs.
- Can You Rotate a Single Page in Google Docs?
- Can You Rotate Images in Google Drive?
- What You’ll Need To Rotate Images in Google Docs
- Method 1: Rotating Images in Google Docs With the Rotation Control
- Method 2: Rotating Images in Google Docs via Picture Formatting
- Method 3: Rotating Images in Google Docs With Drawing Function
- Similar Tutorials To Check Out
- Wrapping Up
Can You Rotate a Single Page in Google Docs?
Unfortunately, you can’t rotate a single page of a long document in Google Docs. However, you can change the orientation of your entire doc from portrait to landscape and the other way around.
Navigate to Files > Page setup from the top left corner and then set your preferred orientation.
Can You Rotate Images in Google Drive?
You cannot rotate images in Google Drive by default, but you can use some Google apps like Google Drawings or Google Photos for that.
Google Drive doesn’t show the Google Photos edits in your original file. You have to save the edited photo separately to view its fixed orientation.
What You’ll Need To Rotate Images in Google Docs
In addition to having a picture to insert, you will need the following to rotate images in Google Docs:
- A Google Account to access Google Docs. While you can edit some permitted Google Docs documents without an account, you must log in to create or copy a page.
- A device with an internet connection. Whether on a computer or a smartphone, you should be connected to the internet to seamlessly use Google Docs.
- A reliable web browser like Google Chrome. The Google Docs app is powerful and accessible, but editing is more convenient on the web.
Google Docs makes rotating images upside down or other unique perspectives easy. Several methods are available to rotate images in Google Docs, each of which has specific features and techniques.
Method 1: Rotating Images in Google Docs With the Rotation Control
The quickest way to rotate an image in Google Docs is by using the rotation control.
It is easily accessible and requires using your touchpad or mouse to drag it toward the side you want to rotate the picture.
This could be handy for placing your photo at a specific angle.
Step 1: Insert an Image Into Your Google Docs Document
After accessing your Google Docs page with your Google Account, you can open a saved document or create a new one.
Next, insert a picture that requires a change of orientation.
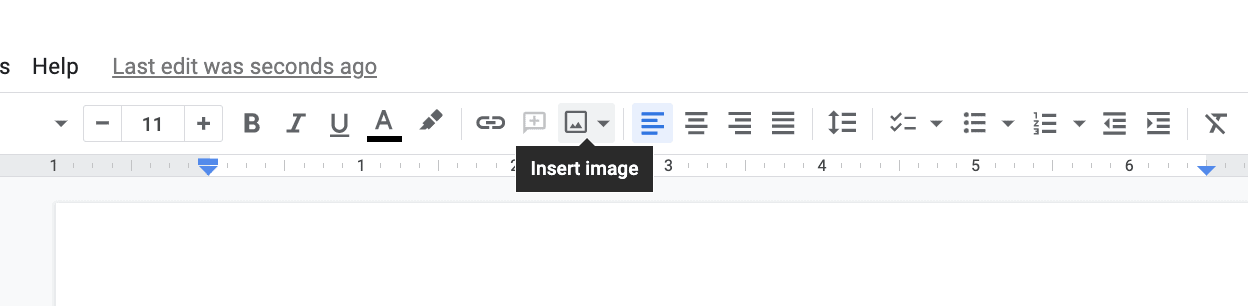
You can insert a picture by clicking the “Insert image” button at the top toolbar. You can also drag and drop a photo from your computer or Google Drive folder.
It doesn’t matter whether you have text in your document or not.
If you have text, click on your document’s specific section before inserting an image.
Step 2: Select the Image and Rotate It to the Preferred Side
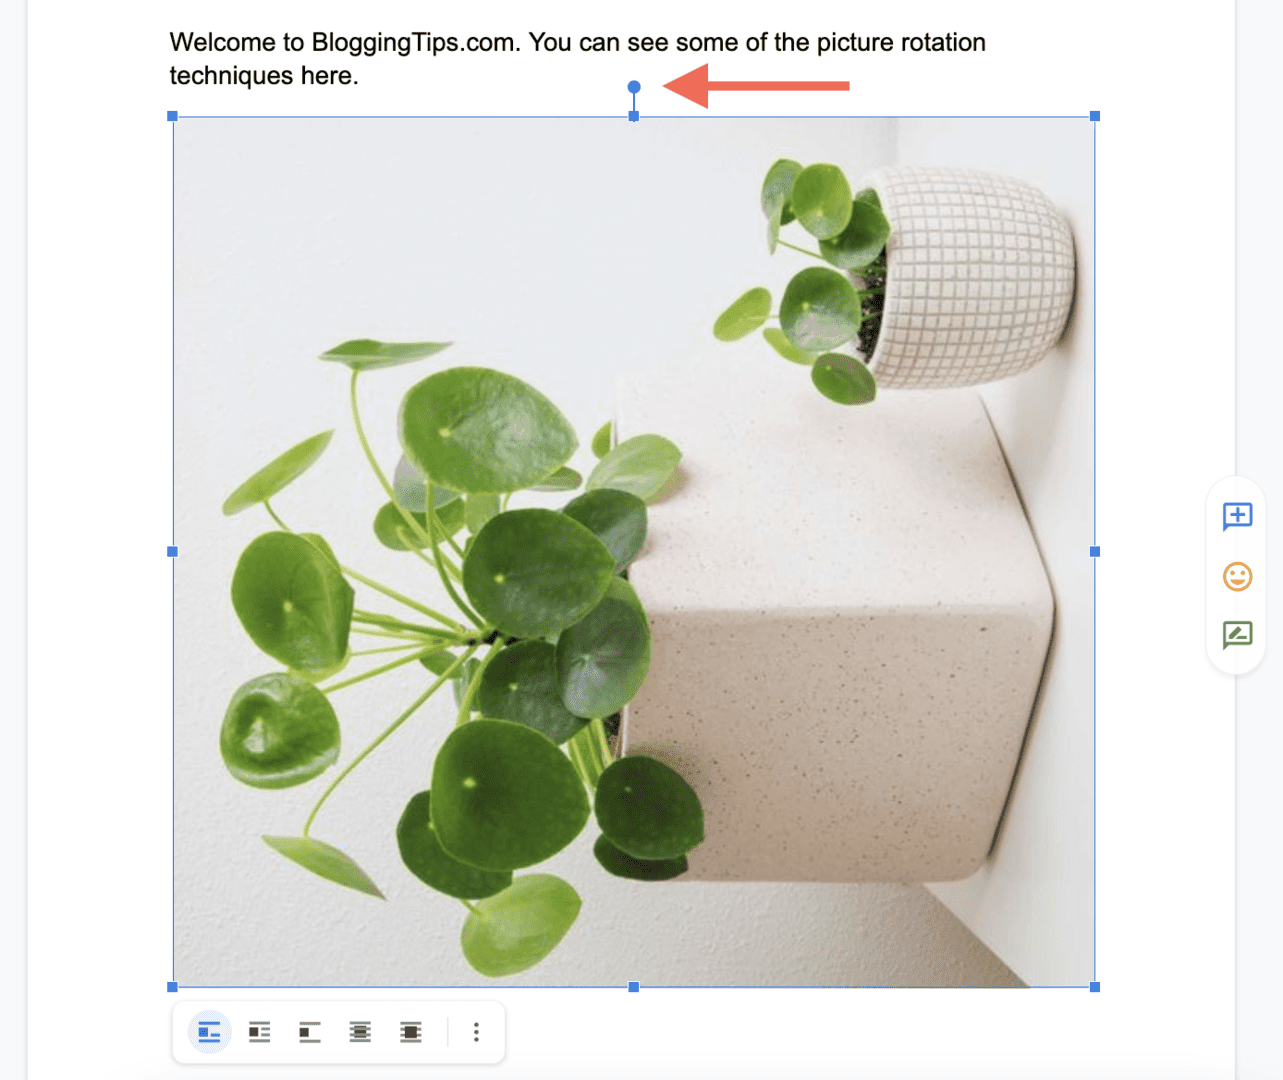
Select the inserted picture in your document. A blue square should appear across the image, along with a small toolbar at the bottom.
Notice the tiny blue circle at the top of the center square? It is the rotation control button, which is joined to the borders with a blue line.
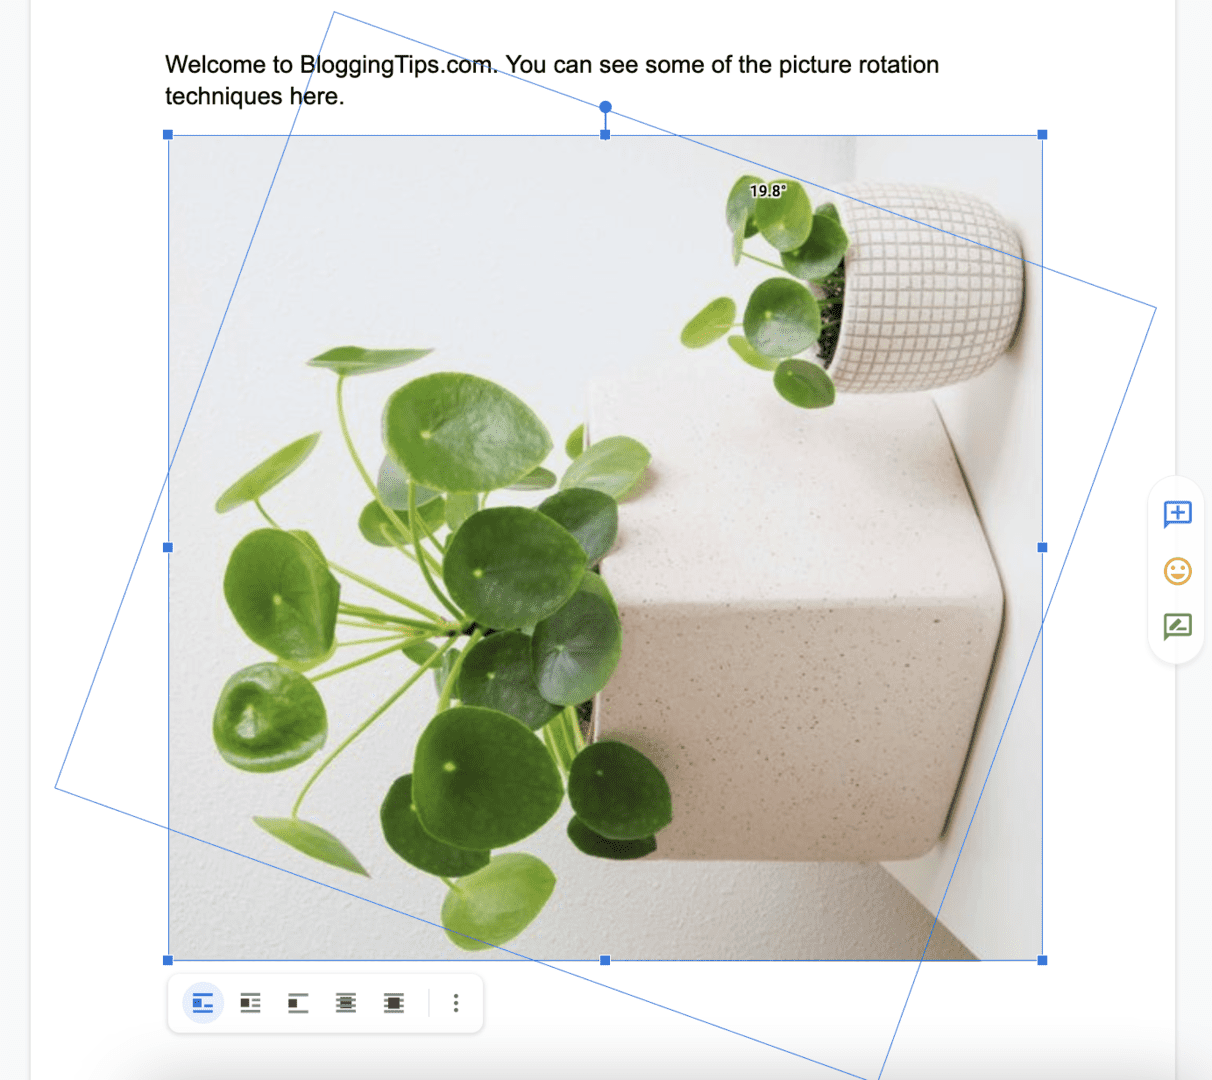
Hover your mouse over the rotation control, and you will see a plus (+) sign. Then click on it and hold.
While holding the left click, drag your cursor toward a side, and it will rotate.
Release the cursor once you rotate the picture to your preferred orientation.
Method 2: Rotating Images in Google Docs via Picture Formatting
Remember the tiny toolbar at the bottom of your picture when you select it?
You can access the Image options from the toolbar to fix a picture’s orientation.
Select the image after inserting it into your document.
Then click on the vertical three dots icon from the mini toolbar.
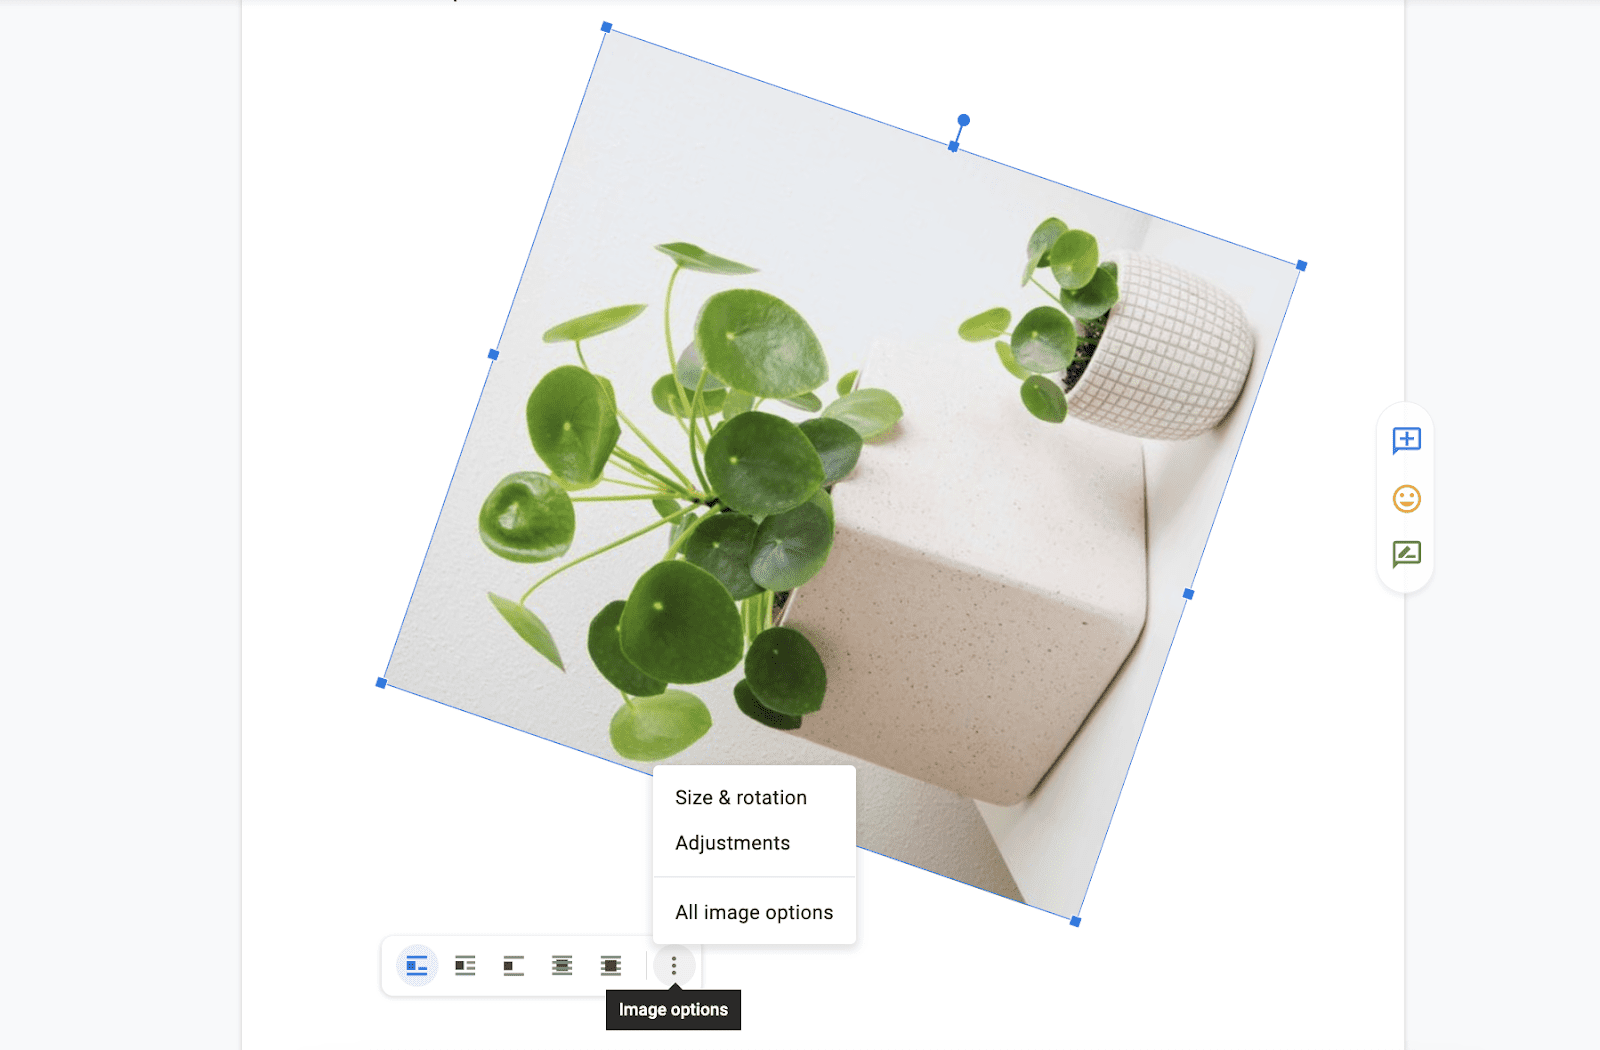
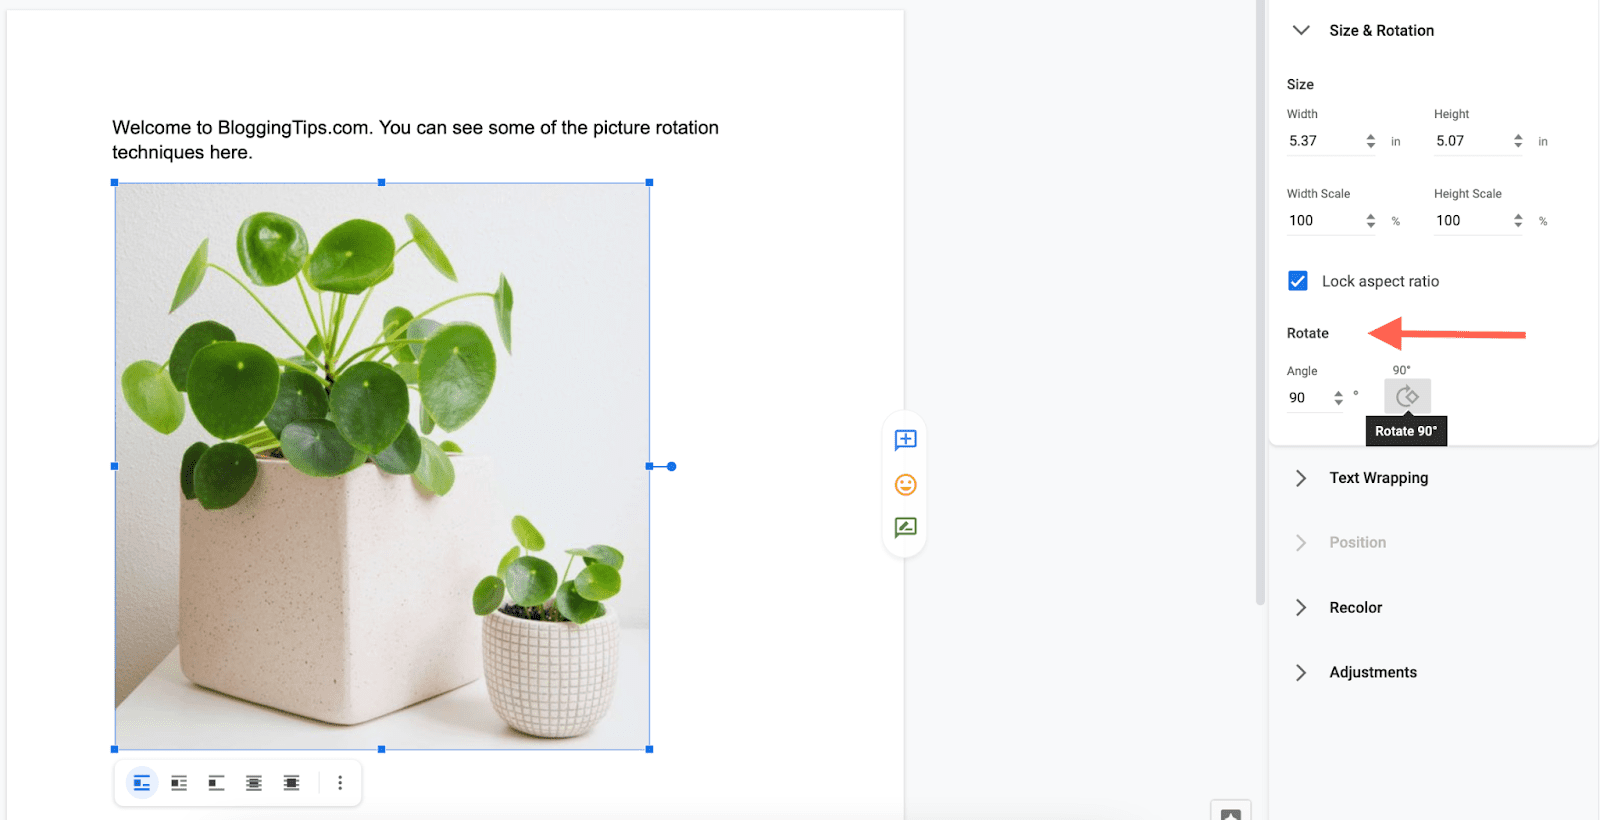
Hit the “Size & rotation” option from the menu. An “Image options” pane will appear on the left with various sizing and rotational options.
You can also navigate to “Image options > Size & Rotation” from the top toolbar.
Type in your preferred angle under “Rotate” to rotate the picture. A typical picture has a 90-degree perspective.
You can also click the 90-degree icon to change the orientation by that specific margin.
This button only rotates the picture clockwise, so you may need to hit it multiple times to set the proper perspective.
Method 3: Rotating Images in Google Docs With Drawing Function
This method is slightly more complicated but offers plenty of features for graphic design.
You must use the “Drawing” function to insert images.
So click on “Insert” and choose “Drawing.” After that, hit the “+ New” button. The drawing pane should appear.
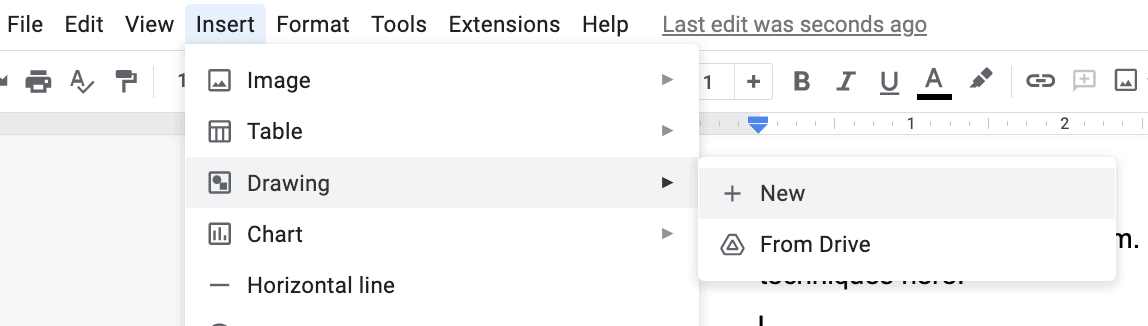
Click on the “Image” icon from the middle of the top toolbar. You will find various insert image options.
Once added, you can reposition and resize it as you please, but let’s focus on rotation for this tutorial.
You have multiple options to rotate a picture in the drawing canvas. but
Whichever option you use, make sure to hit the “Save & Close” button after rotation to save and insert your image into the document.
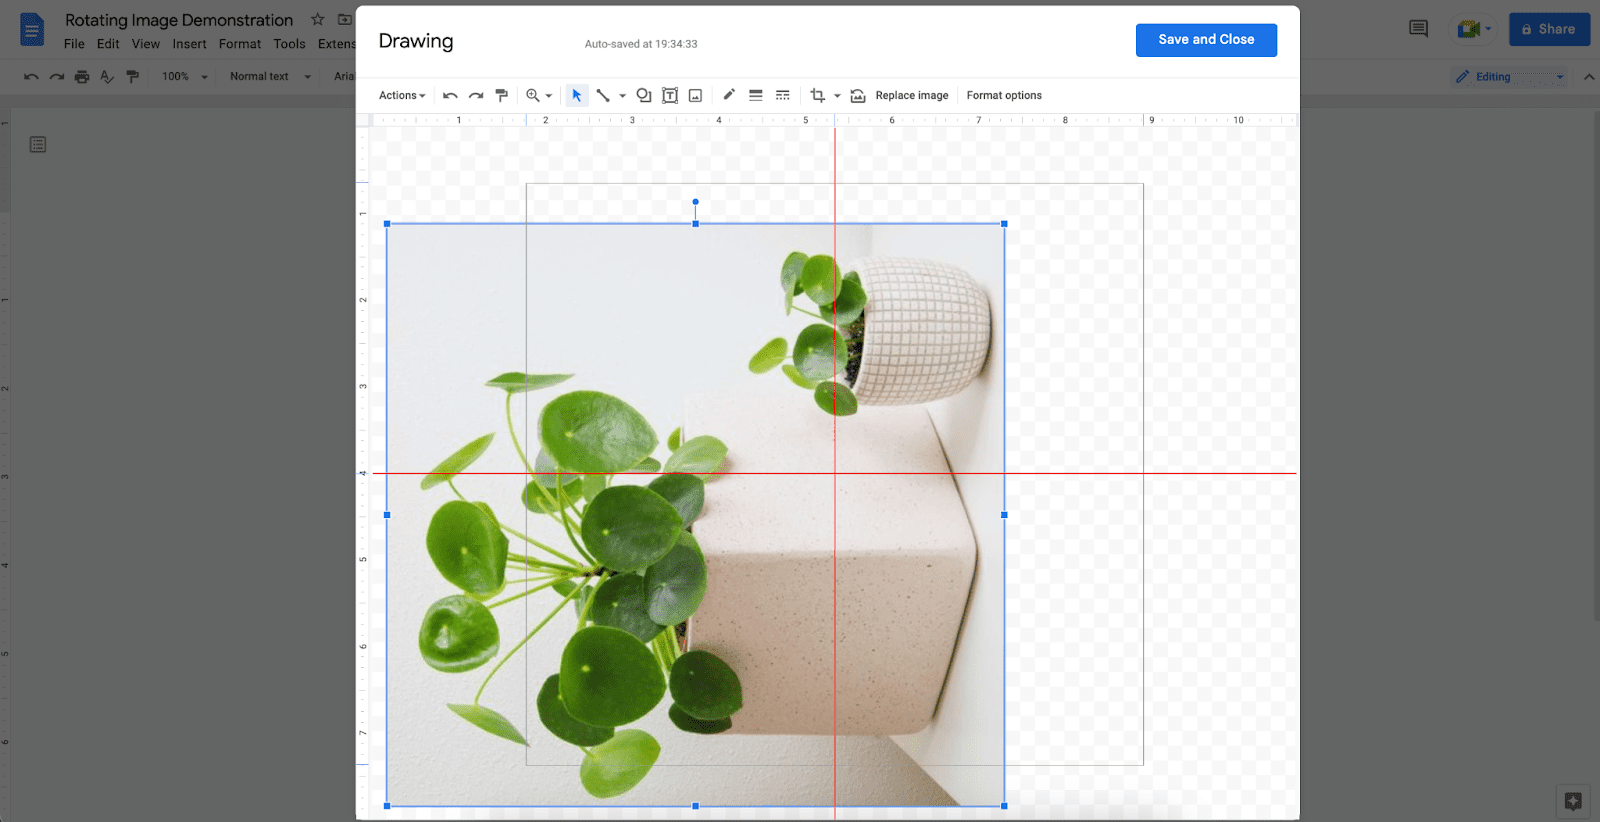
Rotating a Photo With the Cursor Control
The first rotation technique described above (Method 1) is also available in the drawing function.
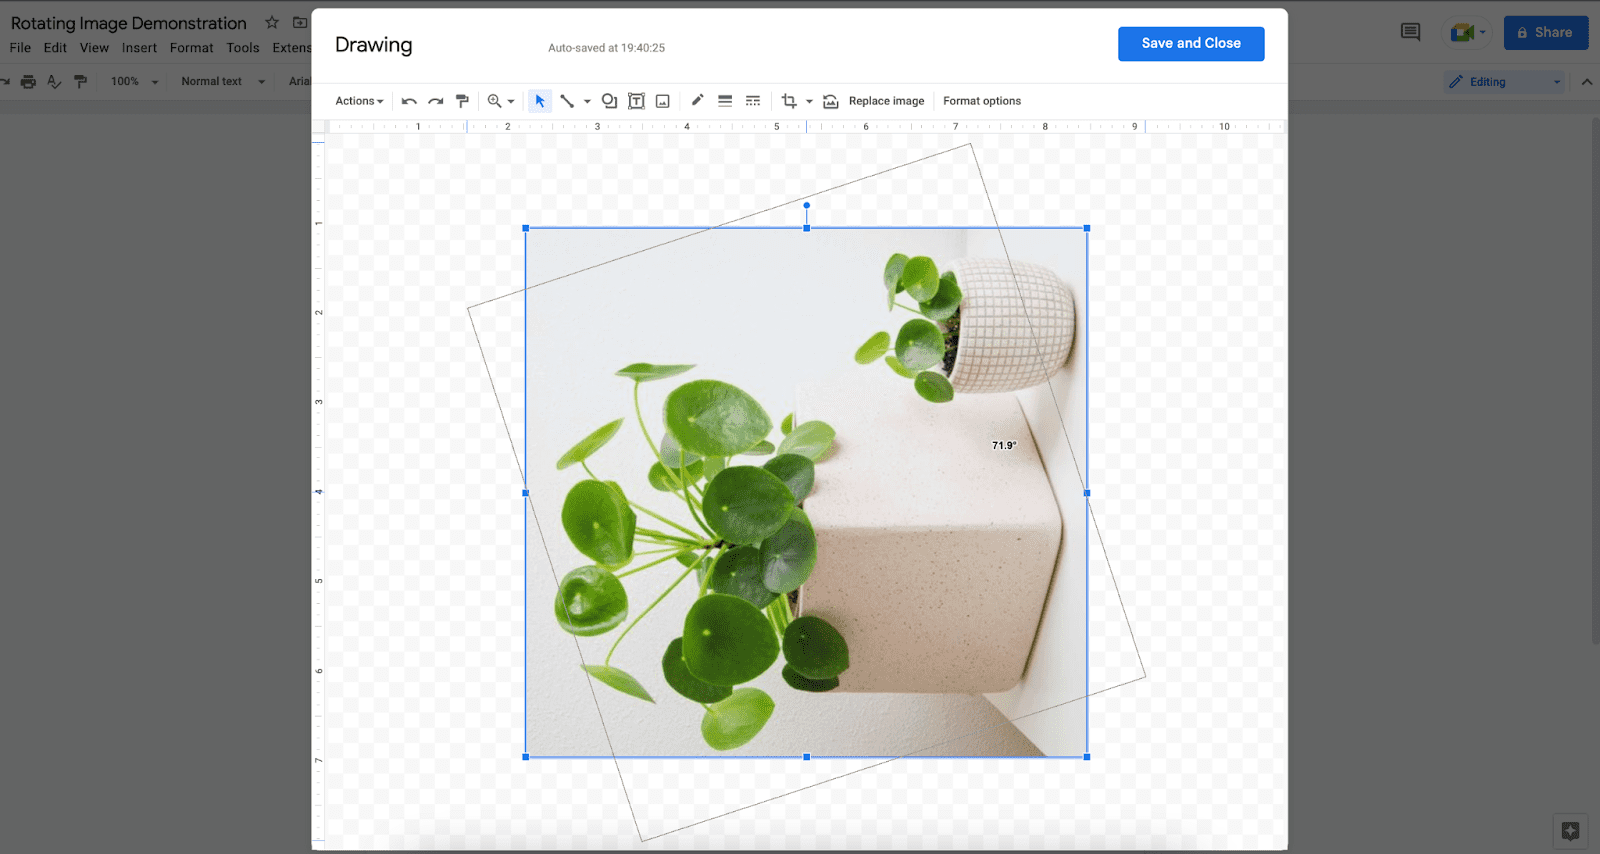
Simply select the image for the rotation control to appear, and then click and hold your cursor over the controller.
Next, drag the cursor toward a preferred side before releasing it.
Rotating a Photo With Right-Click Options
Hover your cursor over the image and right-click on it. Some options should appear.
Hover or click on “Rotate.” You will get four different options to rotate and flip the picture.
Click on the “Rotate clockwise” or “Rotate counter-clockwise” option as needed.
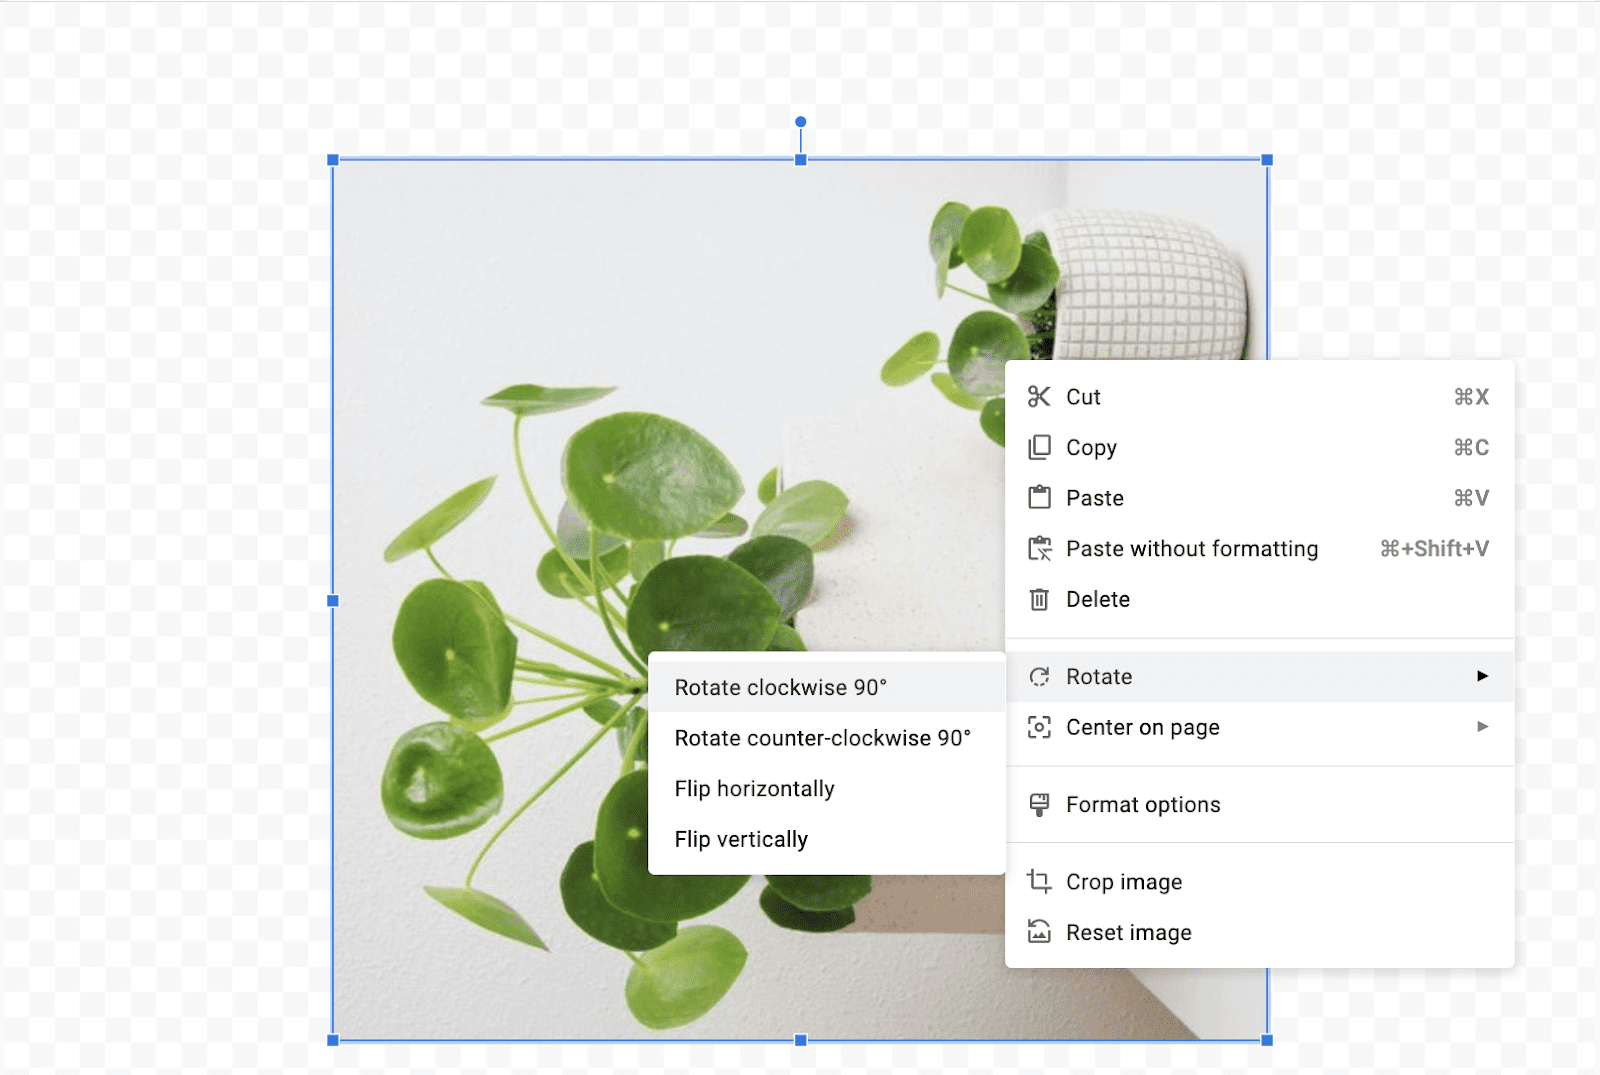
Flipping images can also help with some rotation, as a flipped image creates a mirror effect for its content, which is available in the right-click menu.
Selecting the “Flip horizontally” will change the position of the subjects in your picture from left to right. Similarly, the “Flip vertically” option makes the photo orientation upside down.
Similar Tutorials To Check Out
Can’t wait to learn more about Google Docs and image formatting? Satisfy your thirst for tips by checking out the related articles below:
- How to Export Images From Google Docs: Save your document’s images separately by reading my guide on how to export images from Google Docs.
- How to Export Google Docs: Create copies of the automatically saved document by learning how to export Google Docs.
- How to Resize an Image without Losing Quality: Avoid sacrificing quality while stretching your pictures by exploring how to resize an image without losing quality.
Wrapping Up
It is common for people to take photos from weird angles as changing perspective is effortless with most photo editing tools.
If you insert a photo in Google Docs, you don’t need to use a separate tool. You can conveniently rotate the image as desired right in your document.
I have described all the methods and steps in my guide. Follow the steps described in my guide, and let me know if you need any help. I would also appreciate it if you shared this post with others.


