
Do Instagram reels make your content look old-fashioned?
You are not the only content creator to feel this way. Since Instagram announced reels, it has become a critical staple for Instagram marketing.
Why not try your hand at creating Instagram reels? It can increase your social media engagement rate by up to 22%.
In today’s tutorial, I will show you how to make a reel on Instagram in detailed steps.
- Frequently Asked Questions
- What You’ll Need To Make a Reel on Instagram
- How To Make a Reel on Instagram: Step-by-Step Instructions
- Step 1: Get in the Mood by Exploring Instagram Reels
- Step 2: Access the Reels Feature To Create Your Video
- Step 3: Collect New or Old Footage for Instagram Reels
- Step 4: Edit and Customize Your Instagram Reel
- Step 5: Share Your Instagram Reel With Followers
- Similar Tutorials To Check Out
- Wrapping Up
Frequently Asked Questions
Can You Make an Instagram Reel With Just Photos?
You can easily make an Instagram reel using just photos. All it takes is accessing your gallery from the Reels screen, selecting pictures, and then tapping the preview button.
You can also add music to your slideshow video. A maximum of 10 photos can be added to an Instagram reel.
What Is the Best Way To Make an Instagram Reel?
Using the Instagram app on a smartphone is the best way to make an Instagram reel. You can swipe right on your feed to get to the camera option and then hit the Reels tab from the bottom.
You will get different features to create and customize your reel.
What You’ll Need To Make a Reel on Instagram
Instagram Reels are similar to TikTok videos, except a reel has more features for video content.
To start making reels with my guide, you will need the following:
- A smartphone with a reliable internet connection. You can use an iPhone or an Android smartphone to create video reels on Instagram.
- The Instagram app on your phone. Based on your device, you can find it on the iPhone App Store or the Google Play store.
- An Instagram account with a valid username and password. You can use your Facebook credentials to create an Instagram account quickly.
How To Make a Reel on Instagram: Step-by-Step Instructions
You have to go beyond the basics of using Instagram to create a reel and share it with your followers.
The effort will undoubtedly pay off with more followers and engagement as the Instagram algorithm rewards reel content by boosting its visibility.
I detail the steps on an iPhone. The process is the same for other devices, although you may have to find the reels tab in a slightly different place.
Step 1: Get in the Mood by Exploring Instagram Reels
Watching the most popular reels on Instagram is an excellent way to learn what works best on a video.
Simply open the Instagram app and sign in using your credentials. Then hit the “Magnifying glass” icon from the bottom of your feed.

It will take you to the Explore page, where you can find the top posts based on your search habit.
Click on any of the video reels to open it in full screen and scroll down to watch more featured reels.

Step 2: Access the Reels Feature To Create Your Video
You can access the reels feature on Instagram in various ways.
While watching a reel, simply click on the “Camera” icon at the top-right corner of the screen to access the Reels tab.
Hit the “Try this template” or “Suggested audio” button on the reels tab and customize it by adding your footage.
This is excellent for reusing a reel’s template and music to save time, but whether it is allowed depends on the permission set by that content creator.

It is also possible to create original content by starting from scratch.
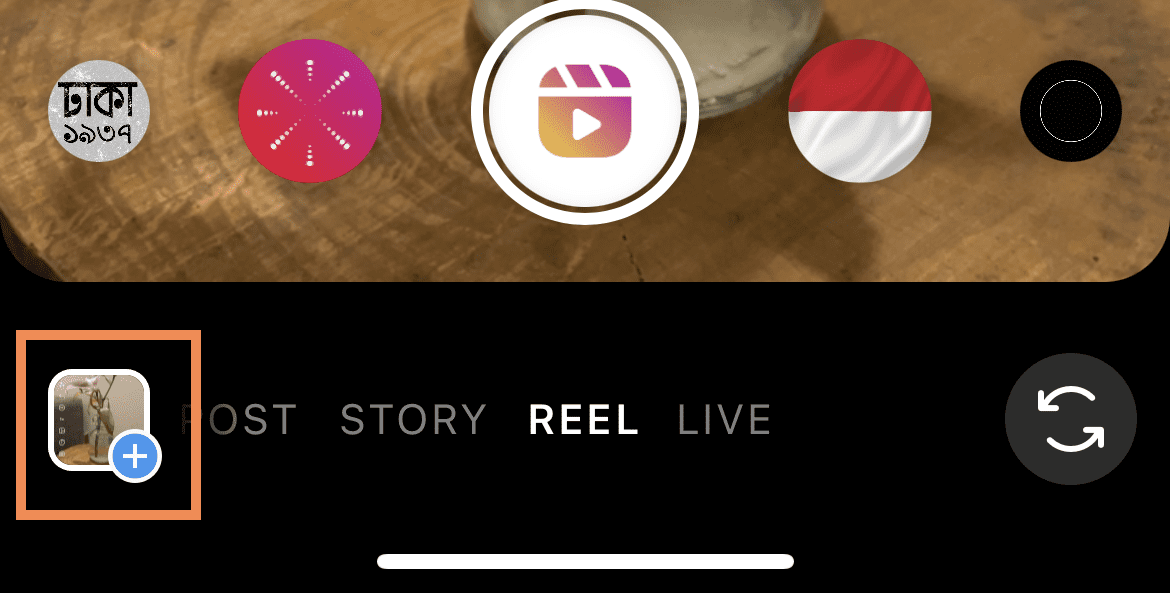
Swipe right anywhere on your Instagram feed to access the Instagram stories screen. Afterward, select the “Reels” option from the bottom of the screen.
Alternatively, you can hit the “+” icon from your feed or the Instagram profile page before selecting “Reels.”
Step 3: Collect New or Old Footage for Instagram Reels
You can record new footage or use old videos and photos from the gallery to create Instagram reels.
Step 3.1: Record New Footage for Reels
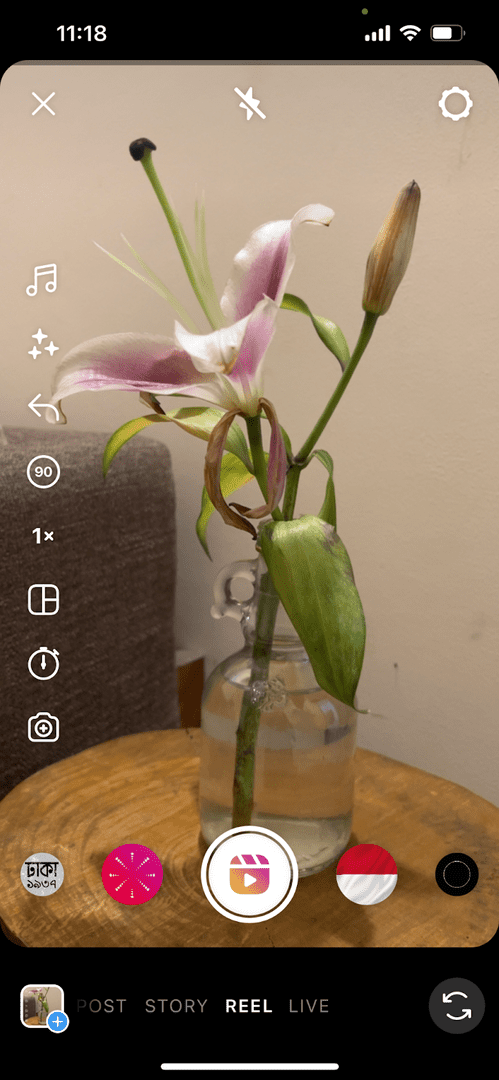
From the Reels tab, tap on the giant video record button at the bottom of the screen to start recording.
You can add effects to the ig reel footage by scrolling left or right of the record button and selecting a premade video filter.
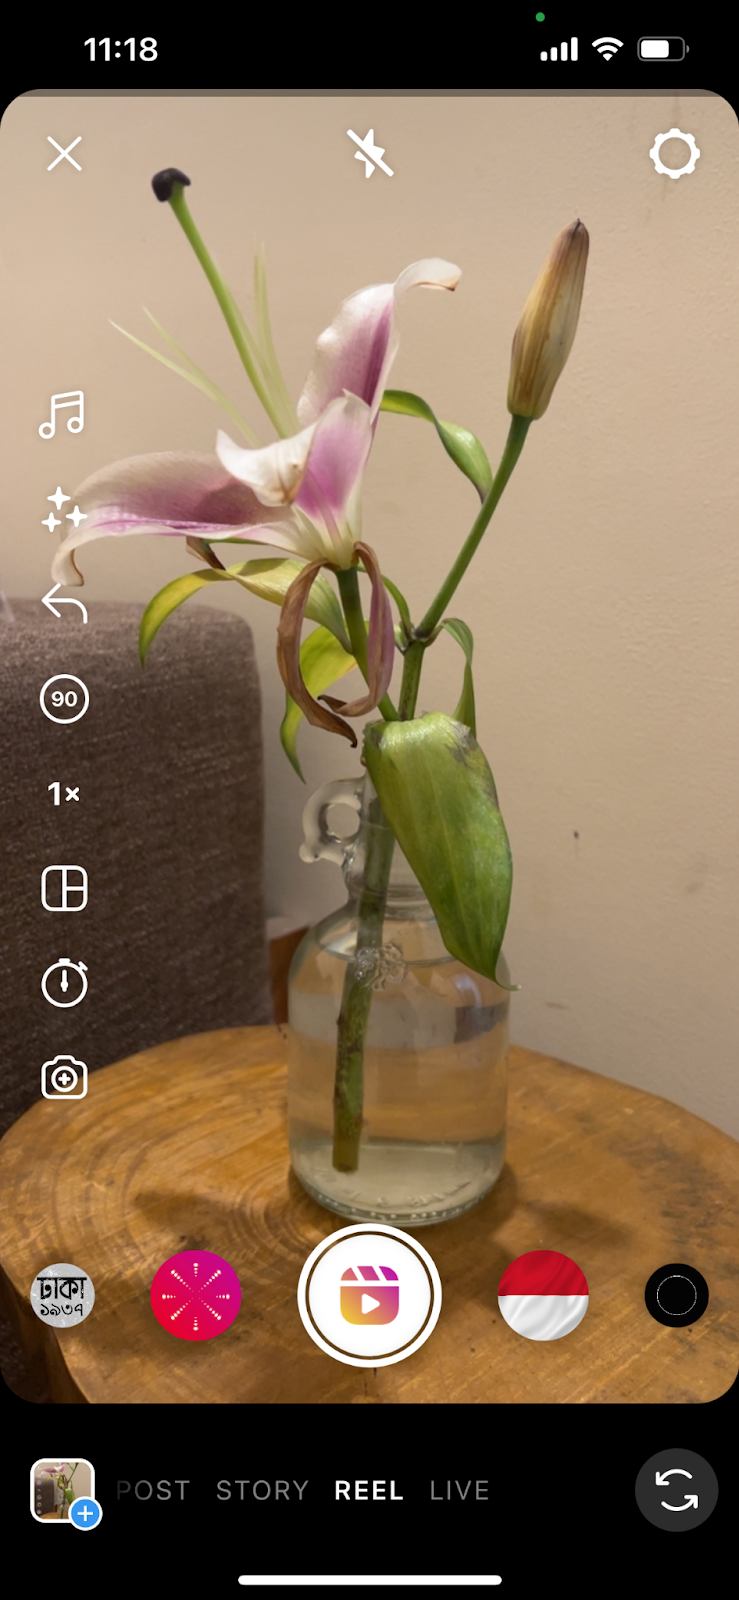
At maximum, Instagram reels can be 90 seconds long.
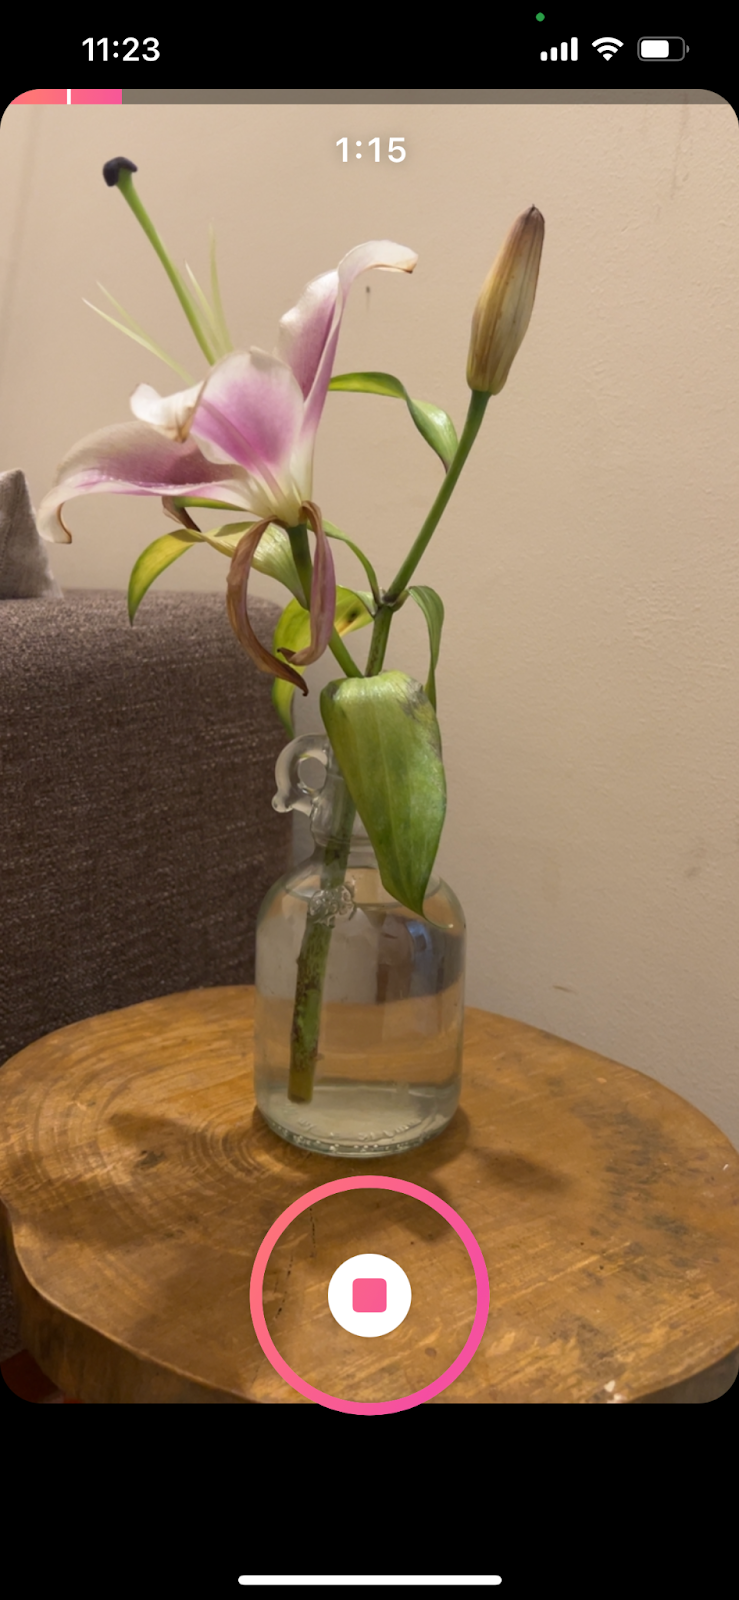
You can shoot multiple videos to add to your reels by pausing the recording and restarting it.
A pink ribbon at the top of the record screen will show the number of clips and lengths you have already recorded.
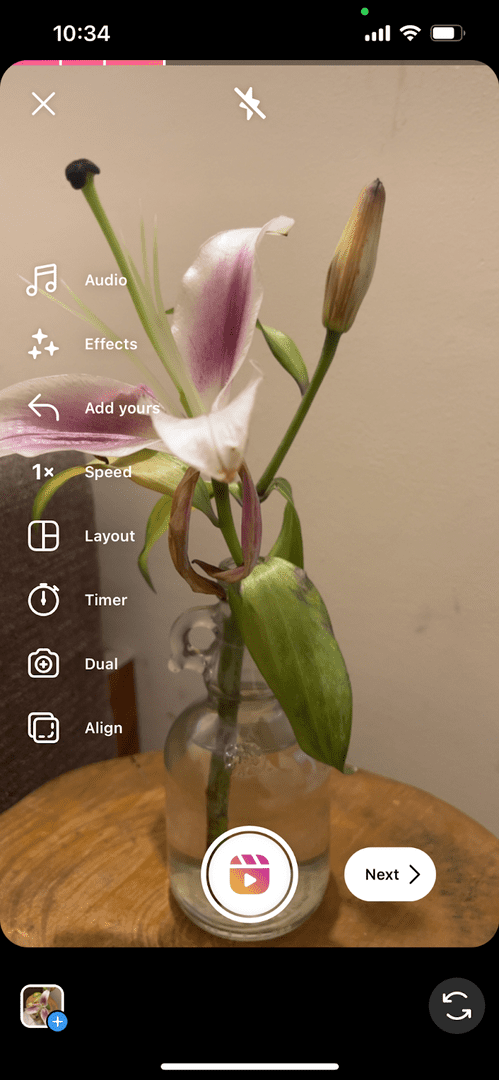
Pro Tip: Customize New Footage While Recording
You can add audio to your recording using the left sidebar features.
This sidebar also has options to speed up or slow down your video, add a layout, set a timer, or align your footage.
It is also possible to record the front and back views using the dual-camera option.
Audio and video effects can also be added later from the video editor tab.
Step 3.2: Use Existing Photos and Videos
You can use existing videos and photos to create an Instagram reel or add existing media to the newly-recorded footage.
Notice the small “square with a +” icon at the bottom-left corner of the Reels tab? Click on it to access your phone’s gallery.
You can select multiple videos and photos at once to add to your reels video.
Step 4: Edit and Customize Your Instagram Reel
After recording and adding footage for your Instagram reel, you can edit them to create an aesthetic video.
Simply click “Next” to go to the video editor screen. Here you will find various options to edit the video.
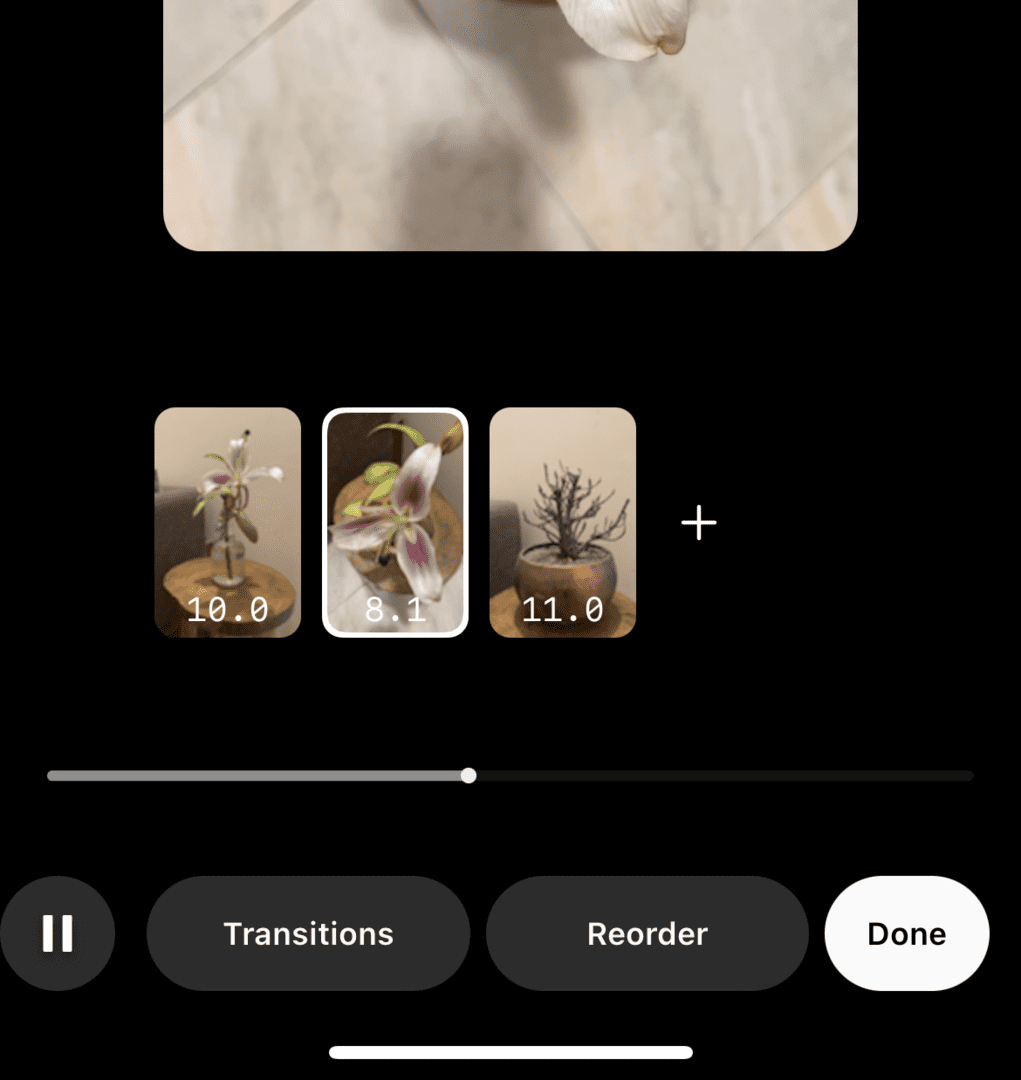
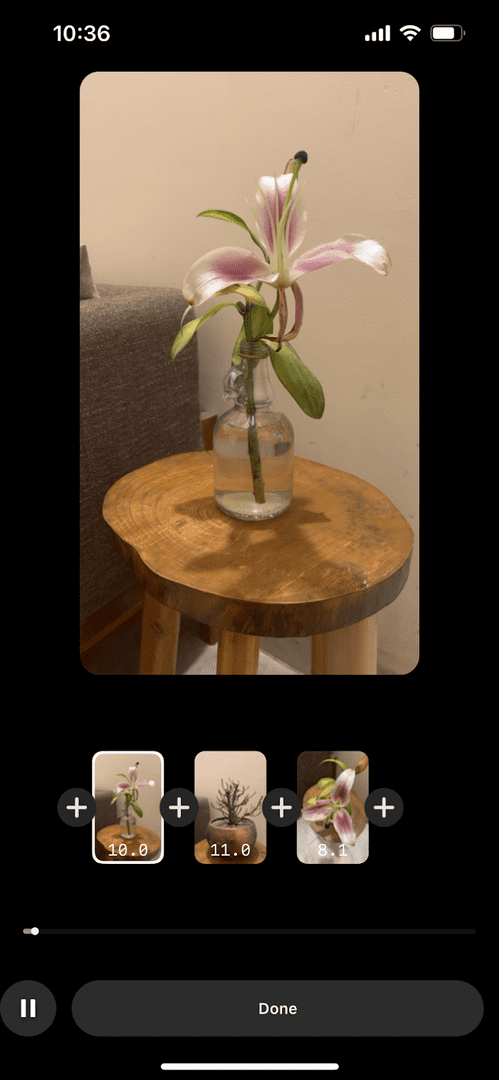
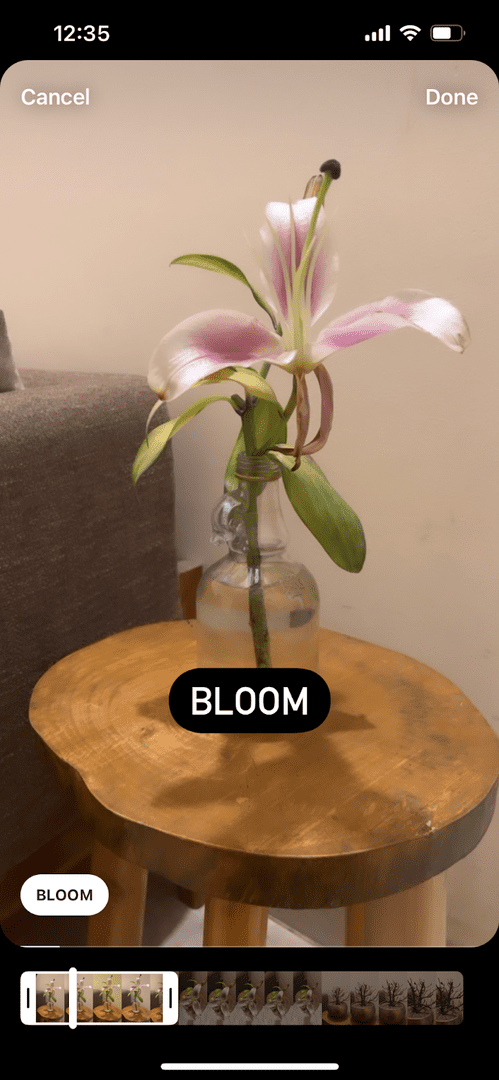
Start by tapping the “Edit clips” button from the bottom left corner. Here you can shorten and reorder your clips while adding some transitional effects.
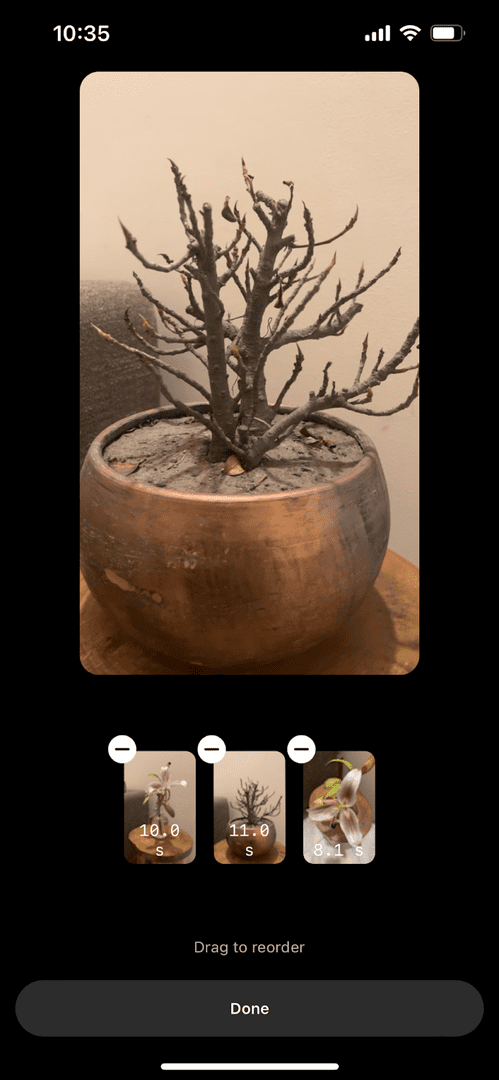
Use the hold and drag method to reorder all your footage on the next page.
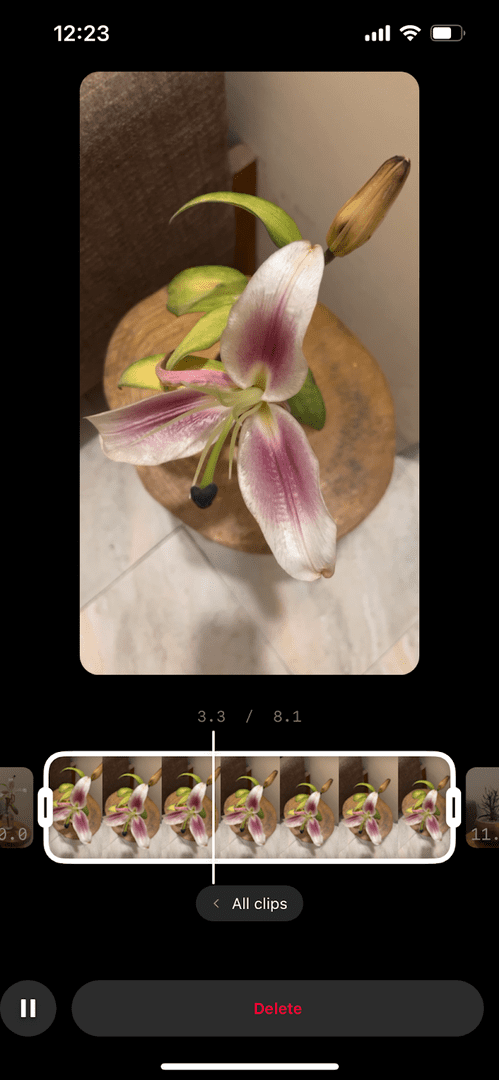
To shorten a clip, tap on it and drag the progress bar on either or both sides.
Next, tap “Transitions” to add effects between different clips.
Then, click “Done” to get back to the video editor screen.
Step 4.1: Give Your Content a Nice Tune
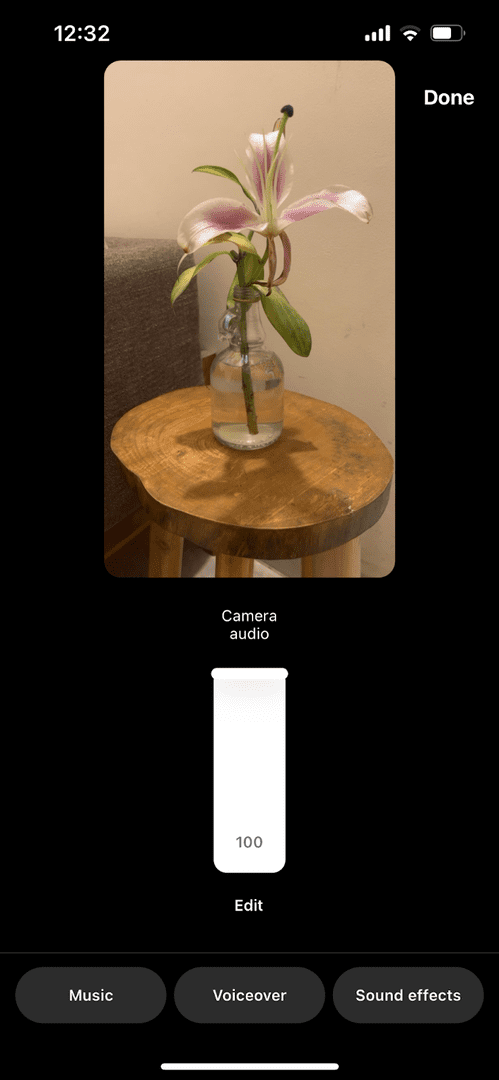
Clicking on the sound icon at the top of the video editing screen will enable you to adjust the camera audio.
You can also add music from the Instagram music library, create a voiceover for your clip, and insert different sound effects.
Tap the specific button for each and follow the on-screen instructions.
Adding music will give you additional audio editing tools.
Step 4.2: Add Texts to Your Reels Video
The “Aa” icon at the top right corner makes adding text to your video a breeze.
Simply click on it and type in the text. Then drag it to your preferred section of the clip.
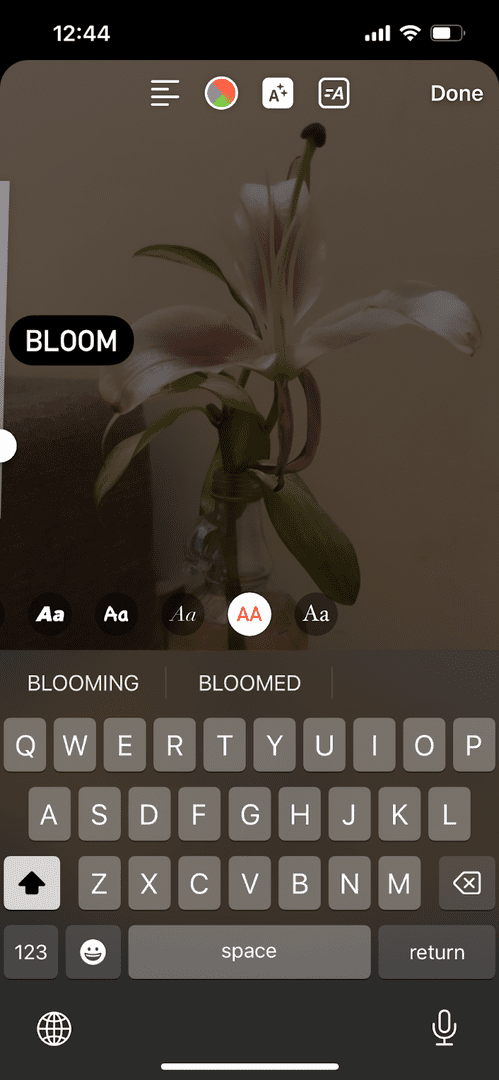
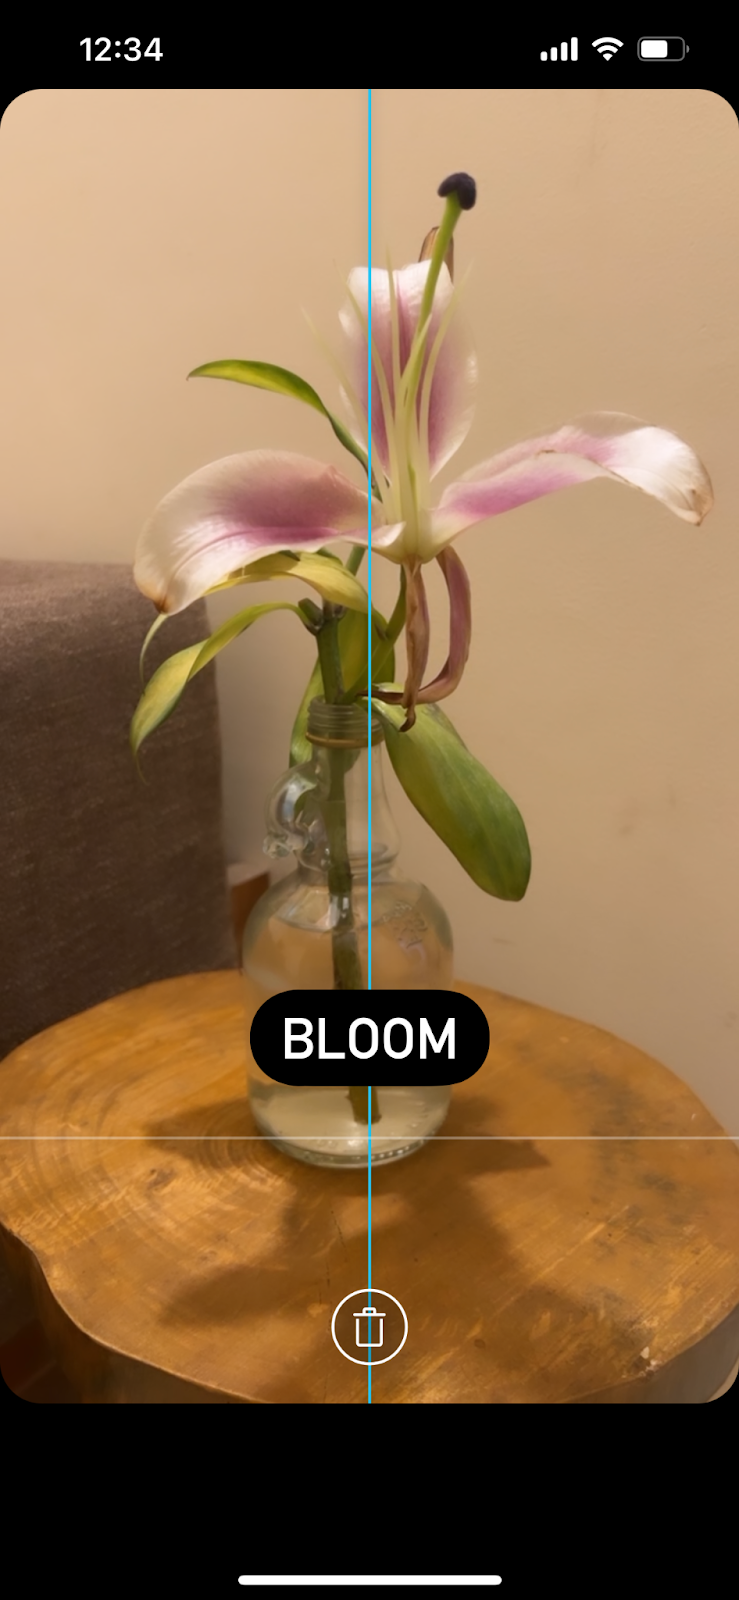
You can choose when the text appears and disappears on the video by selecting it from the bottom and then dragging the progress bars on a specific section.
Make sure to tap “Done” to save your changes.
Want to delete a text? Simply drag it over to the “Bin/ Trash” icon.
Step 4.3: Explore Other Video Editing Tools
Notice some other icons at the top of the screen? Use them to enhance your Instagram reel further.
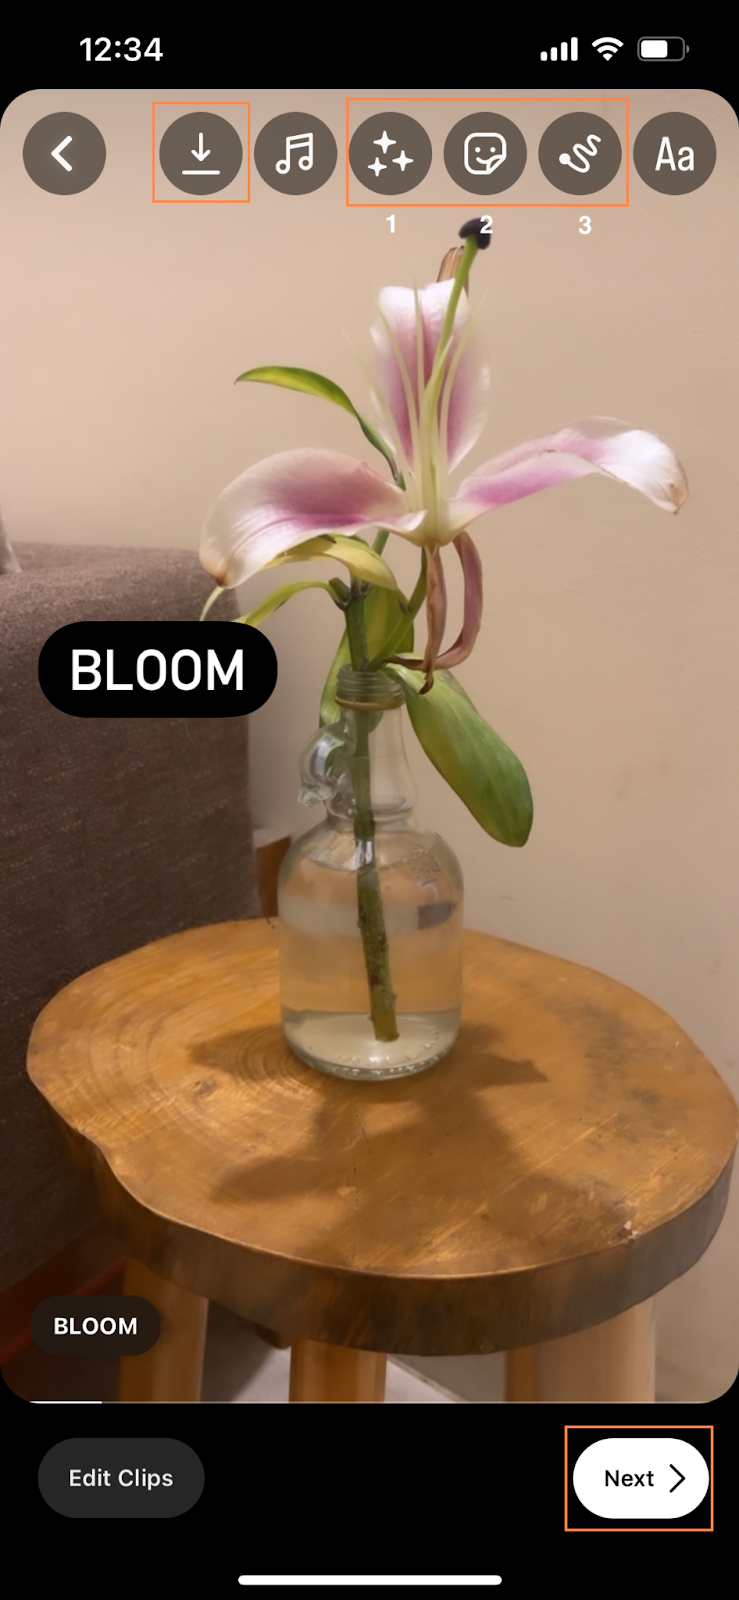
- Aesthetic Effects: The “Sparkle” icon will allow you to add different effects to your Instagram reel. You can search for a filter or use something you saved from another Instagram reel.
- Stickers: Similar to Instagram stories, you can add multiple stickers to your clips. Click the “Square smiley” icon next to the effects and search for a preferred design.
- Draw: The drawing icon just before texts is excellent for adding a signature to your Instagram reel. Designers can also use it to add sketches to a specific video element.
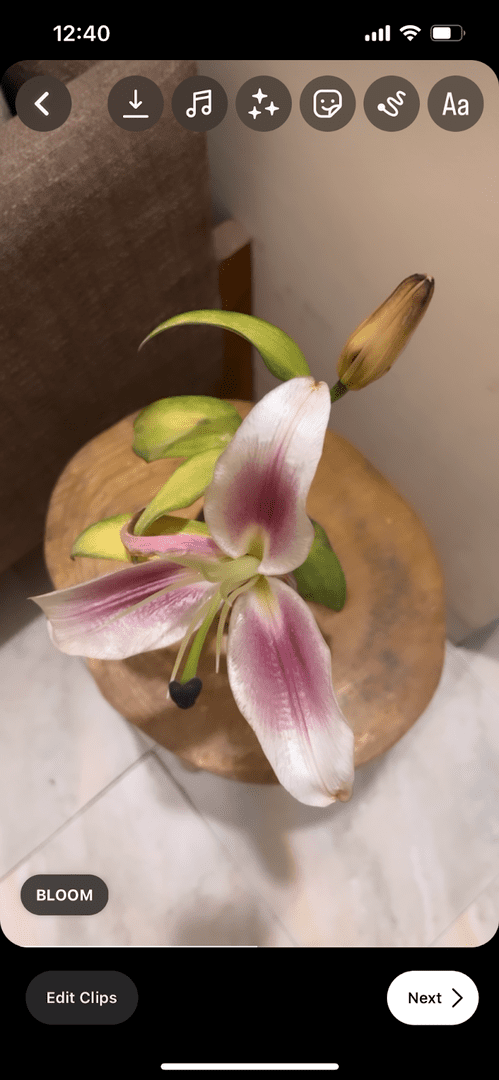
Once you are satisfied with the look and feel of your Instagram reel, tap on the “Download” icon at the top to save it or hit “Next” to share it with your followers.
Instagram Reels automatically selects a cover photo for your reel. You can also set your own by clicking the “Edit cover” option.
After that, choose any frame of the clip by dragging the “blue box” over a specific section.
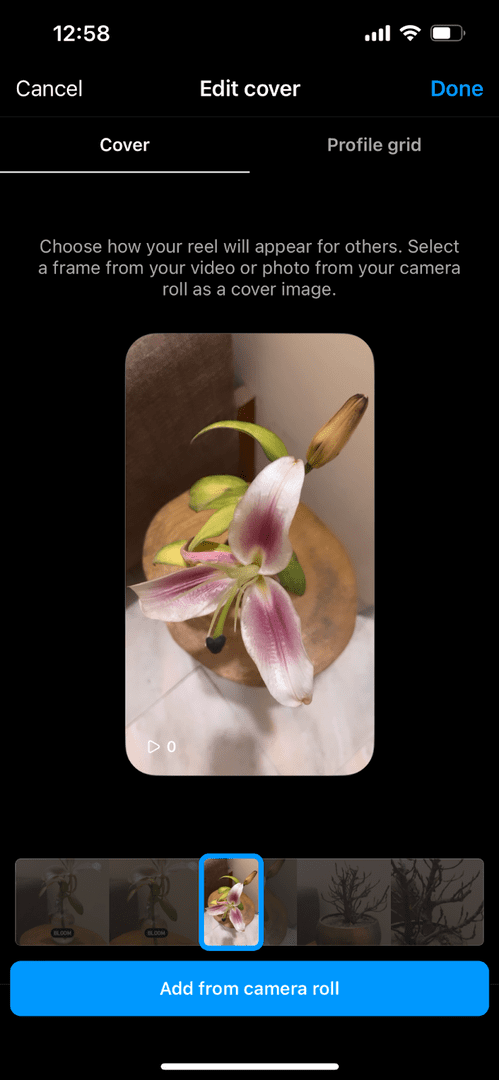
Otherwise, tap on “Add from camera roll” to use a different cover photo from the gallery.
After selecting the cover, write a caption for the reel to explain its context to your followers.
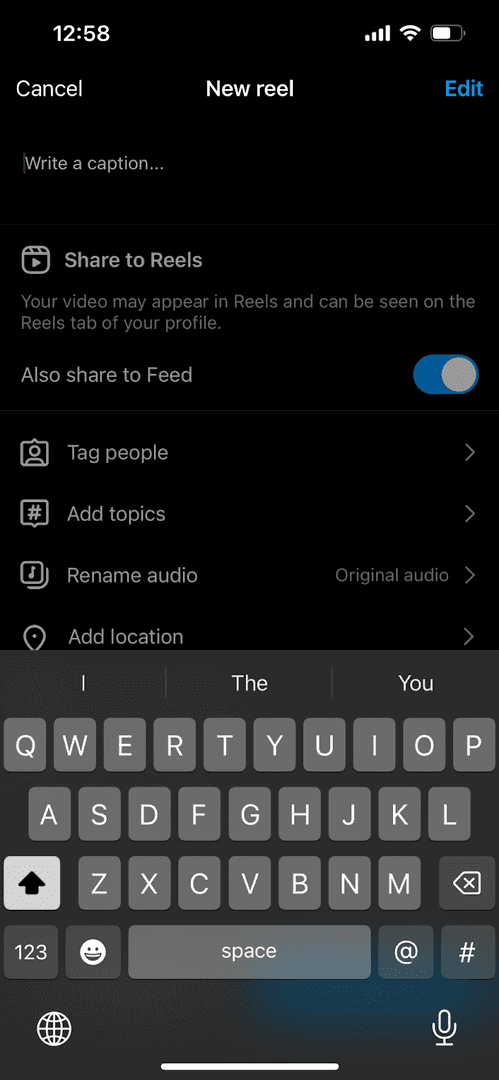
Step 5.1: Utilize Sharing Features for More Visibility
For further personalization and visibility of the content, you can use the sharing tab to:
- Tag people
- Add topics (#hashtags)
- Add location
- Rename the original audio file
- Share to Instagram Feed and Facebook
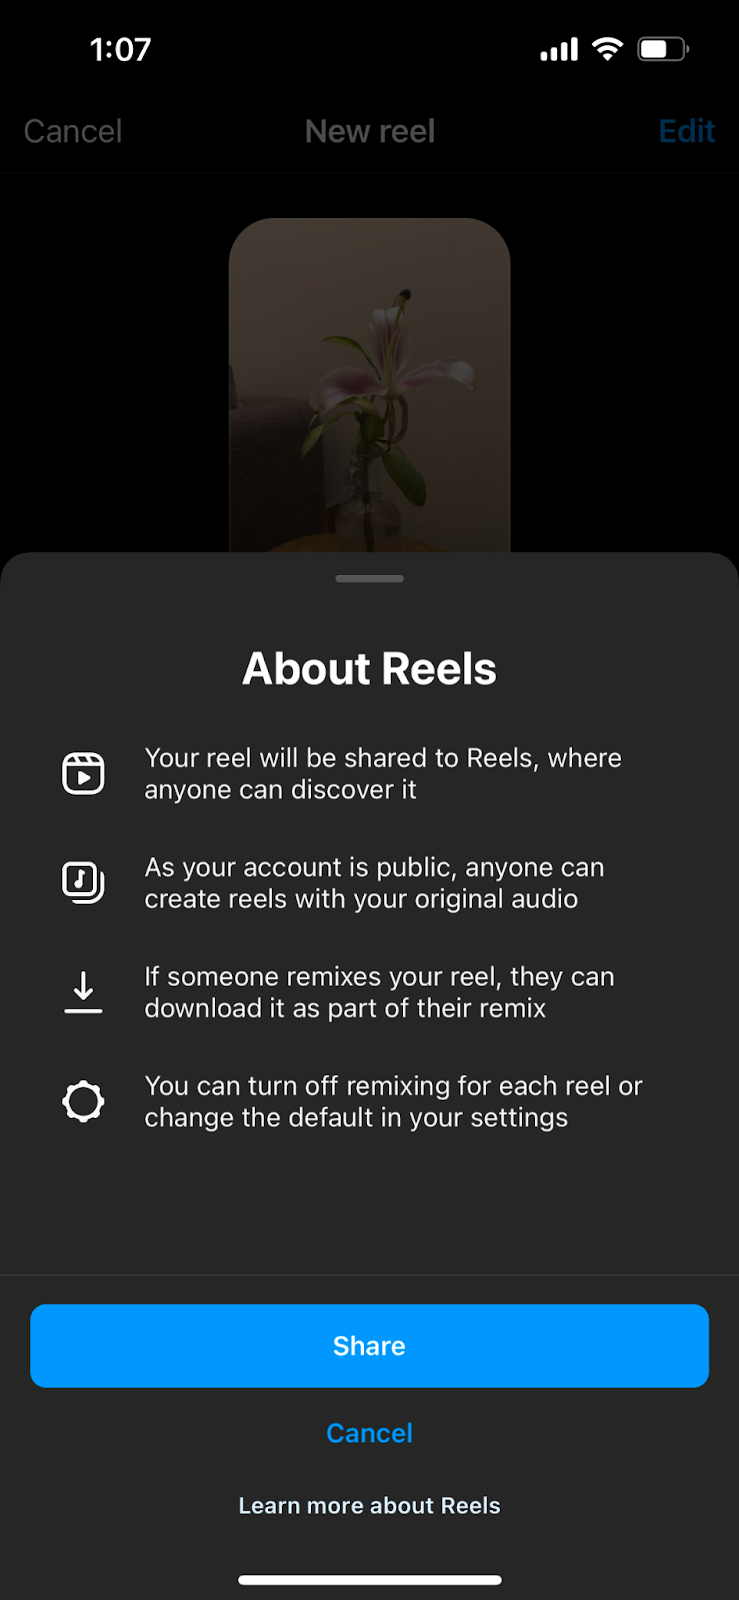
Exploring the “Advanced settings” will give you more options related to privacy, permission, brand affiliation, content quality, etc.
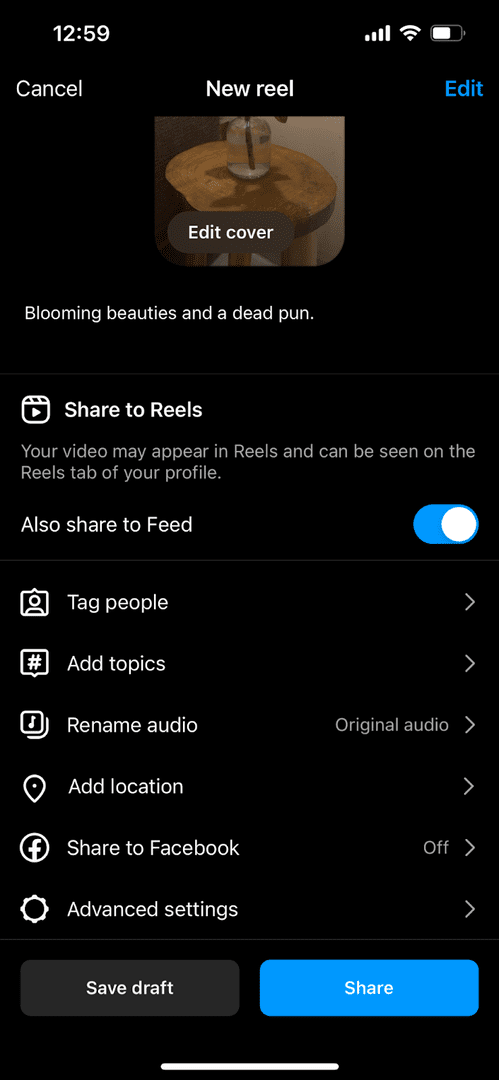
Once you’re done optimizing the reel, click “Next” and then hit the “Share” button to publish your reels video.
Otherwise, hit the “Save Draft” button and return to sharing it later.
Similar Tutorials To Check Out
Feeling confident about creating and sharing an Instagram Reel with your followers?
Check out some related articles to learn other Instagram features:
- How to Schedule Instagram Posts: Post when it’s hot for maximum engagement by learning how to schedule Instagram posts.
- How To Repost On Instagram: Share the work of other content creators with your followers by discovering how to repost on Instagram.
- How To Get More Followers on Instagram: Convert viewers and visitors into your followers by learning how to get more followers on Instagram.
Wrapping Up
Creating reels on Instagram can initially seem daunting, but it gets easier after the first one. You can also utilize some time-saving Instagram story templates to skip a few steps.
I hope you found this tutorial easy to follow. Please leave a comment below for further clarifications regarding any steps.
Enjoyed my guide? Please share it with your friends and followers to help their Instagram reels creation journey.


