
If you want to start building an email list on your blog, Mailchimp is one of the best email marketing platforms you can use.
While other platforms have a steep learning curve and sometimes require multiple integrations, Mailchimp is all-in-one and straightforward.
Plus, it won’t cost you a dime until your email list grows beyond 500 subscribers.
In this tutorial, you’ll learn how to use Mailchimp to build and grow your email list.
Frequently Asked Questions
Is Mailchimp Hard to Use?
Mailchimp is an easy-to-use email marketing tool.
Marketers of all skill levels use Mailchimp thanks to its intuitive Interface.
The platform has a vast knowledge base and resources to guide users through the A -Z of setting up campaigns.
Can a Beginner Learn How to Use Mailchimp?
Mailchimp is a great option for beginners email marketers.
You can easily build and customize campaigns using templates.
Mailchimp has a generous forever-free plan with decent features.
We’ll show you how to use a free Mailchimp account to start list-building campaigns.
What You’ll Need to Use Mailchimp
- An Email Address: The first step when you try to open a new Mailchimp account is email verification. So, you need a valid email address. Create a new email here.
- A Website or Blog: This is where you publish your list-building opt-in Form. You can request people to subscribe to your mailing list when they get on your website.
- A Mailchimp Account: We’ll show you how to create a Mailchimp account in the next section of this guide.
How to Use Mailchimp Step by Step
- Step 1: Create a Mailchimp Account
- Step 2: Set Up Your Mailchimp Account
- Step 3: Create a New Mailchimp Audience
- Step 4: Create Your First List-Building Campaign
Step 1: Create a Mailchimp Account
Visit Mailchimp’s website and click the Sign Up button.
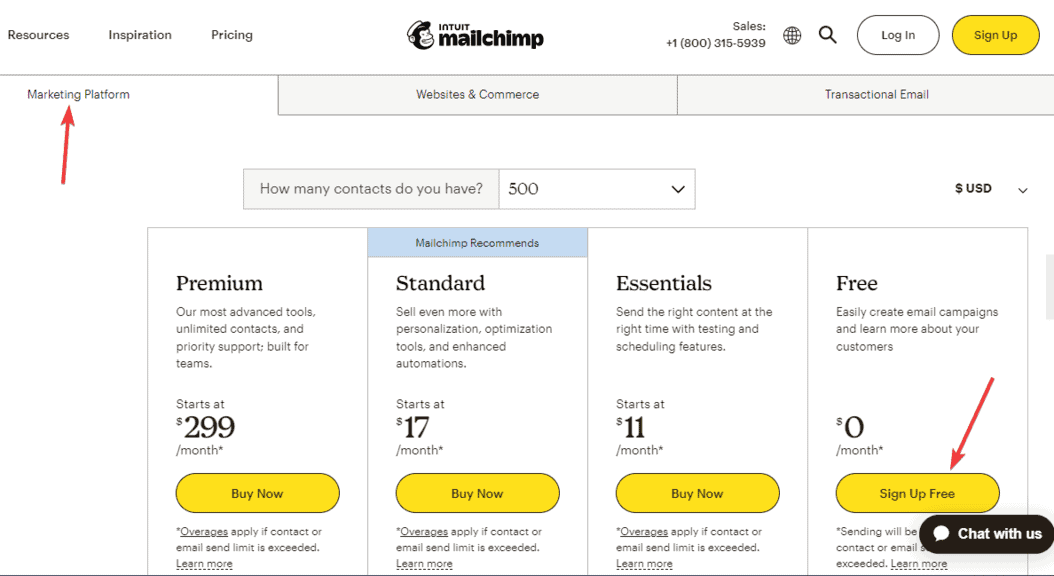
Stay on the Marketing Platform tab, Go to ton the Free plan, and select Sign Up Free.
On the next screen, input your Email, Username, and Password. And Click Sign Up.

You’ll see this screen.
Choose the email service provider you are using to open your inbox or navigate manually to your email inbox.

Open the Activate Your Mailchimp Account message and click the Activate Account button to proceed.
This will take you to the account setup page.
Step 2: Set Up Your Mailchimp Account
Select a plan on this page and scroll down to click Next.
We select Free for this tutorial.
Next, Mailchimp will require you to input your information.
Fill in the required field and click Next.
Input your business address and click Next.
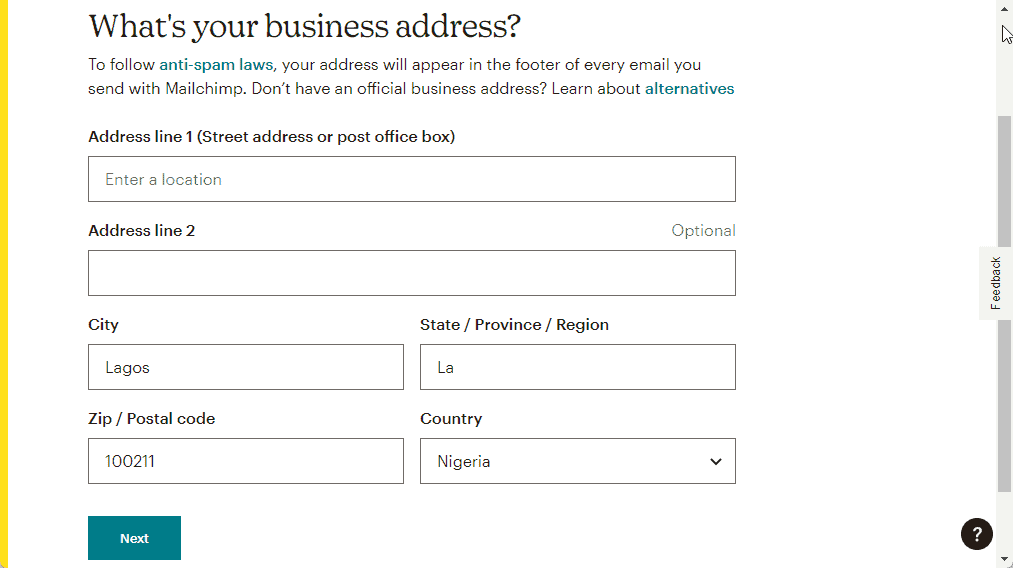
Make sure the address is your official business address as this will appear in the footer of every mail you send to your subscribers.
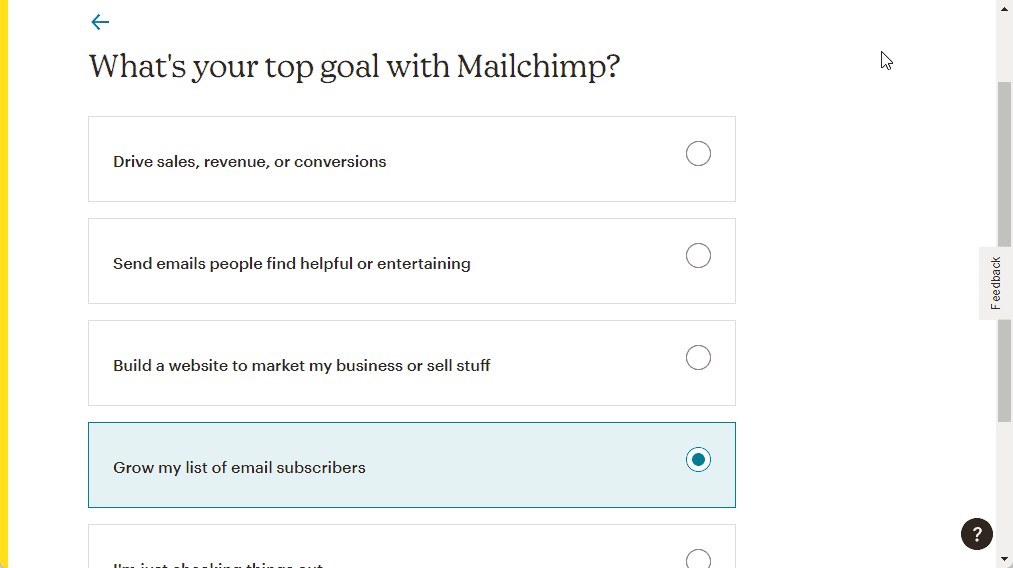
On the goal selection page, select Grow my list of email subscribers and click the Next button to continue.
Select the number of subscribers you already have.
Here, we’ll select None yet, I’m just getting started.
Scroll down to click Next.
On the next screen, select the Email you’d like to receive from Mailchimp.
For beginners, we recommend E-commerce Newsletter which offers actionable tips and advice on list building and promoting your business.
You can select all if you want.
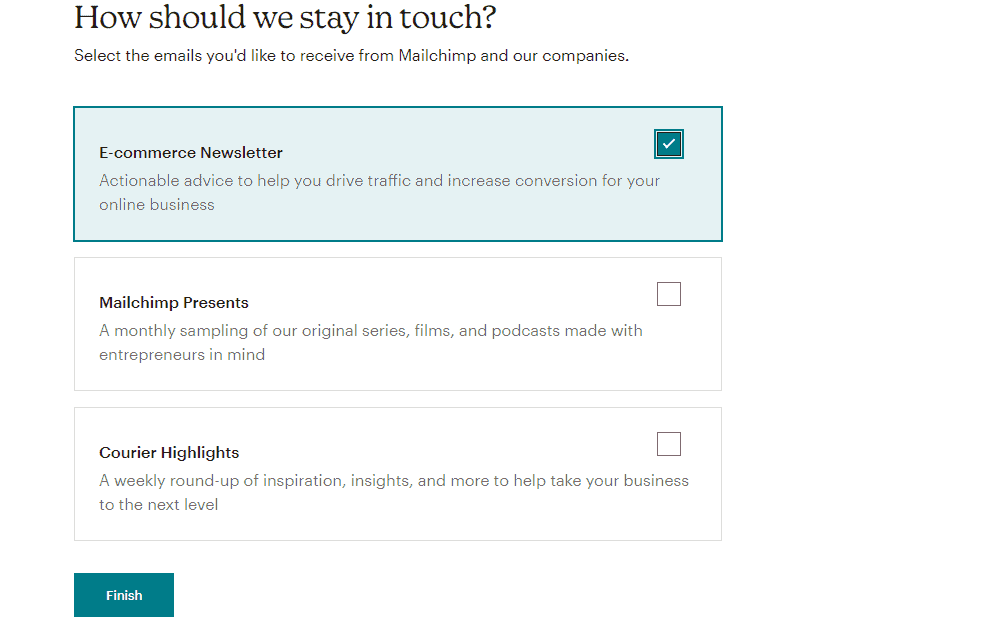
Click the Finish button.
And you are done.
Your account is ready.
Step 3: Create a New Mailchimp Audience
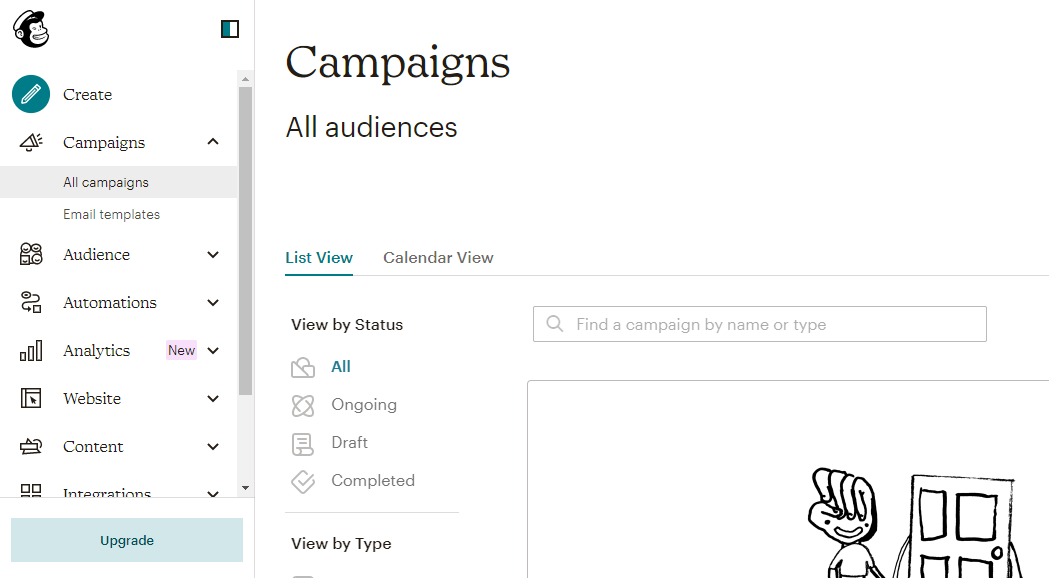
On your Mailchimp dashboard, select Audience on the left panel then click on Audience dashboard from the menu.
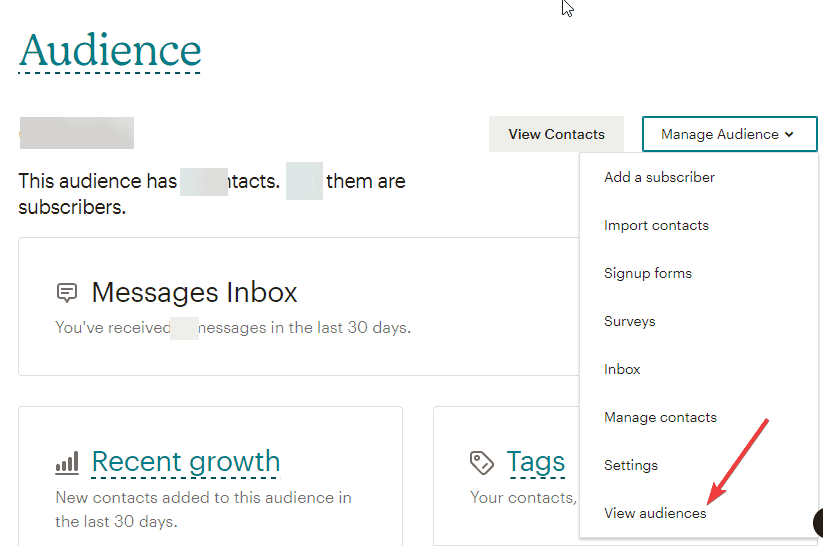
On the Audience dashboard, click the Manage Audience drop-down and choose View Audiences.
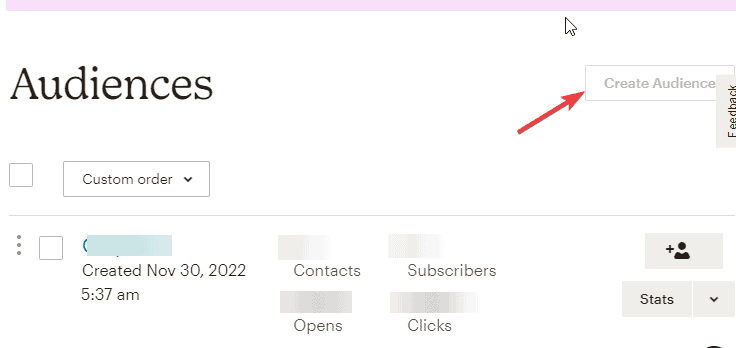
Next, click Create Audience.
Now, input the following information:
- Audience name: A descriptive name to identify your subscribers
- Default from email Address: Your official email address you want your audience to see as the sender of the email
- Default from Name: Your name or business name that your audience will see as the sender name.
- Choose a Campaign URL: With a free plan, you can only use a URL with Mailchimp.
You can only use a custom URL when you are on a paid plan.
In the last field, let your subscribers know they signed up for your audience.
Use messages like, “You are receiving this email because you sign up for the SEO Hackers newsletter.”
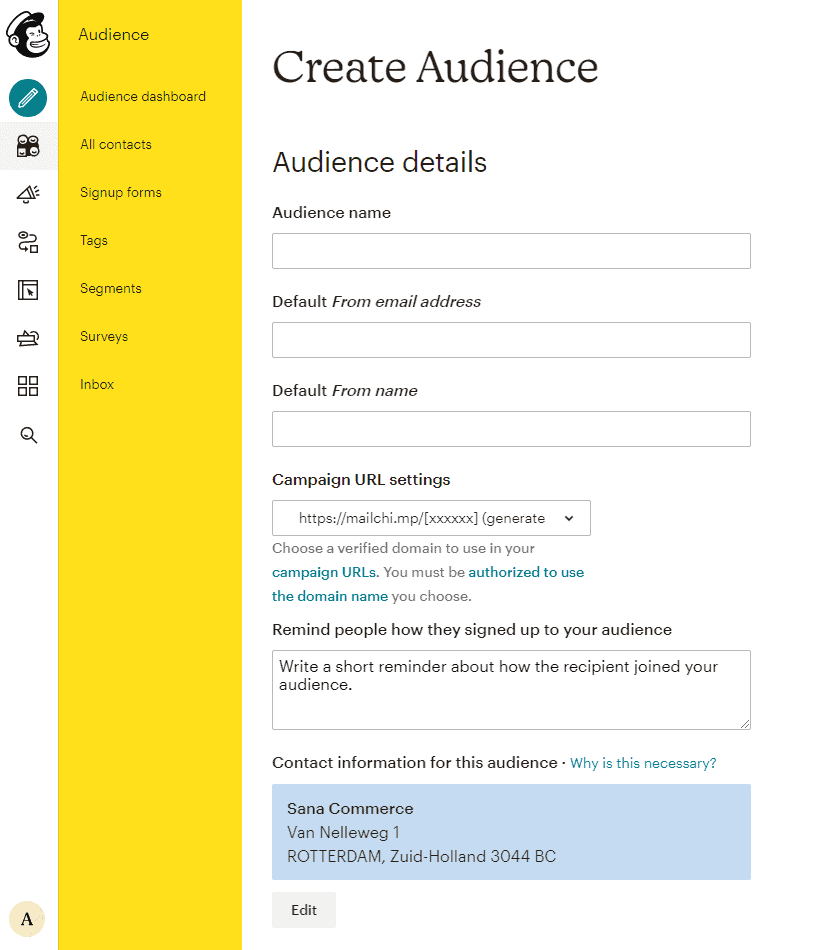
Scroll down to click the Save button.
Now that you’ve successfully created an audience, the next step is to set up an Opt-in Form and start collecting emails.
You can collect emails via a signup form on your website or blog, a social ad, or a landing page.
We’ll focus on creating an opt-in form you can add to your blog to start capturing emails.
Step 4: Create Your First List-Building Campaign
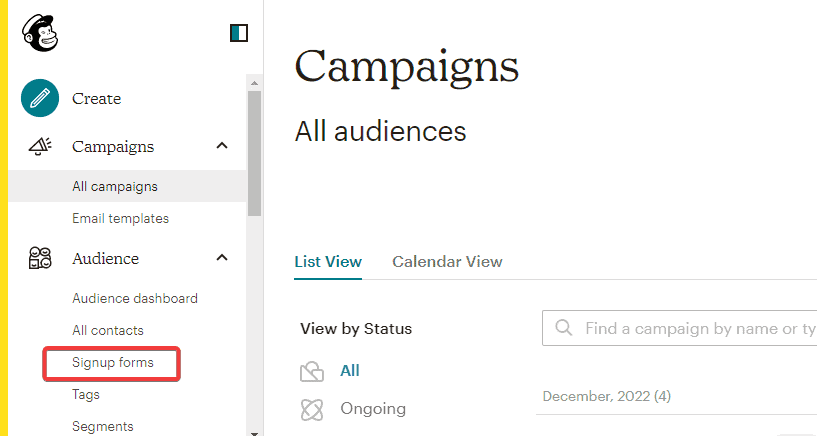
On your Mailchimp account, Choose Audience on the left panel and select Signup forms under it.
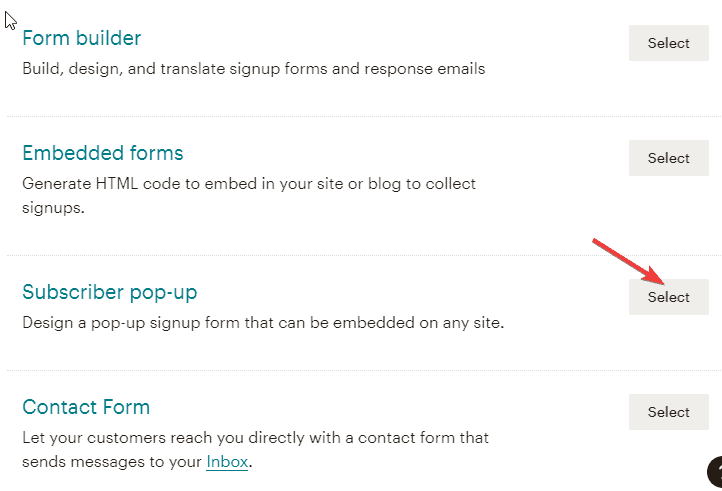
There are many form options in Mailchimp based on where you want to use them.
Using a form builder will be ideal if you want to collect emails on a landing page.
But since we are collecting emails on a blog website, the Subscriber pop-up or the Embedded form is okay.
So, Let’s select the Subscriber pop-up form,
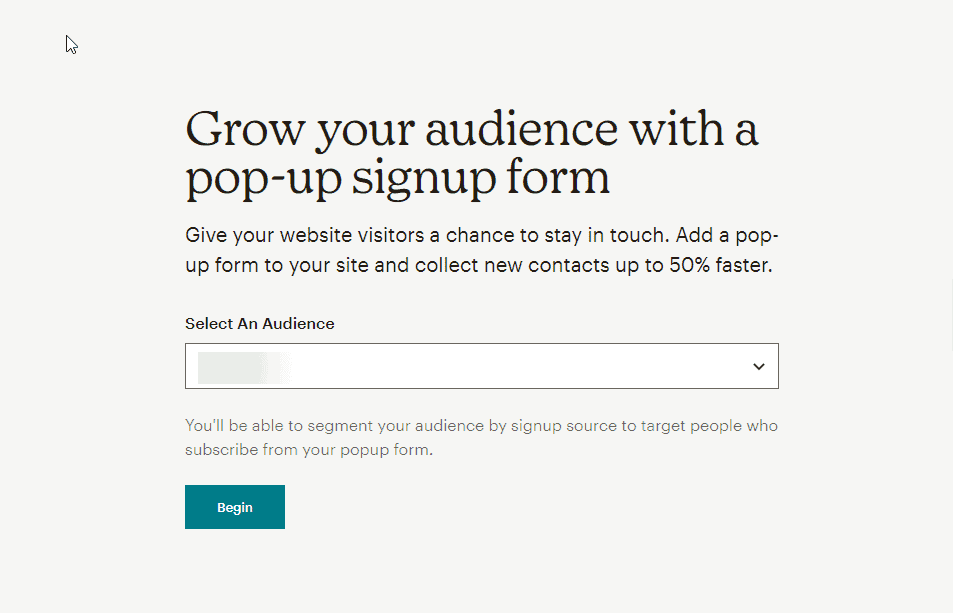
You’ll be taken to this page, select the Name of the Audience you created in step 2 above, and click the Begin button.
Use the + icon to add fields to your pop-up form according to your goal.
Our goal is to capture leads, so we’ll only add the First Name and Email fields.
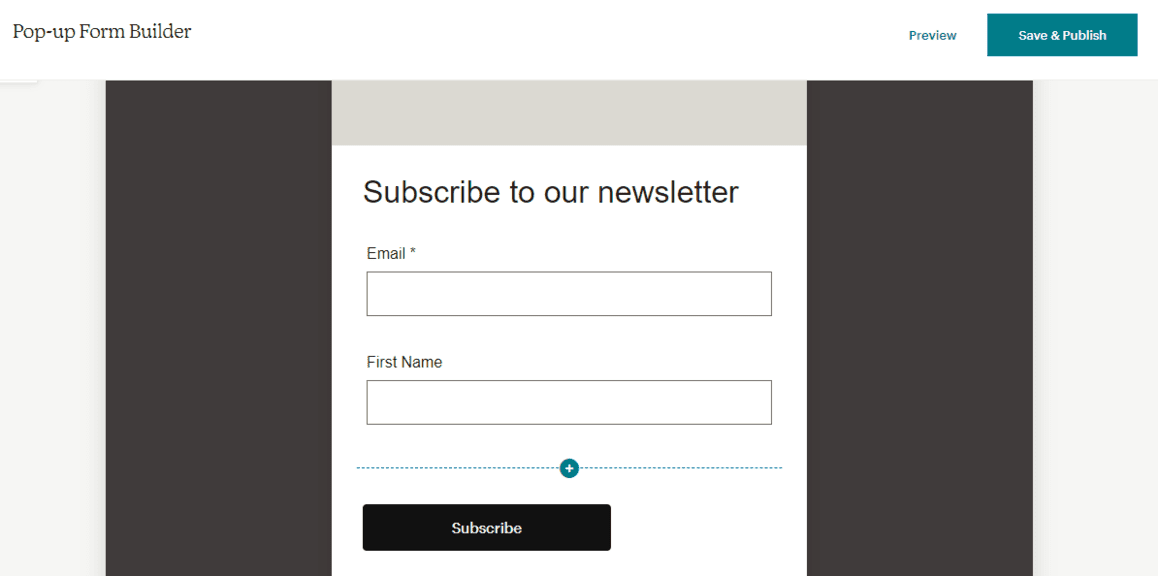
Next, edit the form success message, the message your visitor will see after subscribing to your list.
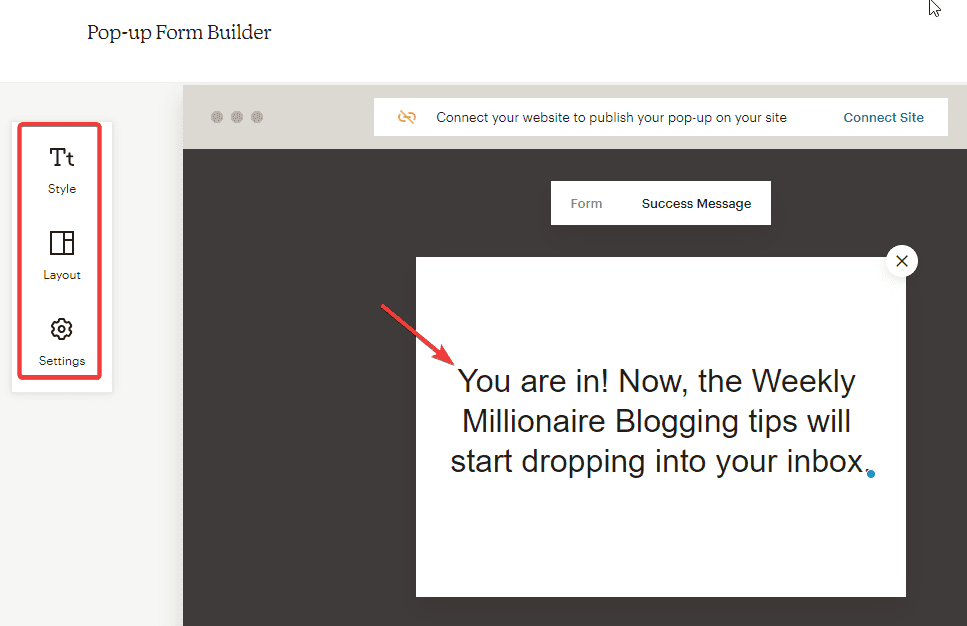
If you want, you can customize the size and layout of your form.
Use the styling and layout Widget to customize your form.
Once you are down working on the content and appearance.
Click the Settings (Gear icon on the left) to set your pop-up Delay time.
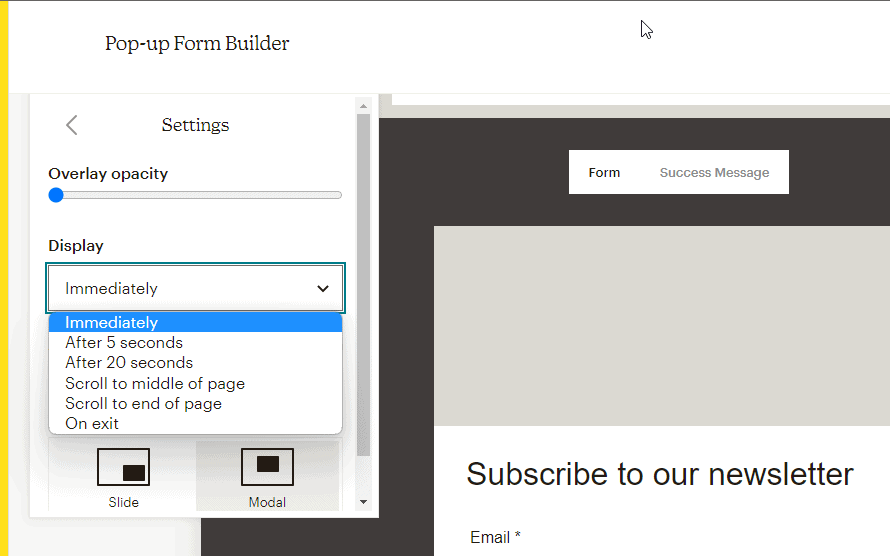
Select when you want the form to pop up when a visitor is on your website.
Drag the Overlay opacity to blur the background content when the form pops up.
Your form is ready.
It’s time to publish to your website.
Click the Connect Site button on the form editor page.
Enter your website URL, check the agreement box and click Get started.
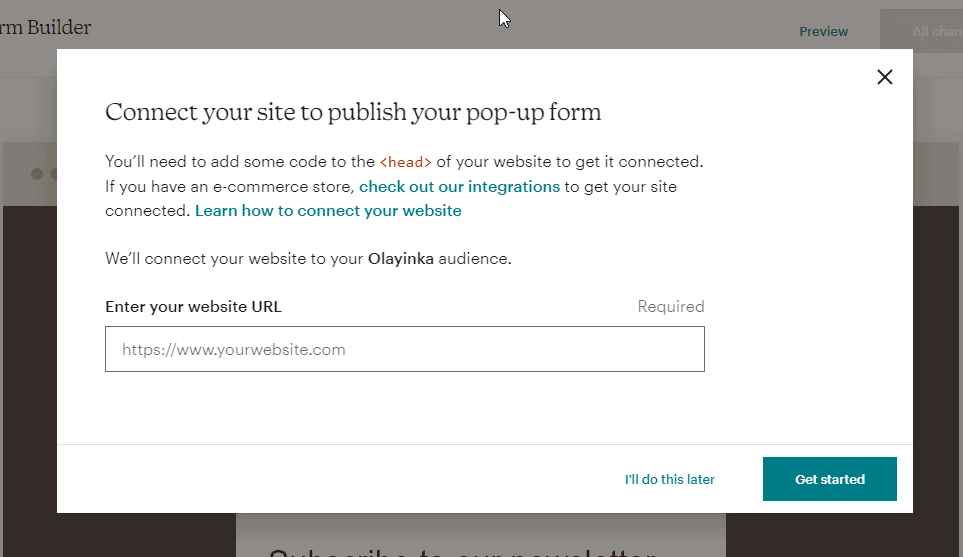
This will generate a code snippet.
You need to paste this code snippet into your site header <head> tag to get it connected.

The process is simple if you use a website builder like WordPress, just install a header and footer plugin and paste your code.
After adding your code to your website, return to the popup page and click on Check connection.
Mailchimp will check for the code on your website and get connected if found.
And that’s all, you’ve successfully added a popup form to your website.
As people get on your website, the form will pop up after the delay period you set.
- How to Build an Email List Without a Website: Do you know you can build an email list without a website? This guide will not just tell you it’s possible. It will show you how to do it step by step.
- How to Build an Email List From YouTube: If you have a Youtube channel, you can build your email list from Youtube. Check out this guide to learn how to do it.
- How to Create a Mailing List in Gmail: Your No B.S guide to creating mailing list in Gmail. You don’t want to miss it.
Wrapping up
Easy right? That’s how to use Mailchimp to start building your email list.
After setting up your list, your next focus is email marketing.
You aren’t collecting the emails for fun.
Stay connected with your list by sending regular updates, tips, and valuable information that adds value to your audience’s life.
Doing so, your email will get high open rates.
And that’s how to grow a business and build a name for yourself.
Let us know if you find this guide helpful.


